
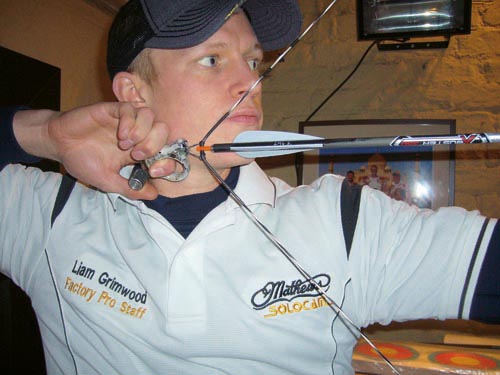
When looking at the shot process, it’s important to note that the body only has three points of contact with the bow. The first is your bow hand on the grip, the second is your hand on the release, and the third is the string touching your face. As these are the only points of contact you make with the bow, these are critical aspects of your technique. They must be extremely consistent if you are to have any chance of performing well. If you look at the combination of your hand in the release and the string touching your face, both of these components are what makes up an anchor position. A consistent anchor position is one of the most vital parts of a good technique.
When you make an adjustment of just a few clicks to your sight, moving your scope just a few millimetres, you can see the enormous impact this has on the target. So imagine now that your hand is in a slightly different position on your face, thus moving the peep sight to a slightly different position in relation to your eye than the shot before – this will also have a great impact on the location that your arrow ends up in the target.
In order to ensure that your peep sight is aligned to your eye in exactly the same way each shot, you must obtain a consistent anchor position for your release hand and string. There really is no right or wrong position when it comes to making a good anchor point; everyone’s face and hands are different shapes and sizes, so it’s really important to find the one that works for you and not just copy someone else’s. The only occasion I would ever call an anchor point incorrect is when I can see inconsistencies from one shot to the next.
When establishing a good anchor, to begin with you should completely ignore your peep sight. Once you establish your correct anchor you should adjust the peep sight to suit you: never force your anchor to meet a peep position.
 Firstly, you need to find a familiar position on your face for the back of your hand to lie. The best way to do this is by establishing a relationship between your knuckles and some point on your jaw line. As I said earlier, everyone’s face shape is different, so find something that feels repeatable to you. Don’t be tempted to copy someone straight off, but feel free to look at what other shooters have working for them as you experiment. Once you have your hand in a comfortable repeatable position, you must get your string to touch your face. In an ideal world, you would want the tip of your nose to touch the string as this will give an extremely precise and reliable spot. It is at this point that having a suitably long enough axle length comes into play. If you have a very short axle-to-axle bow the task of getting the string on your nose will be almost impossible. If you find a hand position that works for you but the string is either too close to you or too far away, you can make a small adjustment to your d-loop. Altering your d-loop will allow you to maintain your draw length but alter the position your string lies on your face in relation to your hand.
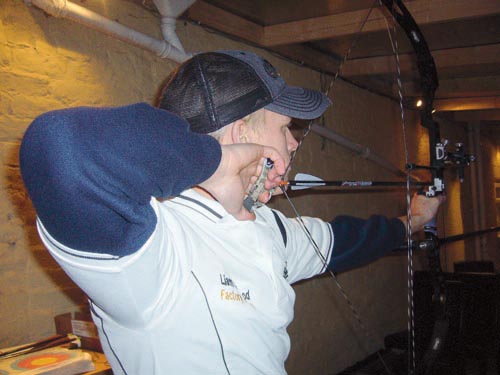
It’s critical to note that the string should touch your face, but not too heavily. A common problem I see is people pulling the string too deeply into their face, which can cause extremely erratic arrow flight and make your bow difficult to tune.
You should also ensure that your rear elbow is relatively in line with the string when at anchor point. If your elbow is too far out of alignment you will find execution more difficult. Absolutely perfect alignment is not essential, but it needs to be somewhere close.
Finally, once you have established all of these points, you should adjust the peep sight to suit. A good way of ensuring it is correct is to draw up with you eyes closed, find your anchor points, then open your eyes. If your peep does not line up exactly then keep moving it up or down until it does.
To give you an insight into how I set up my anchor point I have listed the steps below to ensure I anchor consistently every time.
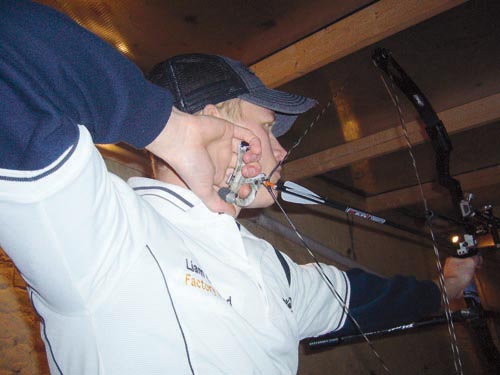
- I keep the back of my hand completely flat at my anchor point to ensure I have the biggest surface area available to make the anchor with.
- I angle my hand at 45 degrees and locate the groove between my first and second knuckle on my jaw bone.
- I feel the string lightly touch the tip of my nose to ensure I am the right distance back along my jaw line.
- I feel the string lightly touch the right hand corner of my mouth. (A kisser button is a great way to check this.)
- I align my peep sight and my scope housing to ensure they give my usual sight picture where I can see the entire scope housing in the centre of my image.
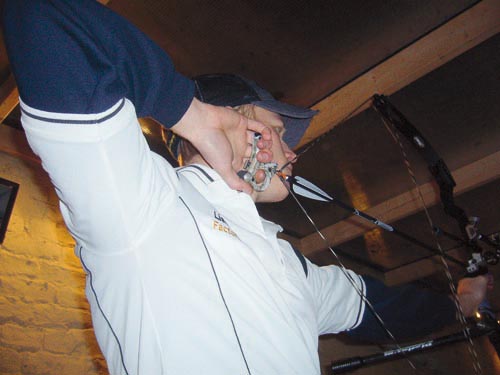
If you can make sure your anchor point is identical every time, it will be worth a huge amount of points to you. A common symptom of a poor anchor is shooting good groups that move around end to end and never settle in one spot. The best way to critique yourself is have somebody film a number of your shots from the exact same angle and compare one clip to the next. If you’re doing it right your head, hand and string should look identical each and every time.