
Uphill, downhill, shallow, steep – Patrick Huston plays all the angles in his quest for field archery perfection
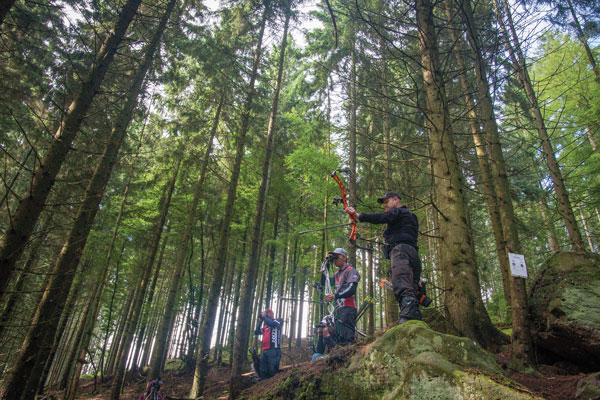
Target archery is like a driving range: everyone in the same place, shooting the same way to the same thing. Field archery is a golf course: up and down hills, different distances, different targets and all manner of variety of conditions. Michele Frangilli once described field as ‘the university of archery’.
In this piece I will be talking about one of the most important elements which a field archer has to control: shooting angles. In target we have a range of body positions from 90m to 18m, though mostly nowadays we sit at 70 or 50m and plod away. This means our shot becomes fairly standardised and rigid. To excel in field we need to be able to mould our bodies to fit the varying positions of targets we have to shoot at, and that takes some serious attention to detail, strength and an underlying understanding of how we create our shot. We must be able to set up the same physical structure through our bones to have the same alignment, forces and stability to accurately shoot through a range of angles. To do this well takes skill, and of course, practice.
Lisa Unruh demonstrating added stability with a wide stance for a long downhill
There used to be a generally accepted theory of unit aiming, which is not in principle incorrect. This theory is that we draw in our usual T style position and then bend at the waist to make the angle we are shooting at. This does work, and is definitely recommend for shooting longer distances on the target range. The idea is that we create our usual set of positions and then adjust the angle from the hips and core, leaving our upper body, shoulders and arms in the same set of positions as before. As I said, this used to be the way most people would shoot in years gone by, however things have evolved since then. This is physically strenuous and difficult to achieve due to biomechanics, especially in field, plus any downhill shot involves us effectively doing a large sky draw before swinging down to the target. This means we create an overshoot of some unknown distance above the target we intend to shoot – not a good thing for any course which has targets close to each other.
So we developed the idea of drawing at the target; roughly aiming at the target as we go through our draw motion, having set our hips and trunk into roughly the correct angle beforehand. This can be slightly more difficult to execute the drawing motion given we won’t be in quite the same position as we would usually shoot from. However the aiming and execution of the shot ‘should’ be easier for us as we have less time and disruption to the shot itself! Personally this is pretty much how I have always gone about shooting steep slopes, and having done a lot of my early competing in courses like Castlewellan and Pentref… I learned this with a baptism of fire!
Let’s start with downhill targets, and I will be specifically talking from a recurve point of view (sorry wheely-bowers). Downhill we will tend to have a longer drawlength with how the front shoulder will lay out in front of us so watch out for clicking too early. Most courses will have some nice downhills, a lot of them smoothly sloping away from you at not much angle. Some however will have longer steep targets which start to become quite tricky, and a few will have some very steep and very challenging short targets. Pentref for example has a quarry shot which can come in at 42 degrees.
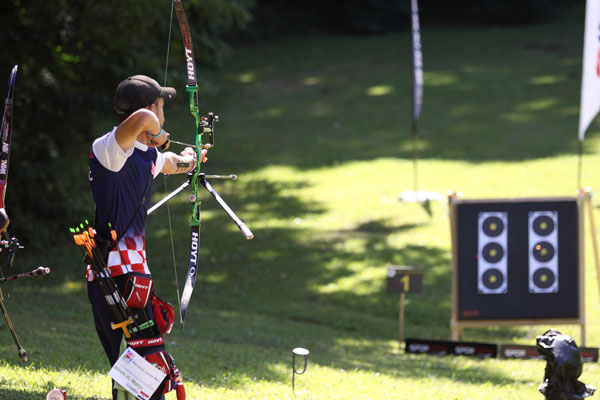
Gently sloping downhill targets
I would pretty much recommend doing as close to your standard shot as possible. Get a solid footing, preferably your front foot a little lower than the rear foot, and your rear leg a little bent to control your centre of gravity and stability. Then just shoot as usual with hopefully no particular difficulty.
For the longer downhill targets we need to focus on the drawlength a little bit and pay close attention to how the body relates to the line of force of the shot. For this I strongly recommend a couple of practice draws and expansions through the clicker to check how the position feels. A wide stance is probably the best for this shot, giving you the flexibility and stability in the hips to move about a bit. Then roughly align you shoulders to the target, raise and draw the bow along that line. Focus on the lats as you do this to ensure the correct cross-chaining through the back for stability in the shoulders. Then execute as normal.
Short and steep downhill targets
Accept you are likely to shoot some wild arrows at these, everyone does. Personally I go with a very narrow stance, often even with my feet touching each other to allow me to pivot over the hips, however I have seen Naomi Foulard do this with feet about a metre across, some even have their feet spread wide front to back as well. The only aspect which is common across these positions is that we will tend to open the stance and draw across the body slightly more so that we don’t just bend laterally across the core, which gets very, very hard for steep downhill! Now that we have the feet the hips need to go backwards, I prefer a ‘straight’ lean with them pushed back. I can guarantee that you will click early as your front shoulder will likely extend further towards the target than usual. Always check your clicker when finishing the draw for these targets. Finally we really need to emphasise the pressure in the back end of the shot, it is easy to load the muscles in the back and then lose the feeling there due to the muscles being stretched out.

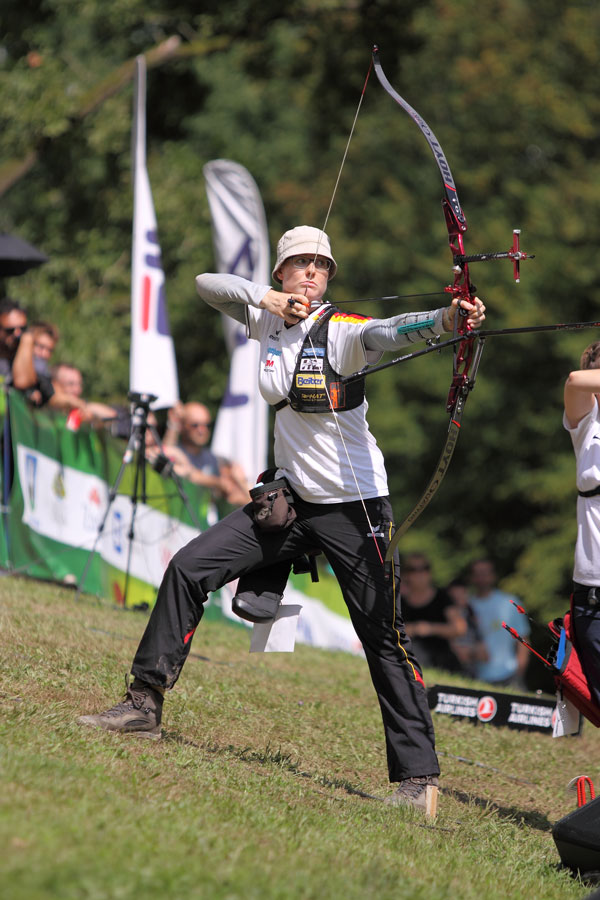
Naomi Folkard excels at both field and target archery
Gentle or slight uphill targets
These targets are probably the easiest slope targets to shoot due to them resembling long distance target shooting. You will find you weight tends to go towards the back foot. I recommend using the unit aiming method described above by swinging the hips forward slightly to align your shoulders to the target.
Longer or slightly steep uphill targets.
First off I will let you in on a weird secret: the first bit of uphill we cut distance off the sight mark due to trigonometry, but there is an angle about 9-12d egrees where we go back to zero difference from the distance on the peg, and for longer targets we can actually have to add a metre or so on to the sight mark! Assuming reasonable footing though these targets are not massively tricky to shoot, the main consideration is to make sure you are drawing TO the target and not having to raise your shot up towards it, this is physically tiring. Pull your rib cage on the opposite side from the target down towards your hips while leaning back from the hips. Sometimes leaning over the feet slightly can be helpful, but this is dependant on what the footing position is like. Check the clicker as you come into aim on the target and keep the pressures both sides of the shot. Then execute as usual.
Extremely steep uphill targets
These are probably the most physically tiring shots on a field course. I’m not going to pretend to say I know the best foot position for these targets – there just isn’t one way to do it Personally I will put my feet totally together, between 90 degrees to each other actually touching. Others will go wide as they can, Ive seen world champions bend their knees to shoot these or twist around and over to make the angle. If you want to come out alive then check your clicker. You can set up in what feels like a good and solid position, feel like you have moved through two or three times your clicker length and yet still have half an inch to go. You will have moved your arm up to the target as well as your shoulders and body. This is a fact of life and needs conscious correction to make these shootable.When expanding throug h the shot remember to try to create motion or at least force in both of them to make the clicker go at a time of your choosing. Focus on keeping your front arm aiming at the target properly through the follow-through to maximise the accuracy of your shot. It is so easy to drop your arm straight away because of the physical difficulty of what we are doing. Don’t let that happen or your groups will open up.
So there we have it, a bit of a manual as to how to approach the hardest elements of field archery, and there’s not enough space to discuss parallax error and the like. To be able to manipulate your body into these shapes whilst retaining control takes serious skill. Find a course near you – or use your garage roof or similar. It doesn’t need to be a long shot, just steep! Go out and try it. Field really is the best competitive test of archery.