
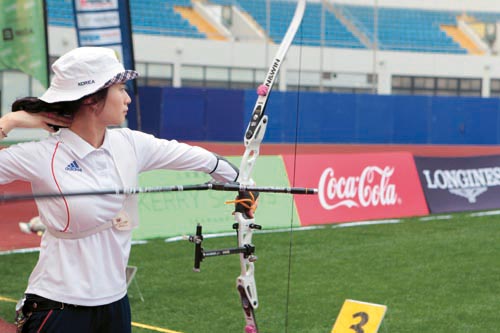
It’s vital that you check the bracing height every time you string your bow, but many beginners overlook this important adjustment. Often this is because they have never been told what to do – an issue I want to address here. So, let’s start with the basics: what is the bracing height?
Put simply, it is the measurement from a fixed point on the riser to the string when the bow is strung, or ‘braced’. It is usually measured from the centre of the pressure button fixing hole, or from the throat of the grip. If set too high or too low in relation to the manufacturer’s recommendation, it can result in a noisy bow and erratic arrow flight. When the bracing height is too high, it can also throttle the bow’s performance – and if the bow is shot ‘under-braced’ for long periods, it will result in damage to the limbs.
Archery is all about consistency, so if the bracing height is different each time you shoot your bow, then the arrow will be leaving the bow at a different point in the string cycle. This will result in different grouping and even trouble getting sight marks.
Adjustment
Before adjusting the bracing height, you first need to find out the recommended bracing height range by consulting a pro shop or a bow manual. You should also buy yourself a bracing height gauge; they usually cost around £6 and it will be money well spent. The next step is measuring the bracing height. Normally the throat of the grip sits vertically in line with the middle of the pressure button hole.
If this is not the case (as with some Hoyt handles) then make the measurement to the pressure button hole closest to the archer when you hold the bow, as some now come bushed with two holes.
To make the adjustment, simply de-string the bow at one end and add twists (clockwise or anti-clockwise) to the string to increase the bracing height, or untwist the string to lower the measurement. Your string should be of sufficient length to allow for this – but if not you’ll require a new one.
 If you have a handle made by one company and fitted limbs from another, the suggested bracing height ranges may differ. Just remember that the measurement is a guide, so keep well within both suggestions, and make sure that the measurement is the same each time you string the bow.
Fine Tuning
Once you have been shooting for some time and have started to develop consistency and good grouping, you can fine-tune your bracing height to improve your bow’s performance and your arrow groups.
The process is simple. First set the bracing height at the lowest recommended measurement and shoot a few arrows. Look at the groups and listen to the sound of the bow. Put no more than five turns in the string and repeat. Keep doing this and eventually you will notice that the bow starts to sound quieter, and that the groups get a bit tighter. If you go too far then the bow will start to become noisy again, and the groups will spread out. Remember to keep a record of how many twists you put in, the bracing height, and how the bow shot.
Set the string at the best position, record the measurement and use this each time you string the bow. The measurement should still be within the manufacturer’s guidelines. It might be close to the limits, but you do not want the pre-tension to be excessive, or the limbs to look flat when the bow is strung.
That’s really all there is to this simple but essential process. Follow this short guide, and the next time you are asked if you check your bracing height, you can answer with a confident yes.
Hmm it looks like your website ate my first comment (it was extremely long) so I
guess I’ll just sum it up what I wrote and say, I’m thoroughly enjoying your blog.
I as well am an aspiring blog blogger but I’m still new
to the whole thing. Do you have any suggestions for novice blog writers?
I’d really appreciate it.