
Want to switch from recurve to barebow? Kristina Dolgilevica walks you through it.
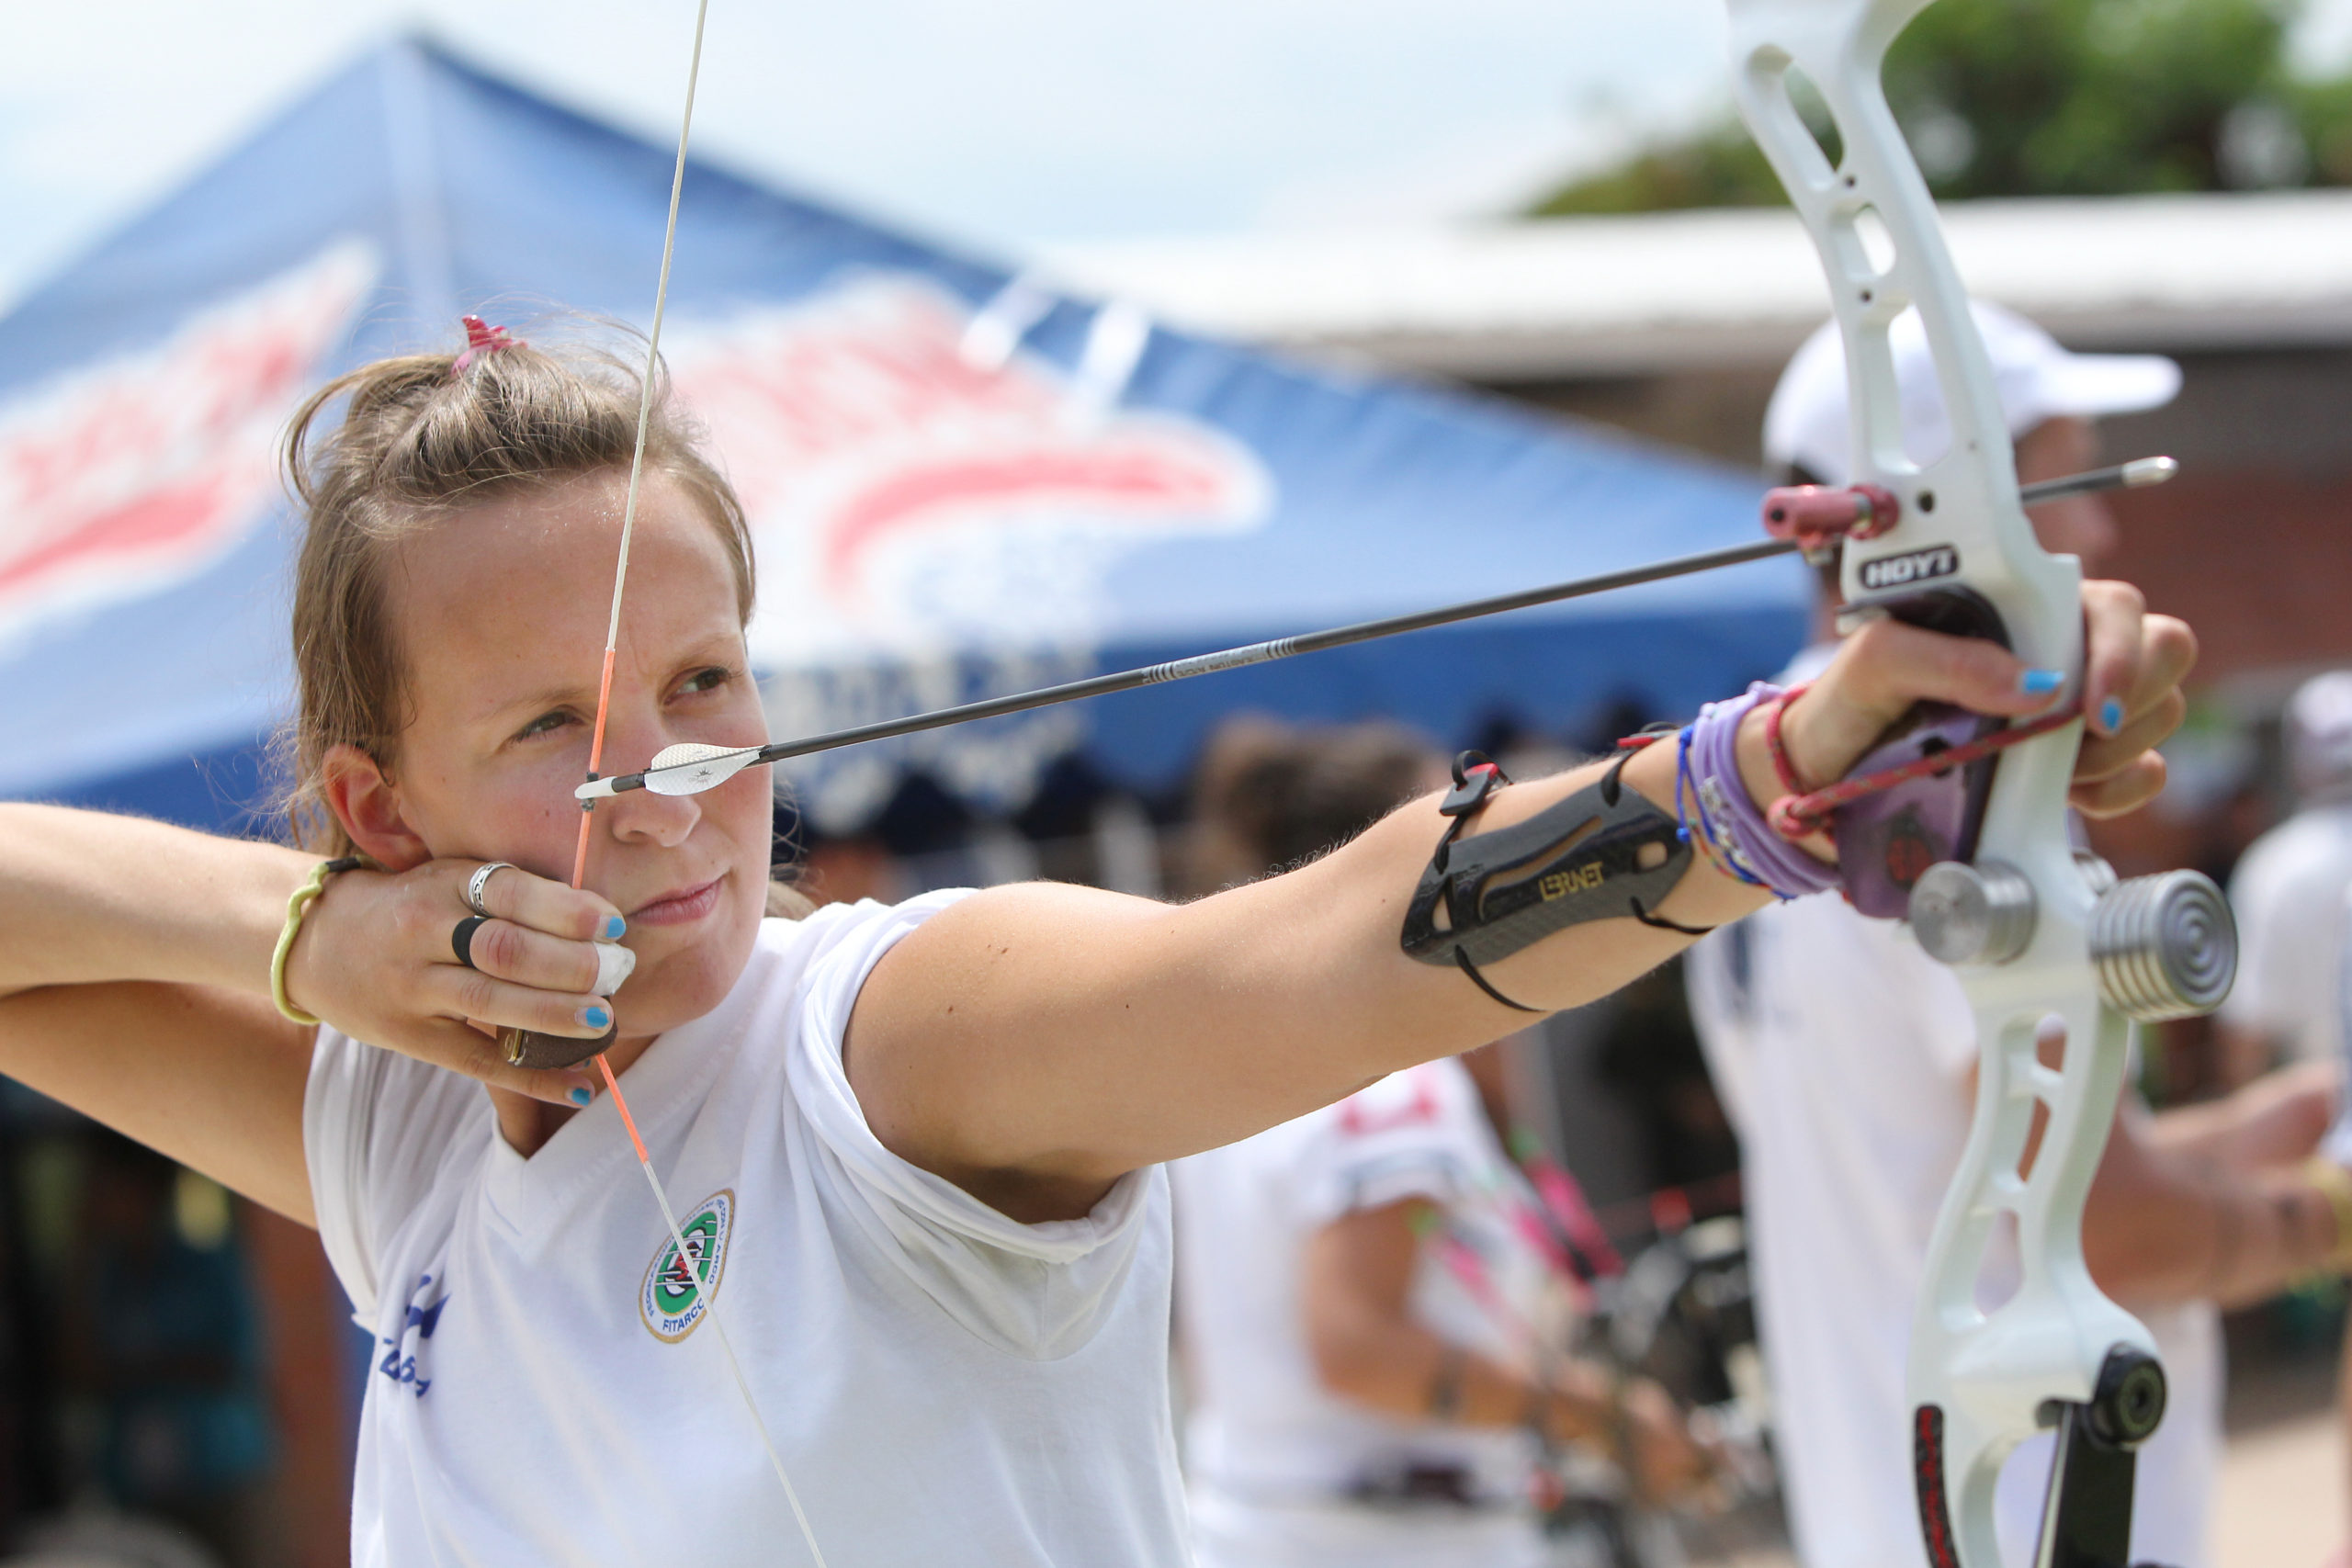
Barebow archers use the tip of the arrow as the aiming device and employ the following three methods of aiming: gap shooting; stringwalking; and facewalking. Face and stringwalking are often combined. Finding the right match for you requires an in-depth understanding of your form, equipment and individual anatomy – only then can these methods be of any use on a consistent basis. Stringwalking is used to its full advantage in field archery, where targets are set at a range between 10 and 50 metres (the longest competition distance for this division).
I would like to share some useful tips, precautions and simple step-by-step instructions to help you begin your stringwalking experiment with confidence. I find it useful to explain and remind beginners how barebow aiming works, and how each method affects your performance and equipment, so that you find the optimal combination for you.
Aiming Methods: How Do They Work?
All of the barebow aiming methods are focused on creating the best angle for the arrow’s launch for it to reach a specific distance: the arrow tip is used for height sighting, the string and riser window for windage sighting. You can choose between the configurations that allow for aiming in the middle of the target and those that use the principles of compensation, aiming off.
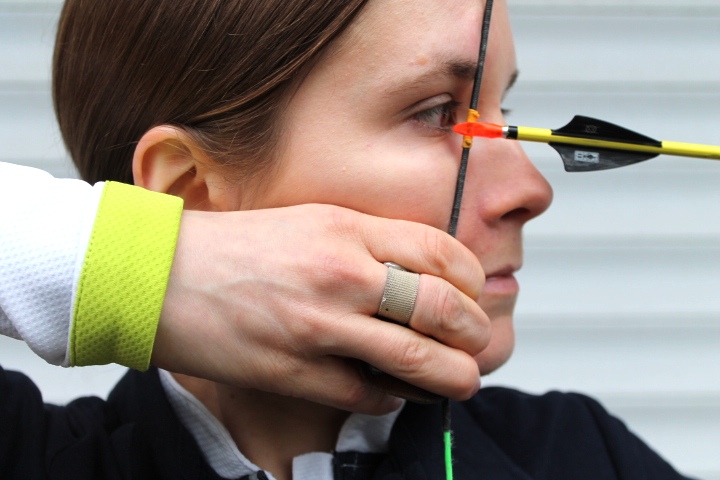
When you switch from recurve, the first technical changes you introduce are: hook moves under the arrow, and anchor moves higher to help create a better aiming picture. The best starting anchor position is directly under and along the natural contour of your cheekbone: it is more solid and repeatable, and ensures your drawing arm is in line and that your string picture stays inside the riser.
In gap shooting, you have a fixed anchor and a fixed hook position on the string (eg under the cheekbone + hook directly under the arrow); you will be sighting the arrow tip outside the target centre to find the gap for every distance you shoot, until you find your ‘point on’ distance (where you aim in the middle and hit the middle).
The average ‘point on’ distance range is between 30 and 45 metres. ‘Point on’ is individual and depends on many factors, bow poundage and arrow length being just a couple of the deciding variables. The shorter the distance, the lower the point of aim (under the target centre); the longer the distance, the higher the point of aim.
Facewalking with fixed three-under hook
If you change the anchor (facewalk), you change the angle of the arrow’s launch. For example, if shooting at 50m with your current anchor and set-up you can only reach that distance by aiming above the target, lower your anchor or switch to Olympic-style anchor (and/or hook) to create a steeper angle in order to aim at the target and reach it. That is the basic premise of facewalking – the facial mark ‘walks’ up and down the face (sometimes closer to/farther away from the lip) to create a different angle and picture.
Choose facial marks higher on the face for shorter distances (closer to the eye) and lower on the face for longer ones (farther from the eye). Sacrificing a reliable anchor, switching from one facial mark to another intermittently, will prove to be unreliable and frustrating. Best to select and stick to one linear, hard tissue facial mark for a while (such as cheekbone, jawbone, teeth).
In stringwalking, typically the archer will have a fixed anchor and a different hook position on the string. Here, like the sight pin, the arrow tip is always on the gold, unless you need to compensate against wind. Your finger position will ‘walk’ up and down the string to affect the angle of the arrow’s launch. The distance between the arrow nock and the hook is known as ‘the crawl’.
Every stringwalker will have a different ‘fixed crawl’ for each distance they shoot. The closer the distance – the lower the crawl, the hook moves down (away from the nock); the further the distance – the shorter the crawl, the hook moves up (towards the nock).
Experienced stringwalkers will always look for the smallest ‘crawl’ possible, because it is best for their equipment long term.
NOTE: stringwalking works well with modern recurve equipment, so do not try this with a longbow or other traditional bows as they cannot withstand the unbalancing stresses. Opt for a fixed split or three-under hook and a ‘facewalking/gap shooting’ combination instead. To sum up, when you are switching from recurve and wish to continue following your aiming habits, sighting in the middle, then stringwalking, is your best method.
To Start: Equipment
To get the best performance out of your set-up and minimise the possibility of equipment damage, change your tiller to ‘neutral’ and start by shooting with your hook directly under the arrow, ensuring your set-up feels balanced. As you ‘walk’ down the string, change your tiller to negative: lower limb bolt out; upper limb bolt in.
Provided you have the right amount of balancing riser weight, you will always sense the amount of tiller adjustment you need: look out for changes in your bow grip pressure point and the top limb ‘kickback’. This will help you ensure that both limbs are working in sync.
Remember to listen for those quiet shots; ask someone to help you listen to your bow as you shoot and always check your brace height. Make sure that you write down all the changes to the tune of your equipment and technical configurations for each distance – it will be easier to keep track and make sense of the process.
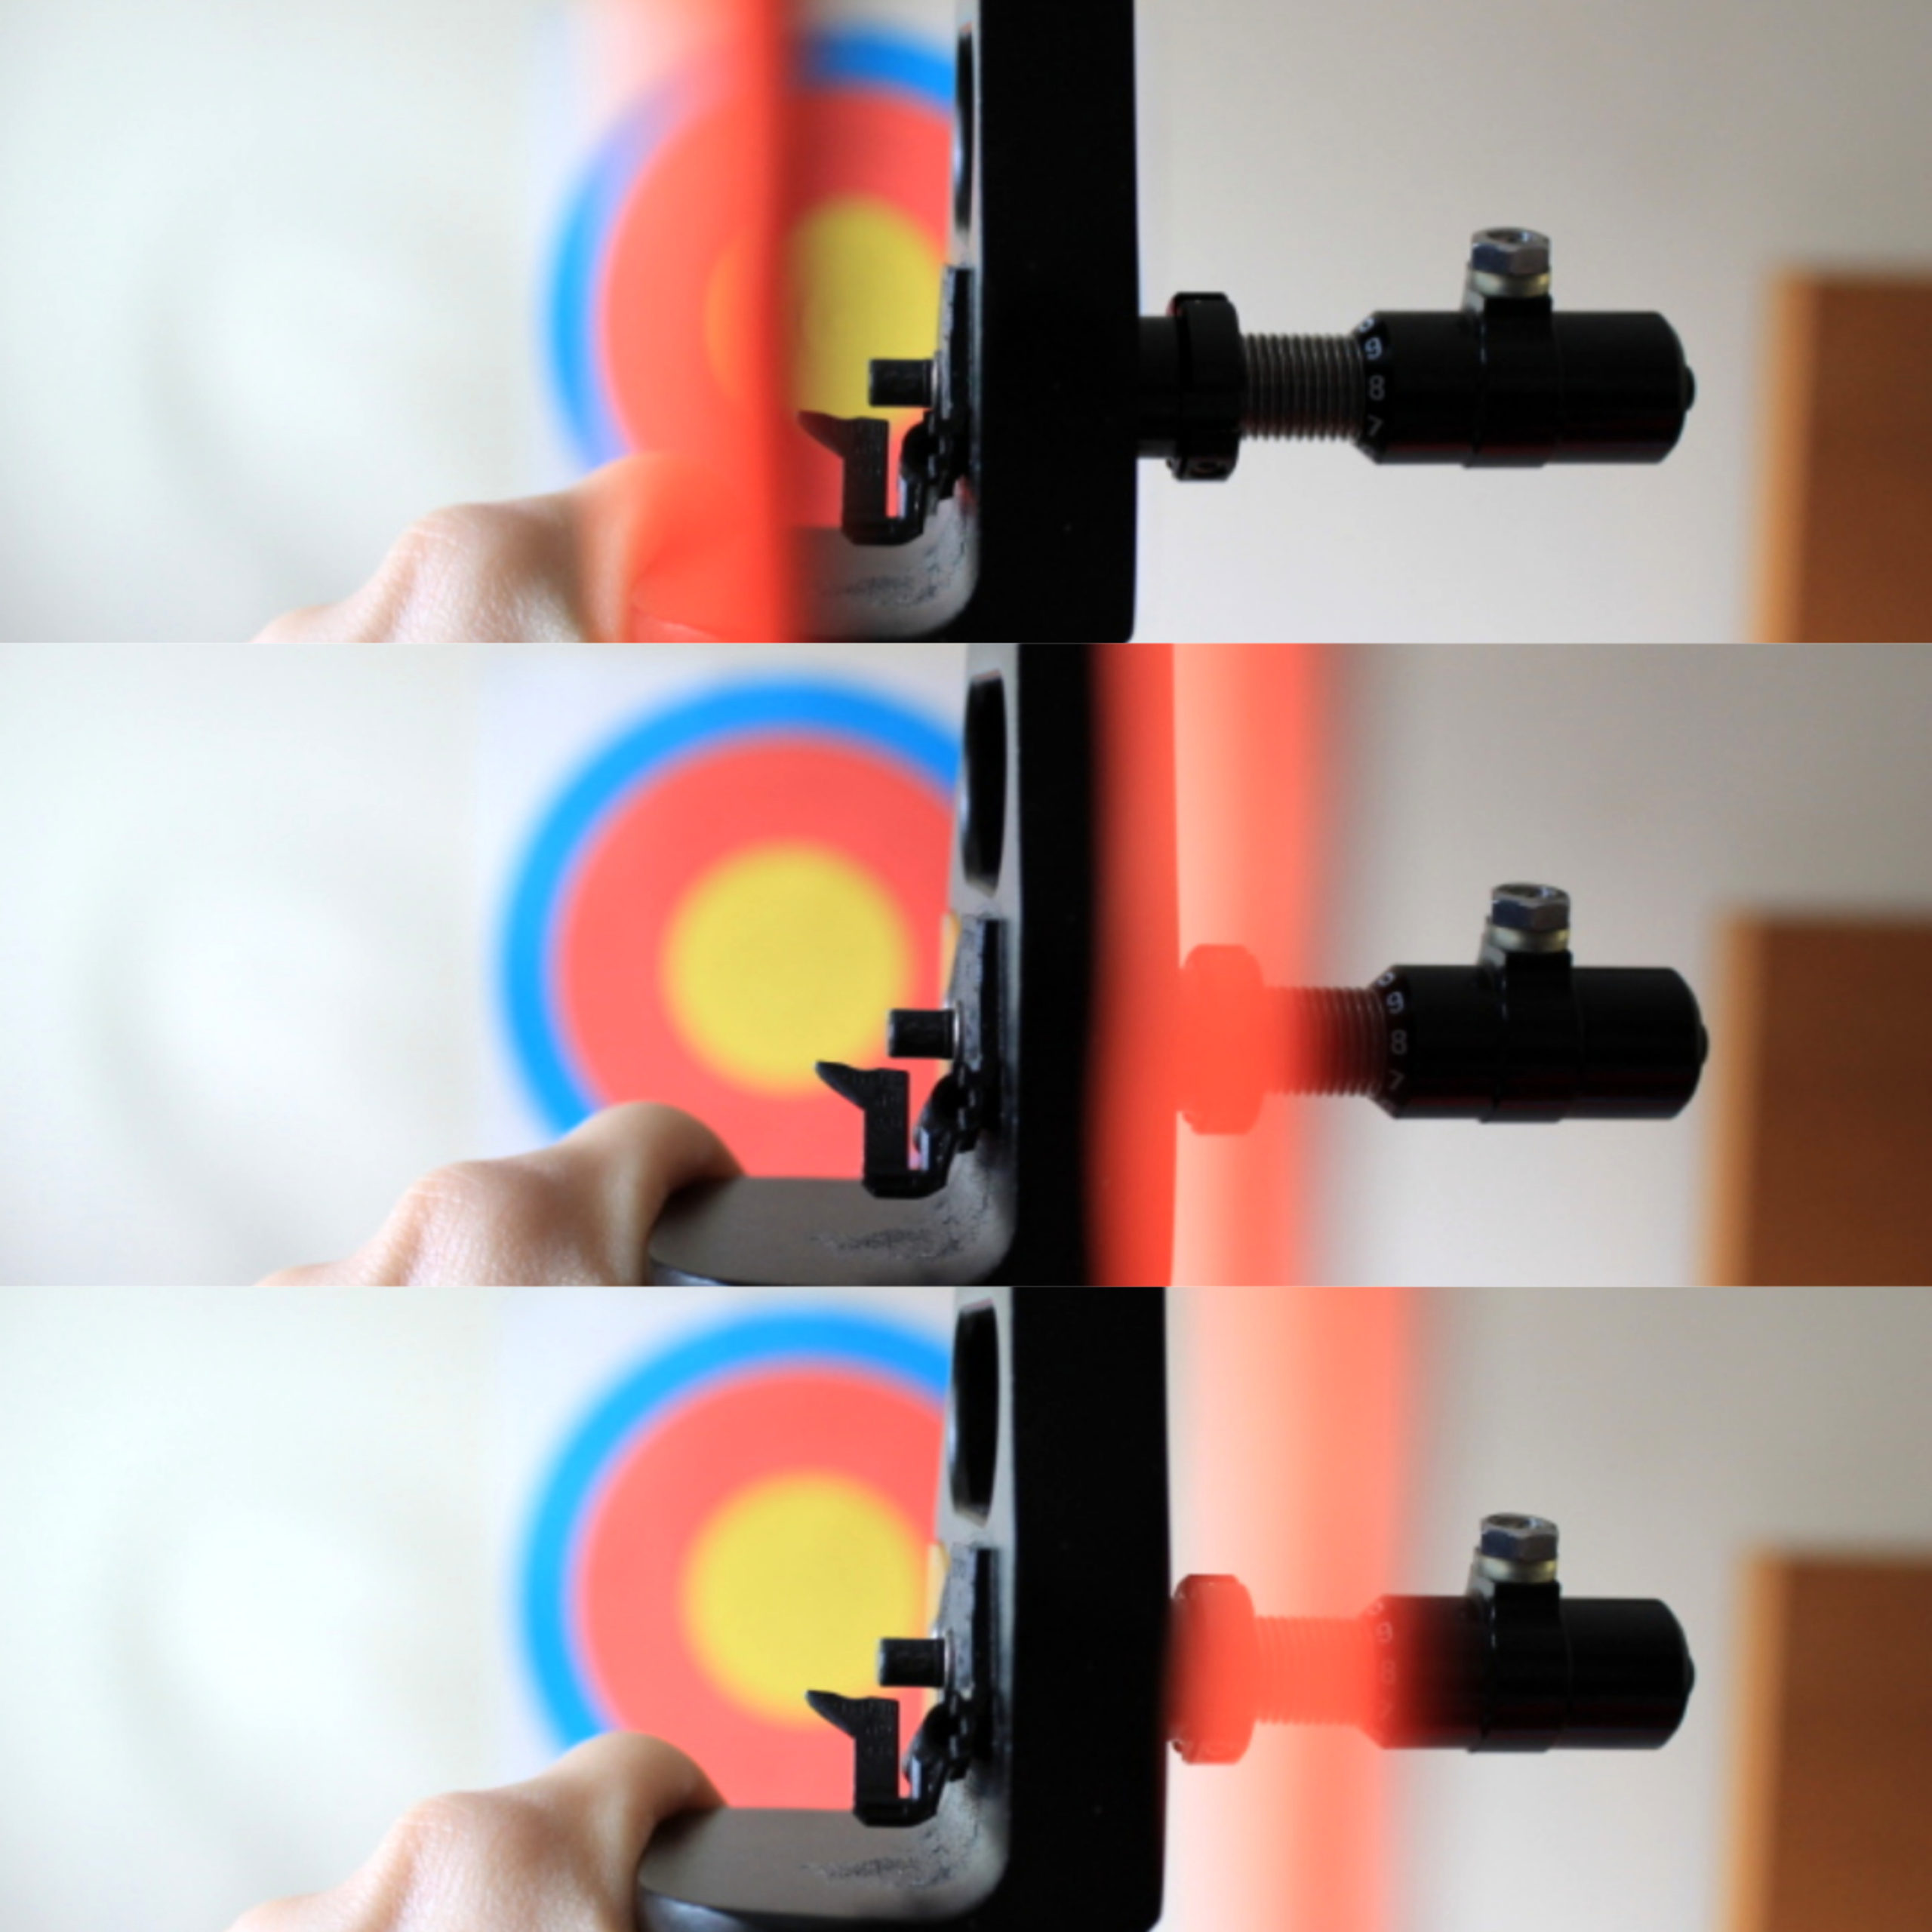

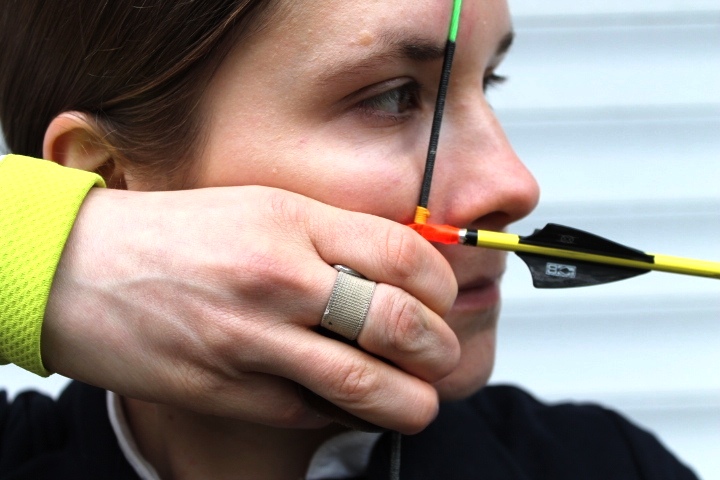
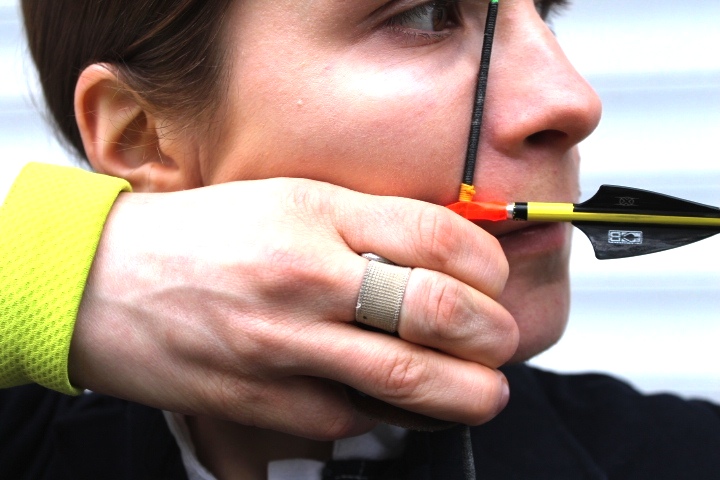
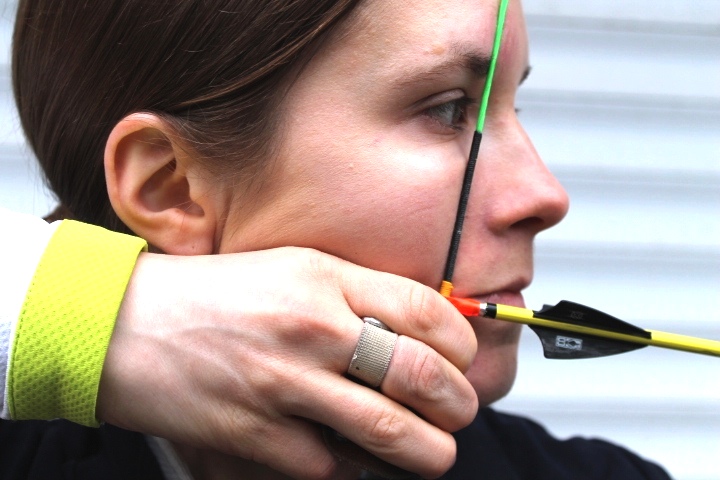
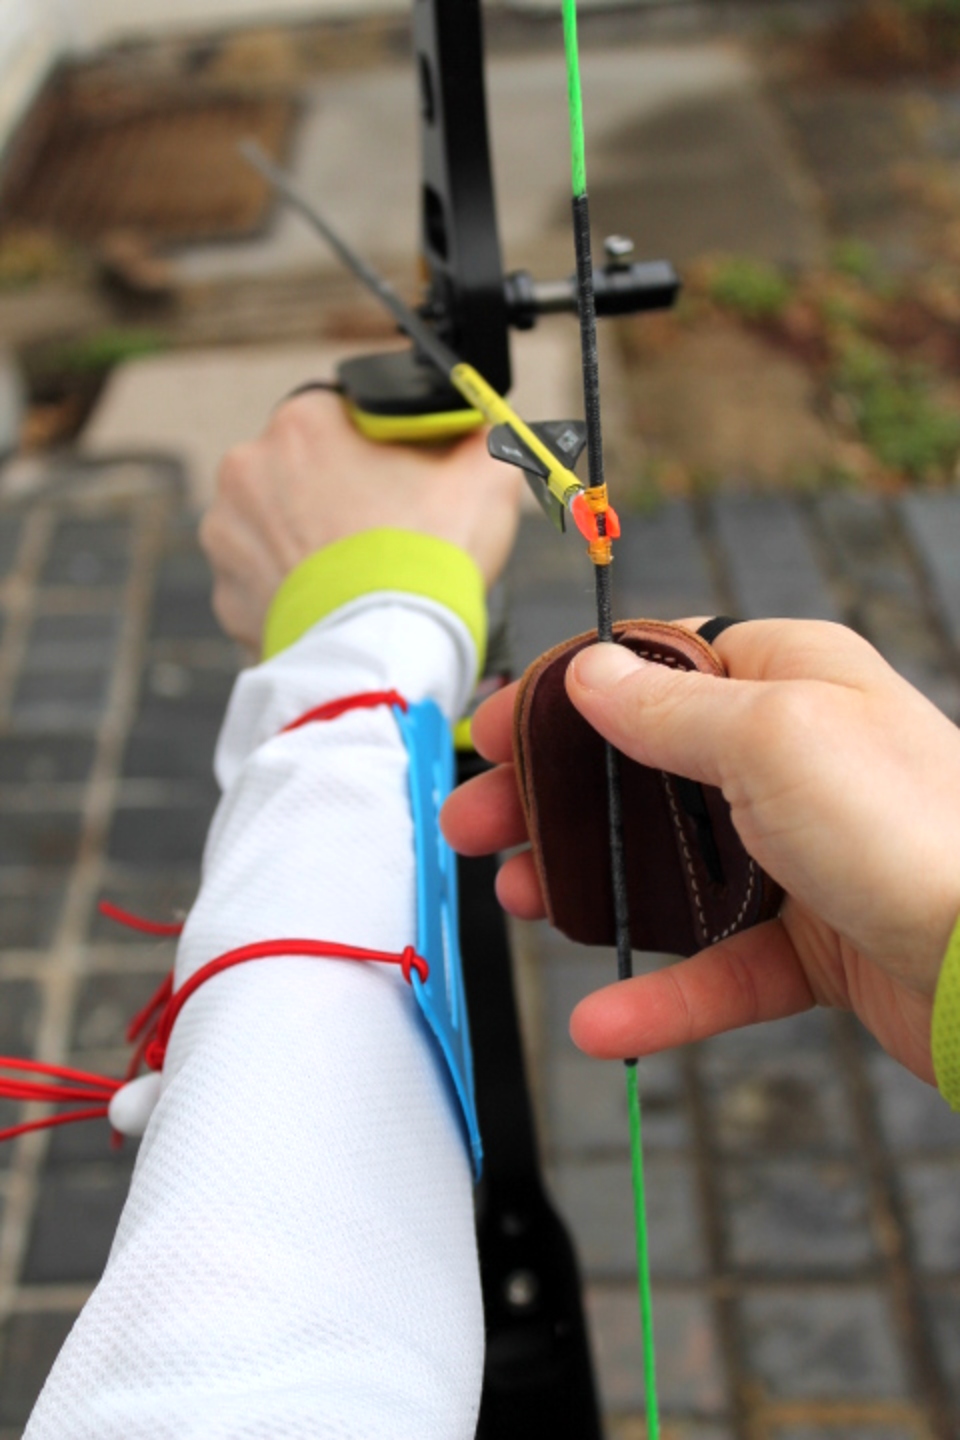
The TOP three are bad examples of string picture: check form, head position and anchor
BOTTOM three pics show good string picture: along the arrow, along plunger, along the riser
Equipment: String and Nocking Points
Rules around the bowstring are straightforward, but it is worth mentioning that the height of the central serving must extend above your eye level, so it cannot assist aiming in any way. In order to reduce the ‘crawl’ indoors, some archers will use longer arrows and install their nocking points slightly higher, so that the arrow tip is pointing lower.
Be careful doing this because it will increase the pressure exerted by the arrow shaft onto the arrow rest and could increase the arrow ‘bounce’, wearing out the rest much quicker. A shorter arrow is preferred outdoors, with nocking points set at a regular height.
Equipment: Barebow Tab

Tab with uniform threads 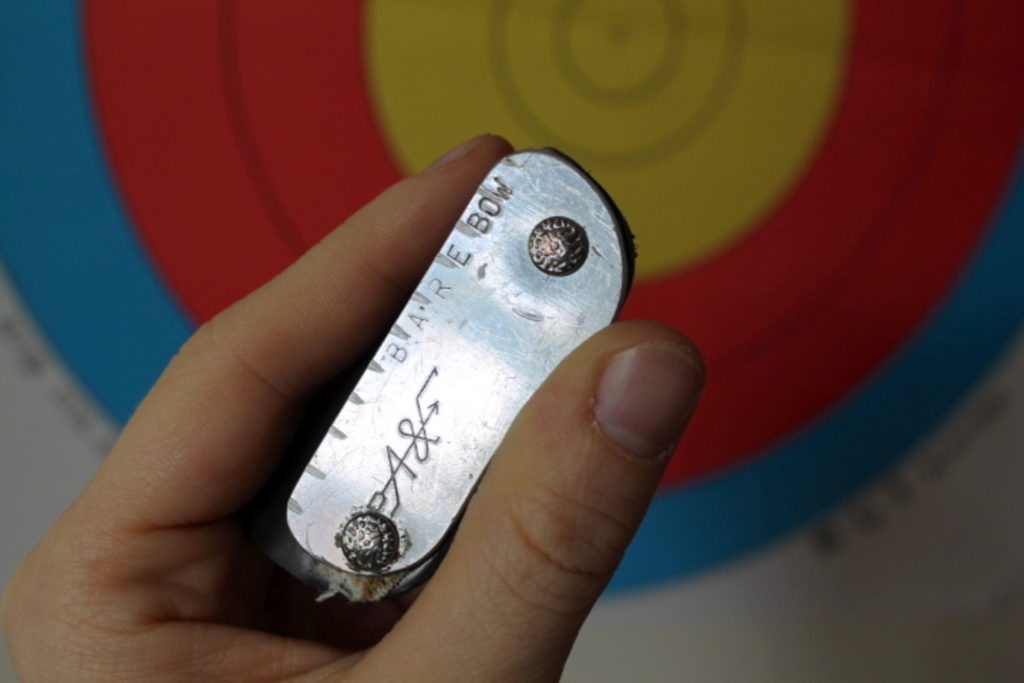
Single line laser-marked tab
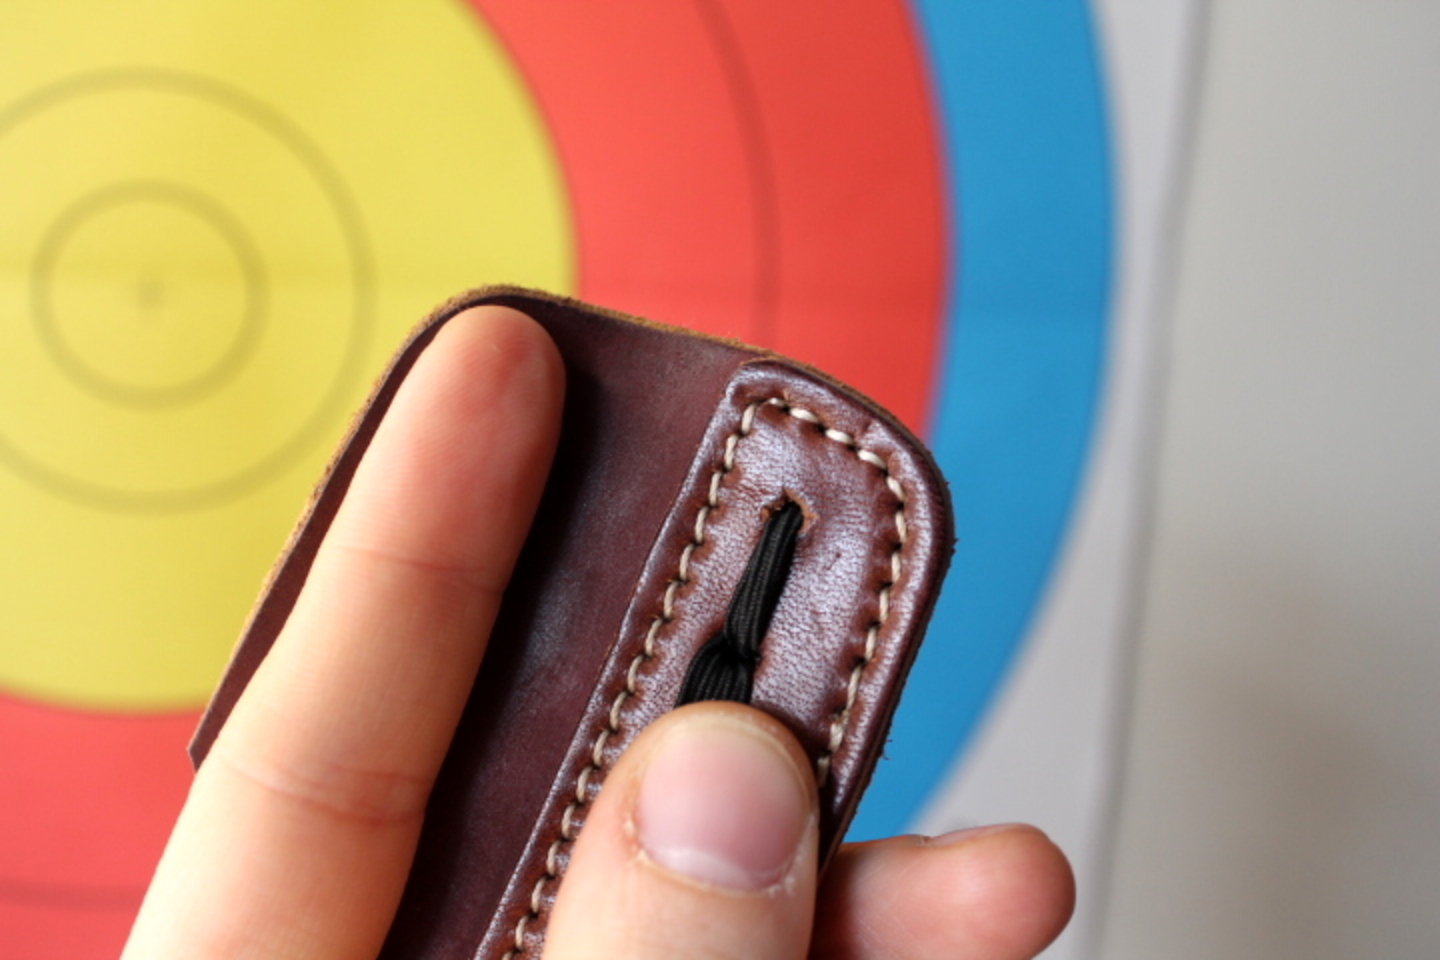

A marked or lined finger tab is what makes stringwalking possible and repeatable. The most important requirement is that if you have the stitching, the thread must be “uniform and the same in size and colour; marks or lines can be added directly to the tab or on a tape placed on the face side of the tab; there can be no more than two lengths in each case”. You are welcome to use your existing recurve tab; however, it is best to take the spacer and the anchor plate off to help you find a deeper, more solid anchor. Spacers and plates are permitted under WA regulations.
For a full description of barebow division equipment specifications, please consult the following World Archery Rulebooks: Book 3, Target Archery, Chapter 11.4; Book 4, Field and 3D Archery, Chapter 22.3.
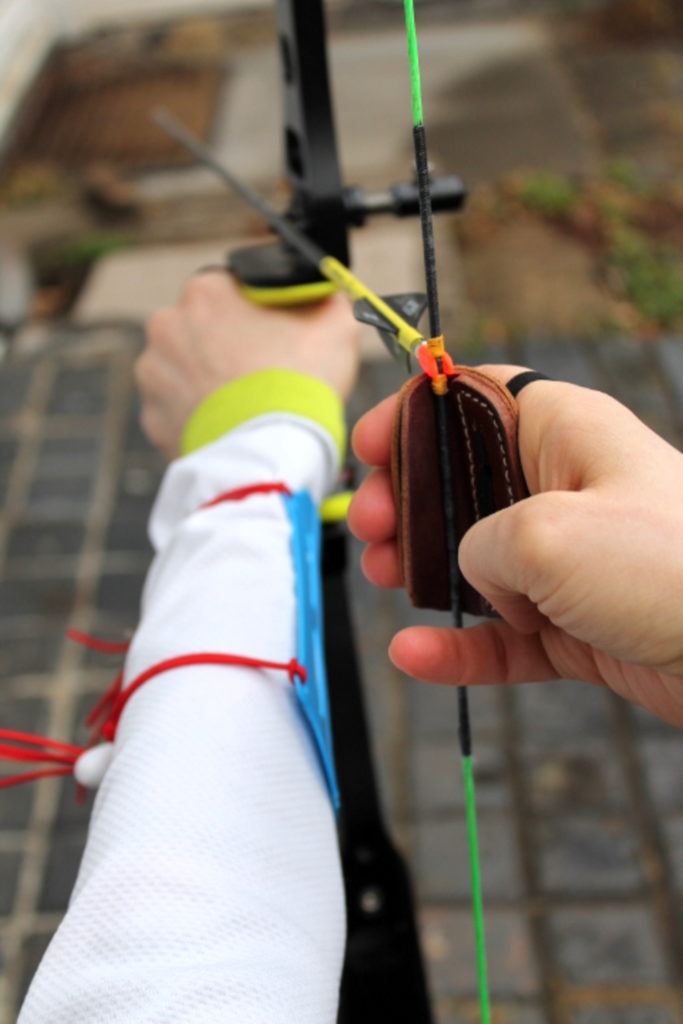
1: Make sure the hook is placed directly under arrow 
2: Count marks: dig thumbnail lightly into serving thread

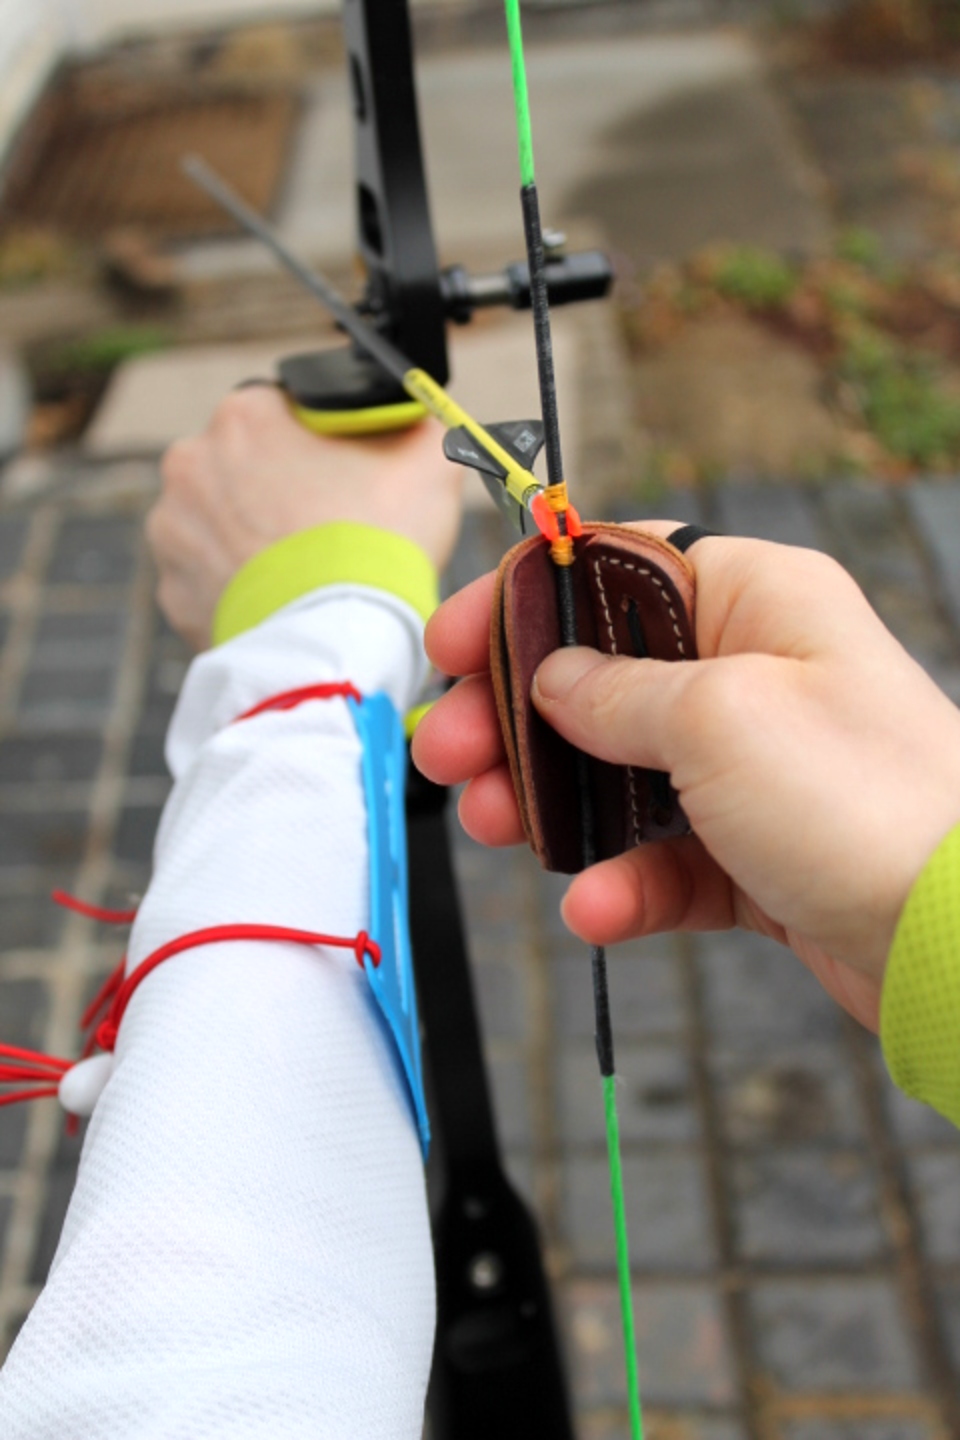
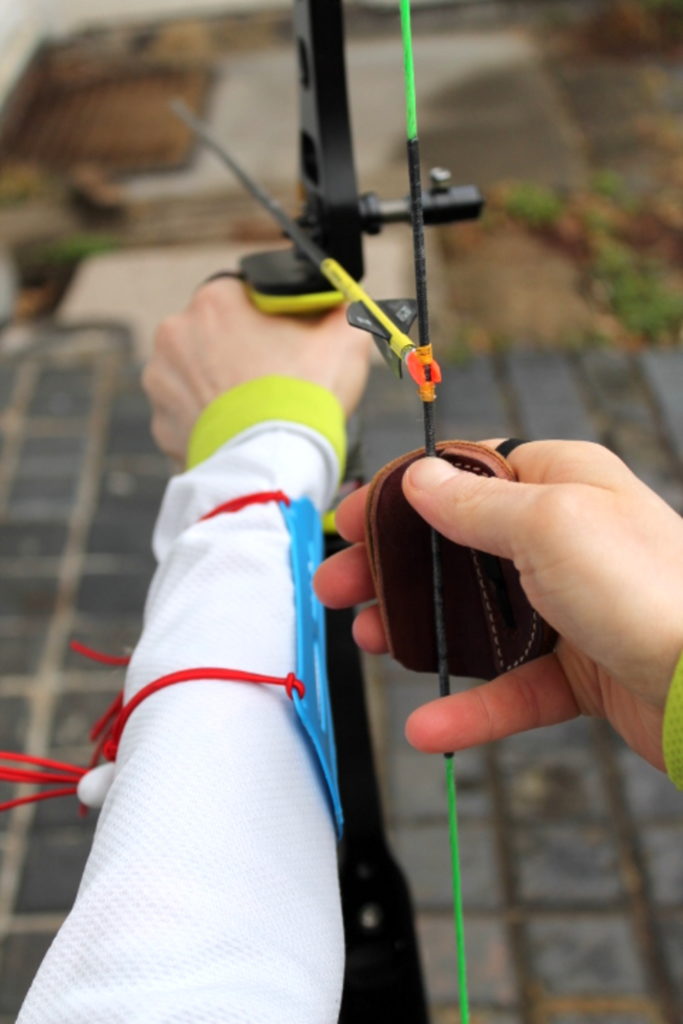
3: Maintain nail pressure, transfer hook under it 
4: Lightly pre-draw to maintain hook position

Fix Your First Crawl
Step 1. Find your ‘Point-on’
Set your target at 30m, use a 122cm FITA target face – shot by barebow archers at 50m, recurve at 70m. Set tiller to ‘neutral’, anchor under cheekbone, hook directly under the arrow, aiming in the middle. Shoot a few ends to find group consistency and take notes. If you hit 12 o’clock black or white, move target forward by 5m and your group will begin to drop on the next round.
Continue to move your target by 1m each successive end until you find your ‘point-on’. My personal ‘point-on’ with under-cheekbone anchor is at 48m. It is unlikely that you will hit under – nevertheless, do check that your anchor is not too high. Alternatively, when alone on the range: fix the target at 50m, lay down the ground-measuring tape and walk back by 30m.
If you hit higher in the black or white, just step back by 5m and shoot again to see how the group drops. Continue to move back by 1m, repeating the process until you find your ‘point-on’. It is useful to know your ‘point-on’ to understand the limits of your set-up, so you can introduce the necessary changes to minimise your ‘crawl’. Plus, there will be less stress in competition because your ‘point-on’ will likely end up around the longest distance and require no ‘crawl’.
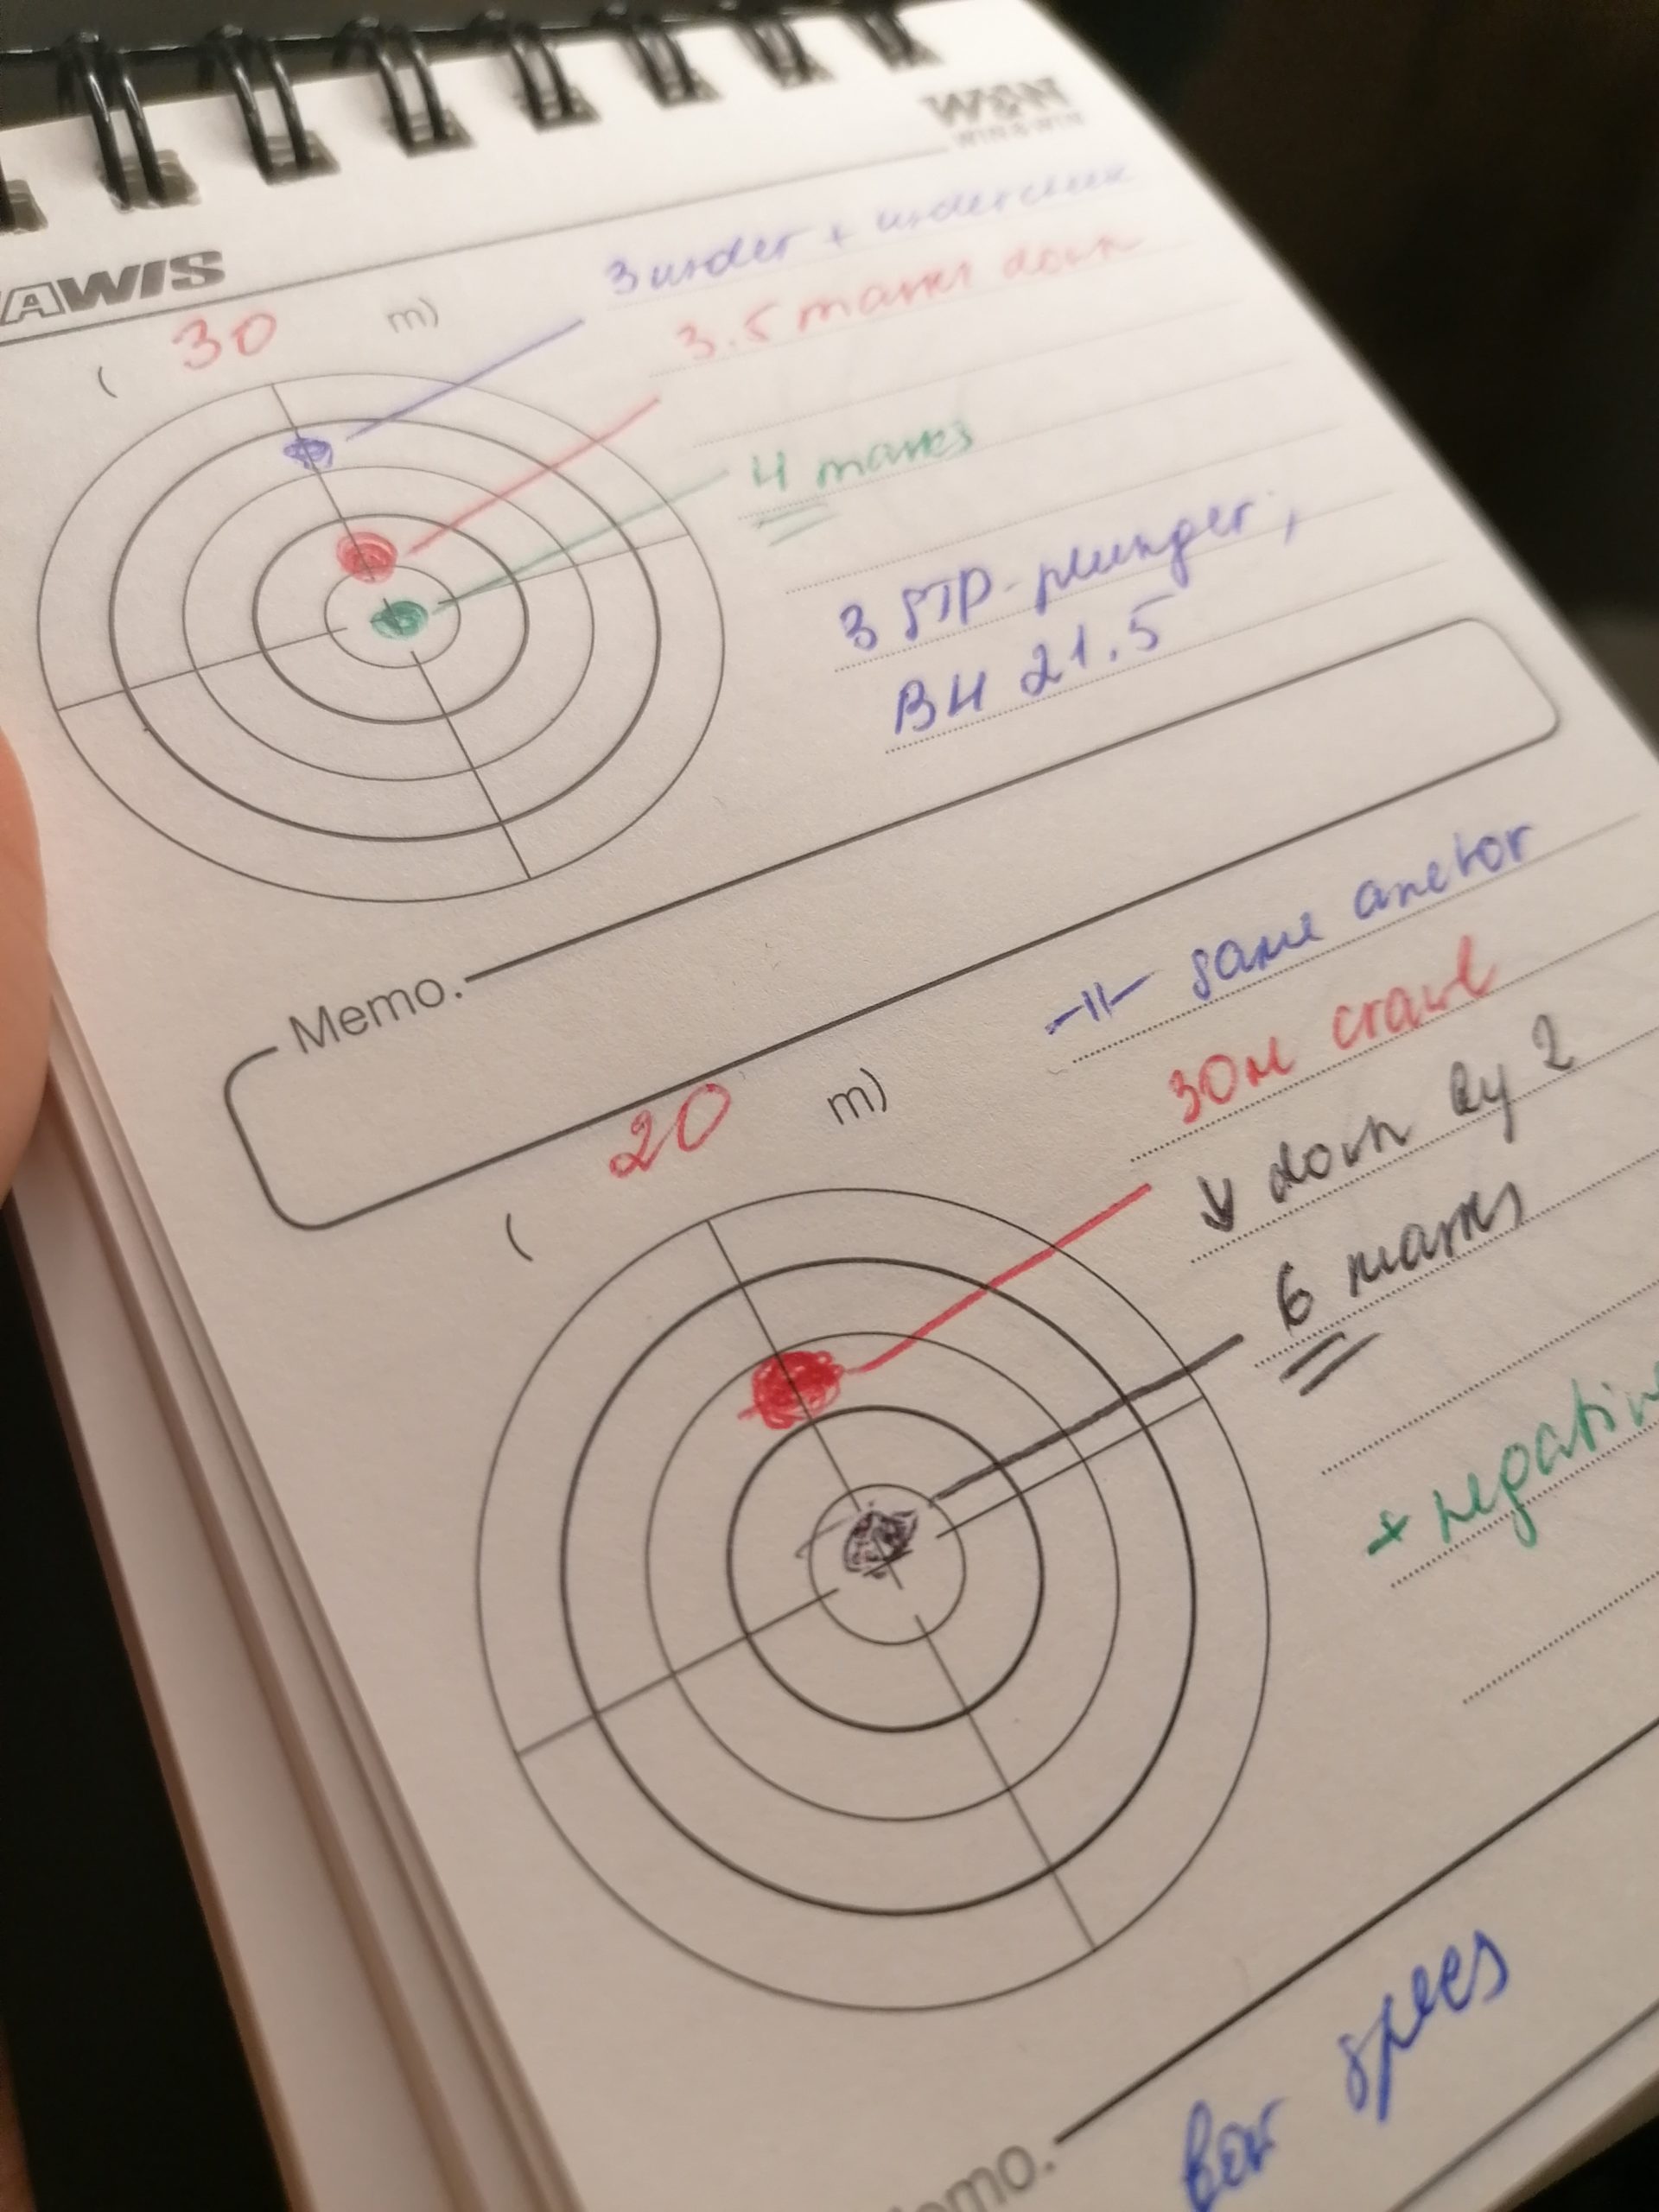
The three photos below show my personal ‘crawls’ for different distances. For the 20m crawl, I will lower my anchor to minimise the gap.
20m crawl 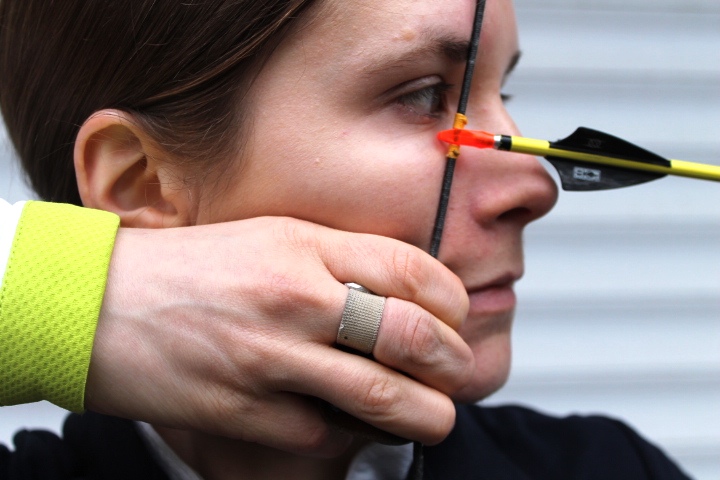
30m crawl 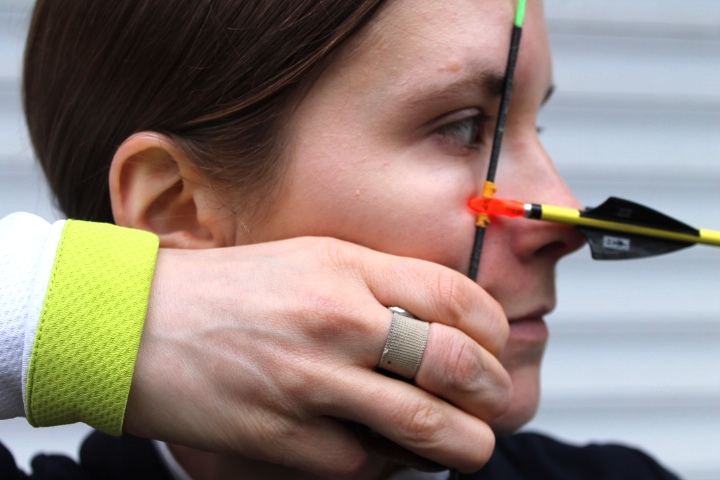
40m crawl
Step 2. Find Your Crawl
The 122cm FITA target has 10 rings; each colour has two, inner and outer. Most tabs have two lines: longer marks and half marks. For the sake of your experiment keep things simple: full mark = full colour ring; half mark = one ring within each colour.
With single-line tab, sight at the base of gold if you group halfway, or purchase the two-mark barebow tab tape. With threads: two threads = full colour ring; one thread = one ring. After you find your ‘point on’, return to 30m and shoot again in the original configuration. Note the colour where you group, then walk down the string.
For example, if you group 12 o’clock outer black, count three full colours and one half from the centre. You ‘walk’ down your string by 3.5 measures and shoot again. If you group just above gold, add another half measure or sight around the base of gold to minimise the gap.
You have fixed at 30m ‘crawl’. Note any disbalancing in your bow/pressure point and adjust the tiller. If you hit left or right, check string alignment, form, plunger. Next, move to 20m and begin shooting with your 30m ‘crawl’ as baseline; continue noticing group trends, take notes and make adjustments. Use 30m ‘crawl’ as baseline for 40m – the arrow will drop below centre.
Apply the same colour counting principles and move your hook up. For 50m move your hook all the way up to the arrow nock again. If you cannot reach the target, facewalk down, anchor over/under jaw. Be more cautious when finding the first ‘crawl’ indoors. Study the basic principles of aiming methods, your equipment specs and then decide how many marks you will use.
It is a simple, straightforward process; the key is to be methodical and patient. Once you understand the application for one distance, you will have no trouble applying the principle to others. Just take a lot of notes!
Thank you for such an awesome explanation. I’ve just moved to recurve barebow from compound and prefer stringwalking. I don’t get to shoot much and have struggled to find my crawls, I’m going to try this method. Thank you
My absolute pleasure, Andy! I am happy that you found it useful. Enjoy your barebow journey!
Hi great explanation. I started archery 6months ago (Olympic recurve) however I couldn’t get on with it. So six weeks ago I reverted to barebow which I enjoy much more. Then started shooting indoors and am struggling. I believe my bow was set up with positive tiller. After reading your advice , I am going to set up with a neutral tiller and see what happens. I am hopefull this will help. Thanks again Lou
Fantastic, thank you for the kind words and I wish you all the best in your shooting!
Would stringwalking be detrimental to a modern glass, wood/G10 RD longbow equipped with vibration dampening materials (in this case brush buttons and never balls)? Typically I shoot within 20 yards with a relatively instinctive method of gap shooting (I don’t use rings or any other fixed reference point). Recently, however, I’ve become interested in more precise shooting for league. Thanks!
I have owned about 80 bows, many for specific purposes. I just got a 66 inch ILF takedown for about 250 dollars.
Just buy another bow for barebow league.
Agree! If you shoot wooden bows, you will stress the lower limb more and possibly even cause damage to it. Stringwalking with anything other than a barebow riser will also have an effect on your arrow flight. Get a barebow riser with adjustable tiller so you can experiment with different combinations and crawls.
We have a 13 yo first year shooter. He is learning string walking but the current set up means his tab touches the bottom of the nock for 21 yards. During 3-d competitions there will be shots it to 25 to 26 yards. How do we help him get the extra yardage?
Thank you for the message. I think it will be useful for him to see a good coach to ensure he has good technique, then looking at the equipment. Ensure he does not shoot a bow that is too strong too soon, as this will only ruin his form. After working with a coach, look into adding poundage; I would recommend adding it carefully, 2 lbs increments at a time (especially after he reaches 26lbs). This is always individual, so it is best to continue to work with a coach who can ensure that his technique does not suffer as a result of inappropriate equipment.
If he wants to shoot longer distances with the current equipment set-up, you can try an Olympic style split finger tab, with an Olympic style anchor (this will launch the arrow at higher angle, and allow him to still aim at the target at longer distances)