
In the Netherlands, Stefan Tim has been building something very special
As an archer, the yumi has always been fascinating to me. The Japanese bow has a unique design. With the distinctive curves and asymmetrical shape, I could not imagine how these bows would shoot and perform.
I decided the only way to find out was to learn kyūdō, the Japanese archery form, in a dojo. Because of a long draw and lots of reflex, the bows have a large amount of energy stored. Combined with a snappy release, the power can be amazing. Of course, there are other factors involved too.
To me, shooting these bows brings me into a relaxed state of mind. All sounds and distractions fade. Still hard work, but at the same time almost meditative shooting. Hitting the target is important as it is the result of proper technique, posture and focus.
There are lots of theories as to why the yumi is asymmetrical. The most commonly cited ones is that the bows were made especially for horseback, for shooting from a kneeling position, for a long draw length and to minimize hand shock.
In many cultures, bows are developed and change over time because of materials available and subsequent cultural use. This is part of the reason the bows in Japan use bamboo and hardwood. Looking at the materials, the bamboo nodes are further apart in the upper part of the stem. This is vital to note when actually making these bows, and I think that this reason is just as likely to be as important as the others.
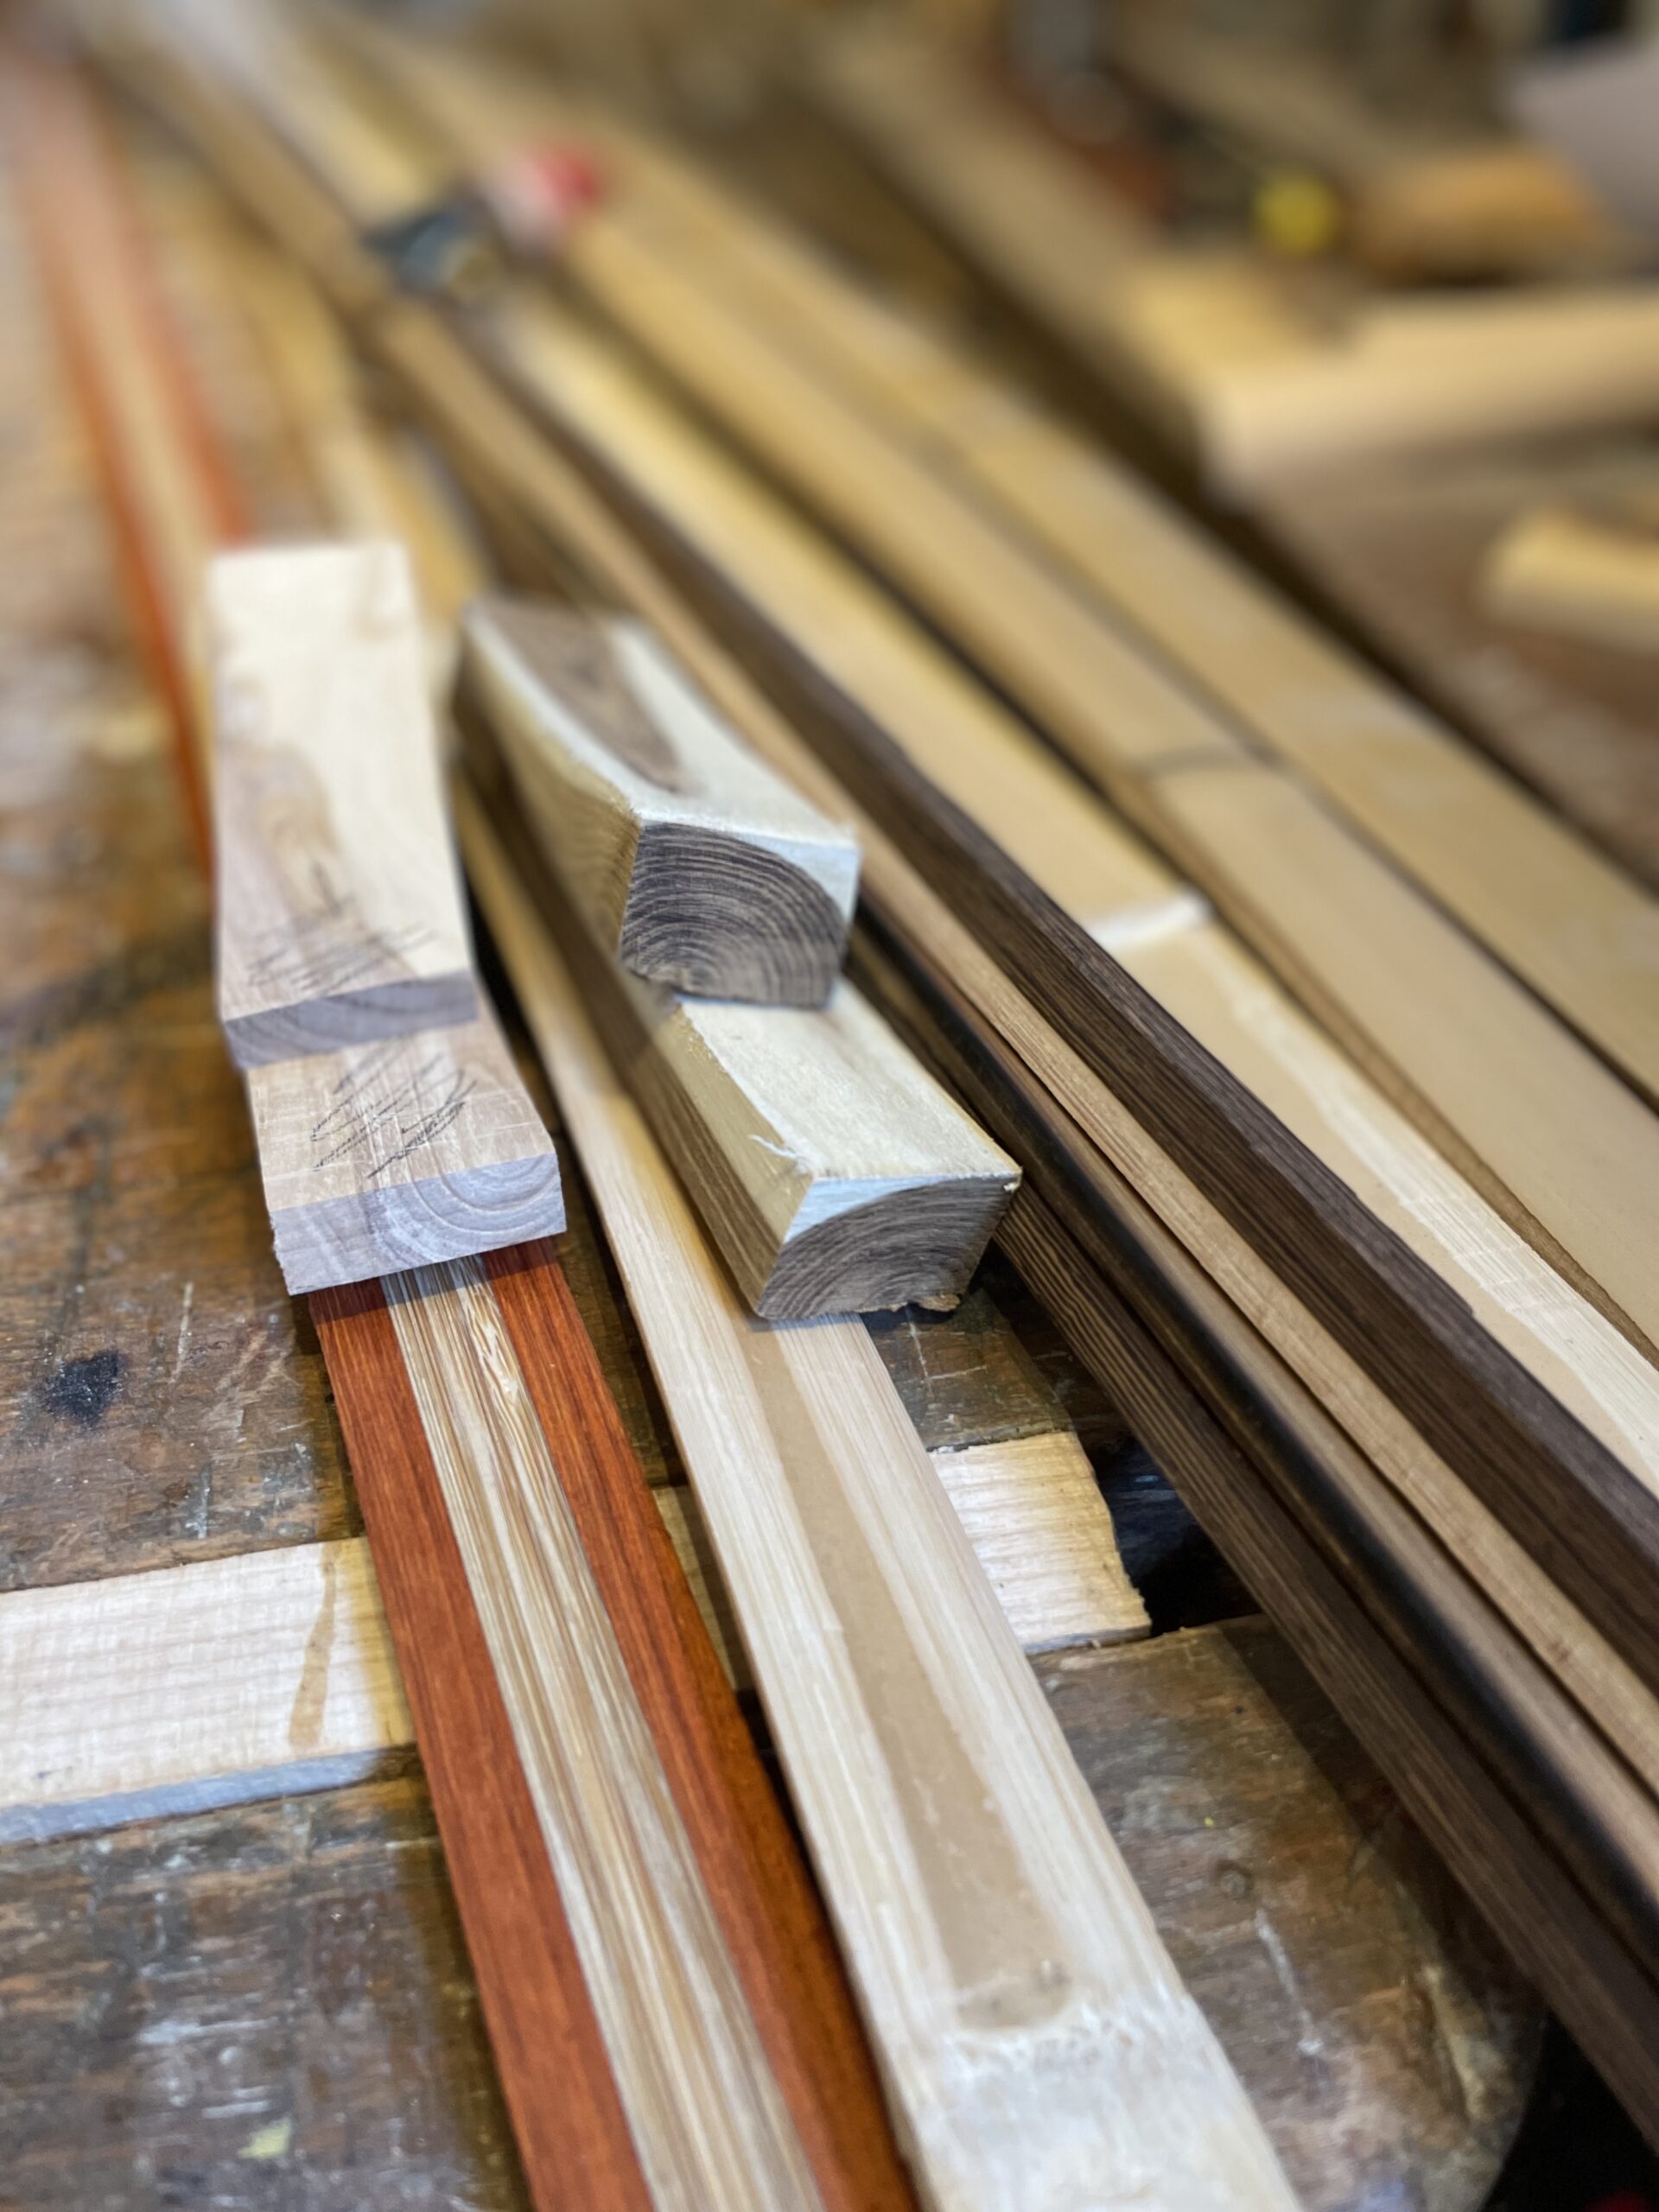
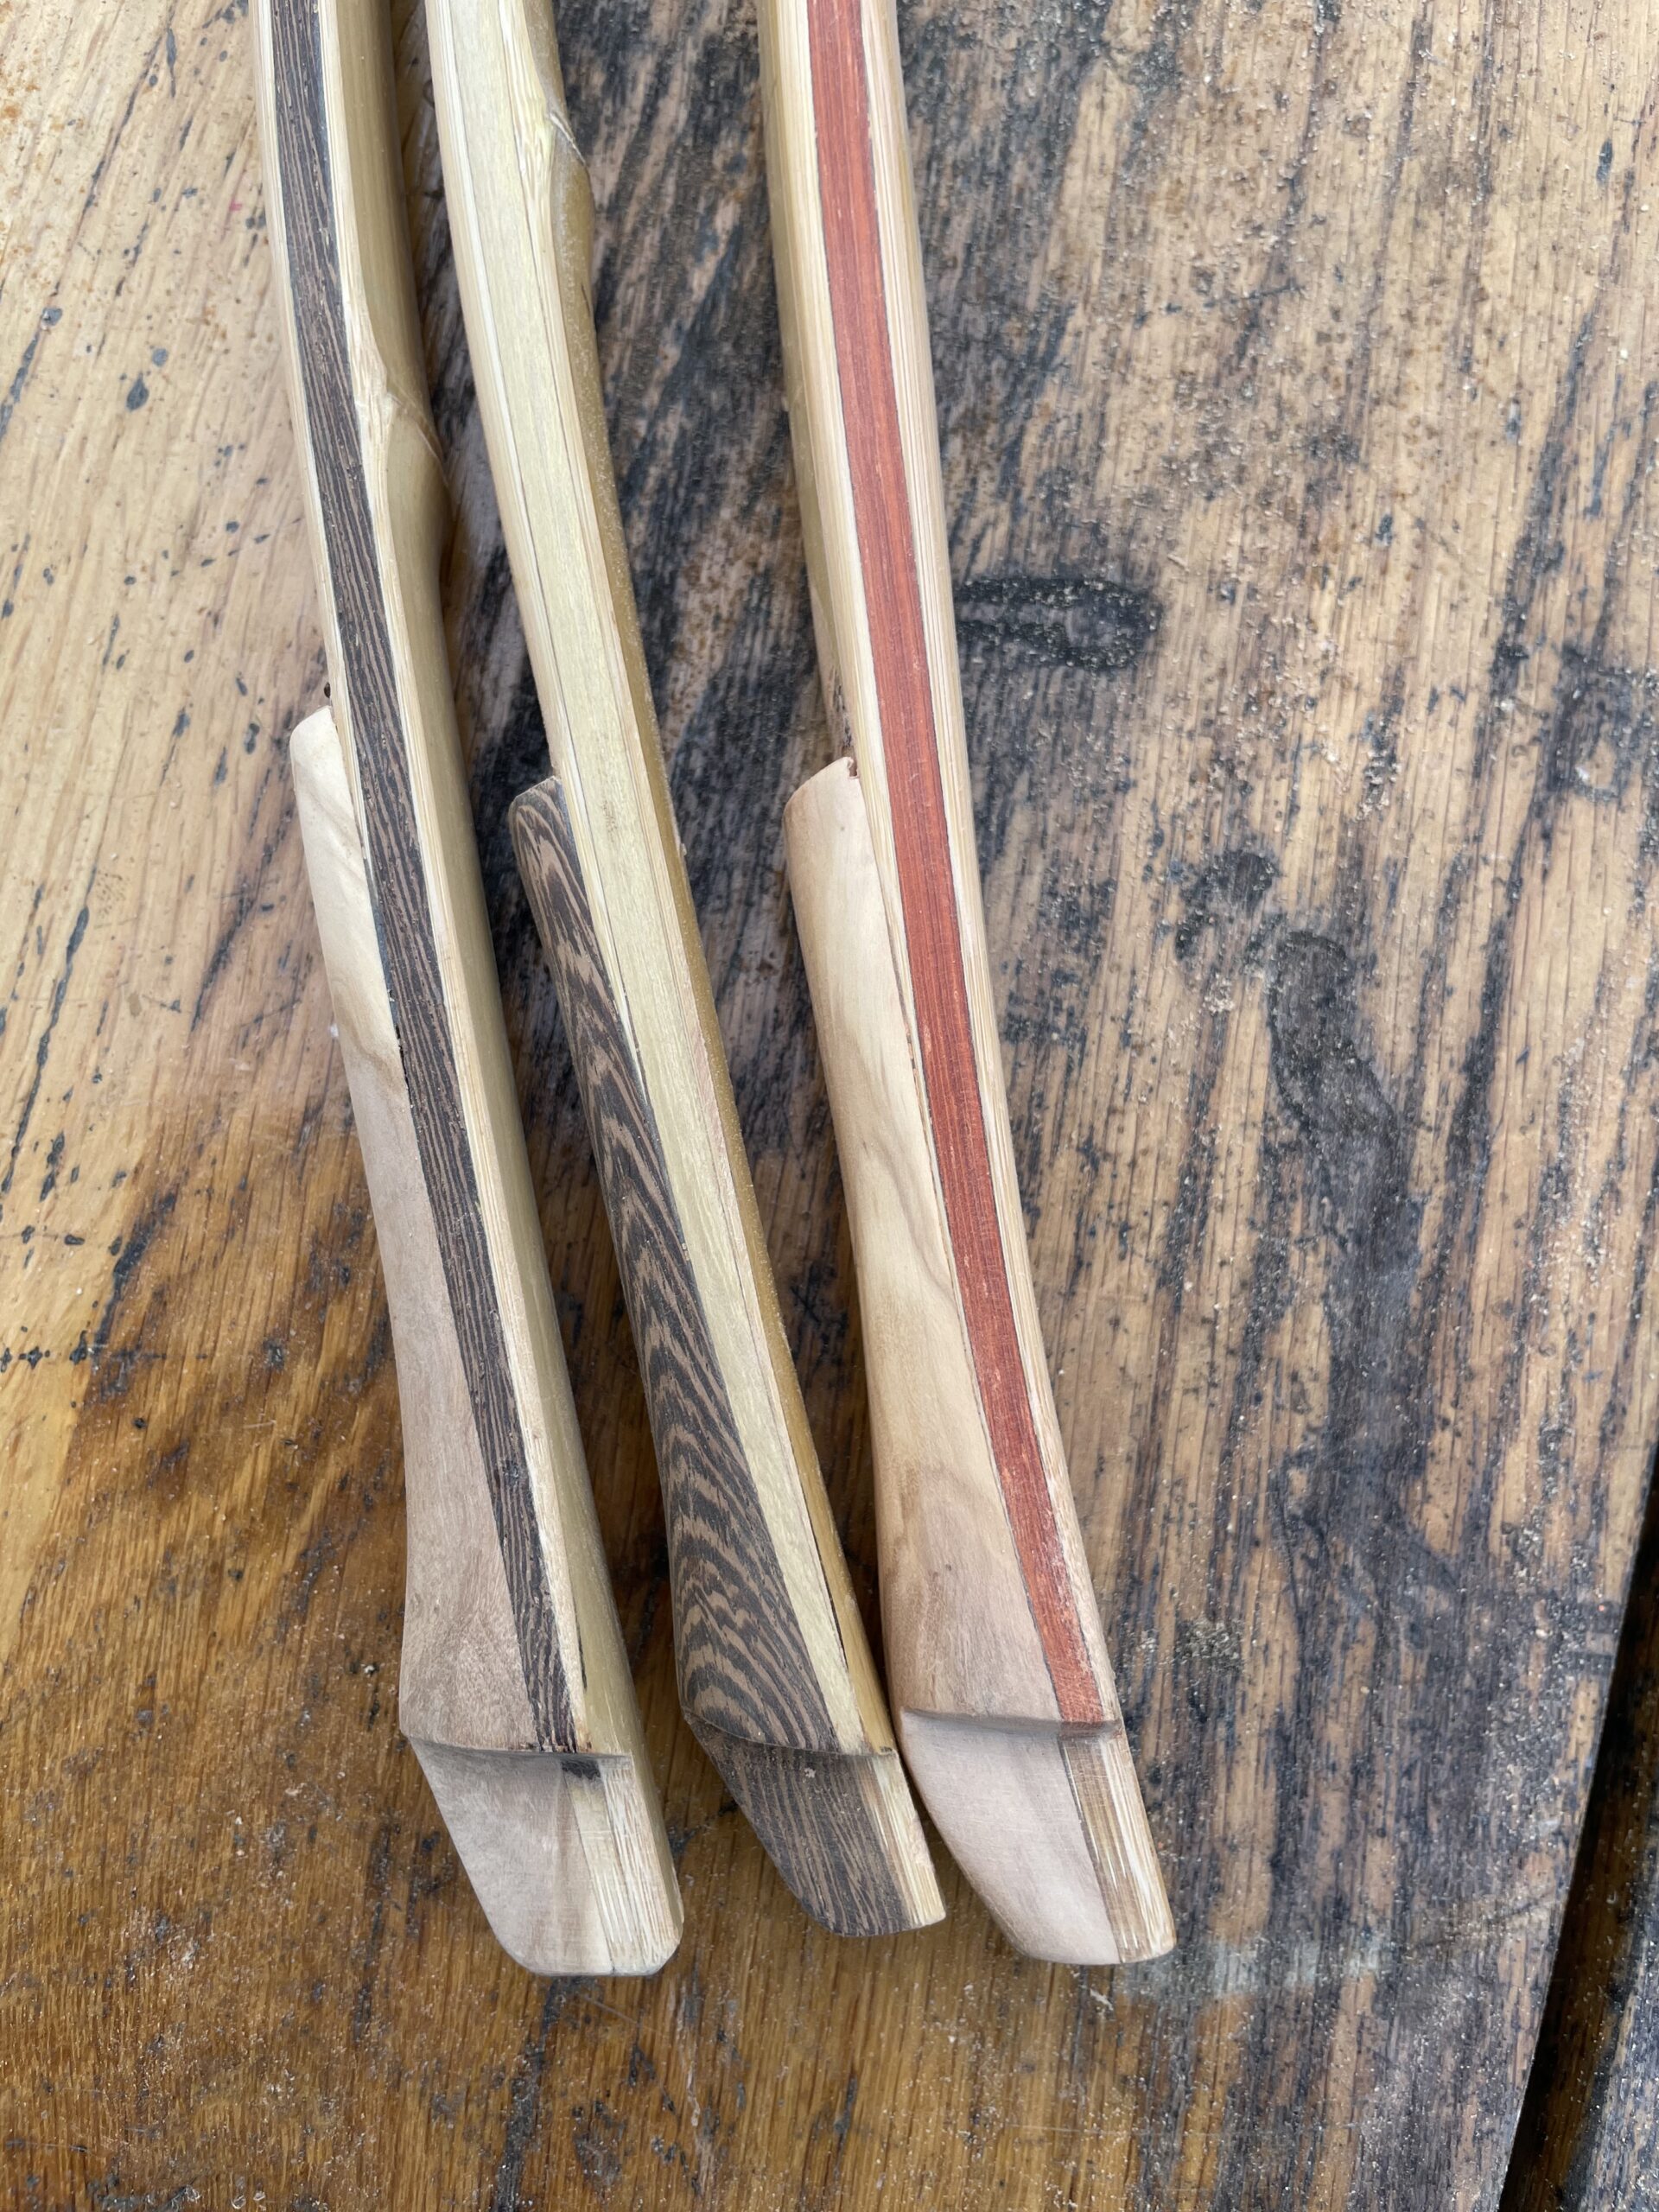
Building a yumi starts with choosing the right bamboo. Poles are split into strips and fire-hardened above a coal fire. These strips will then be planed and glued up in combination with wood, forming the core of the bow. In this case, wood on the sides and a three-strip core of bamboo in the middle, otherwise known as a sanbonhigo.
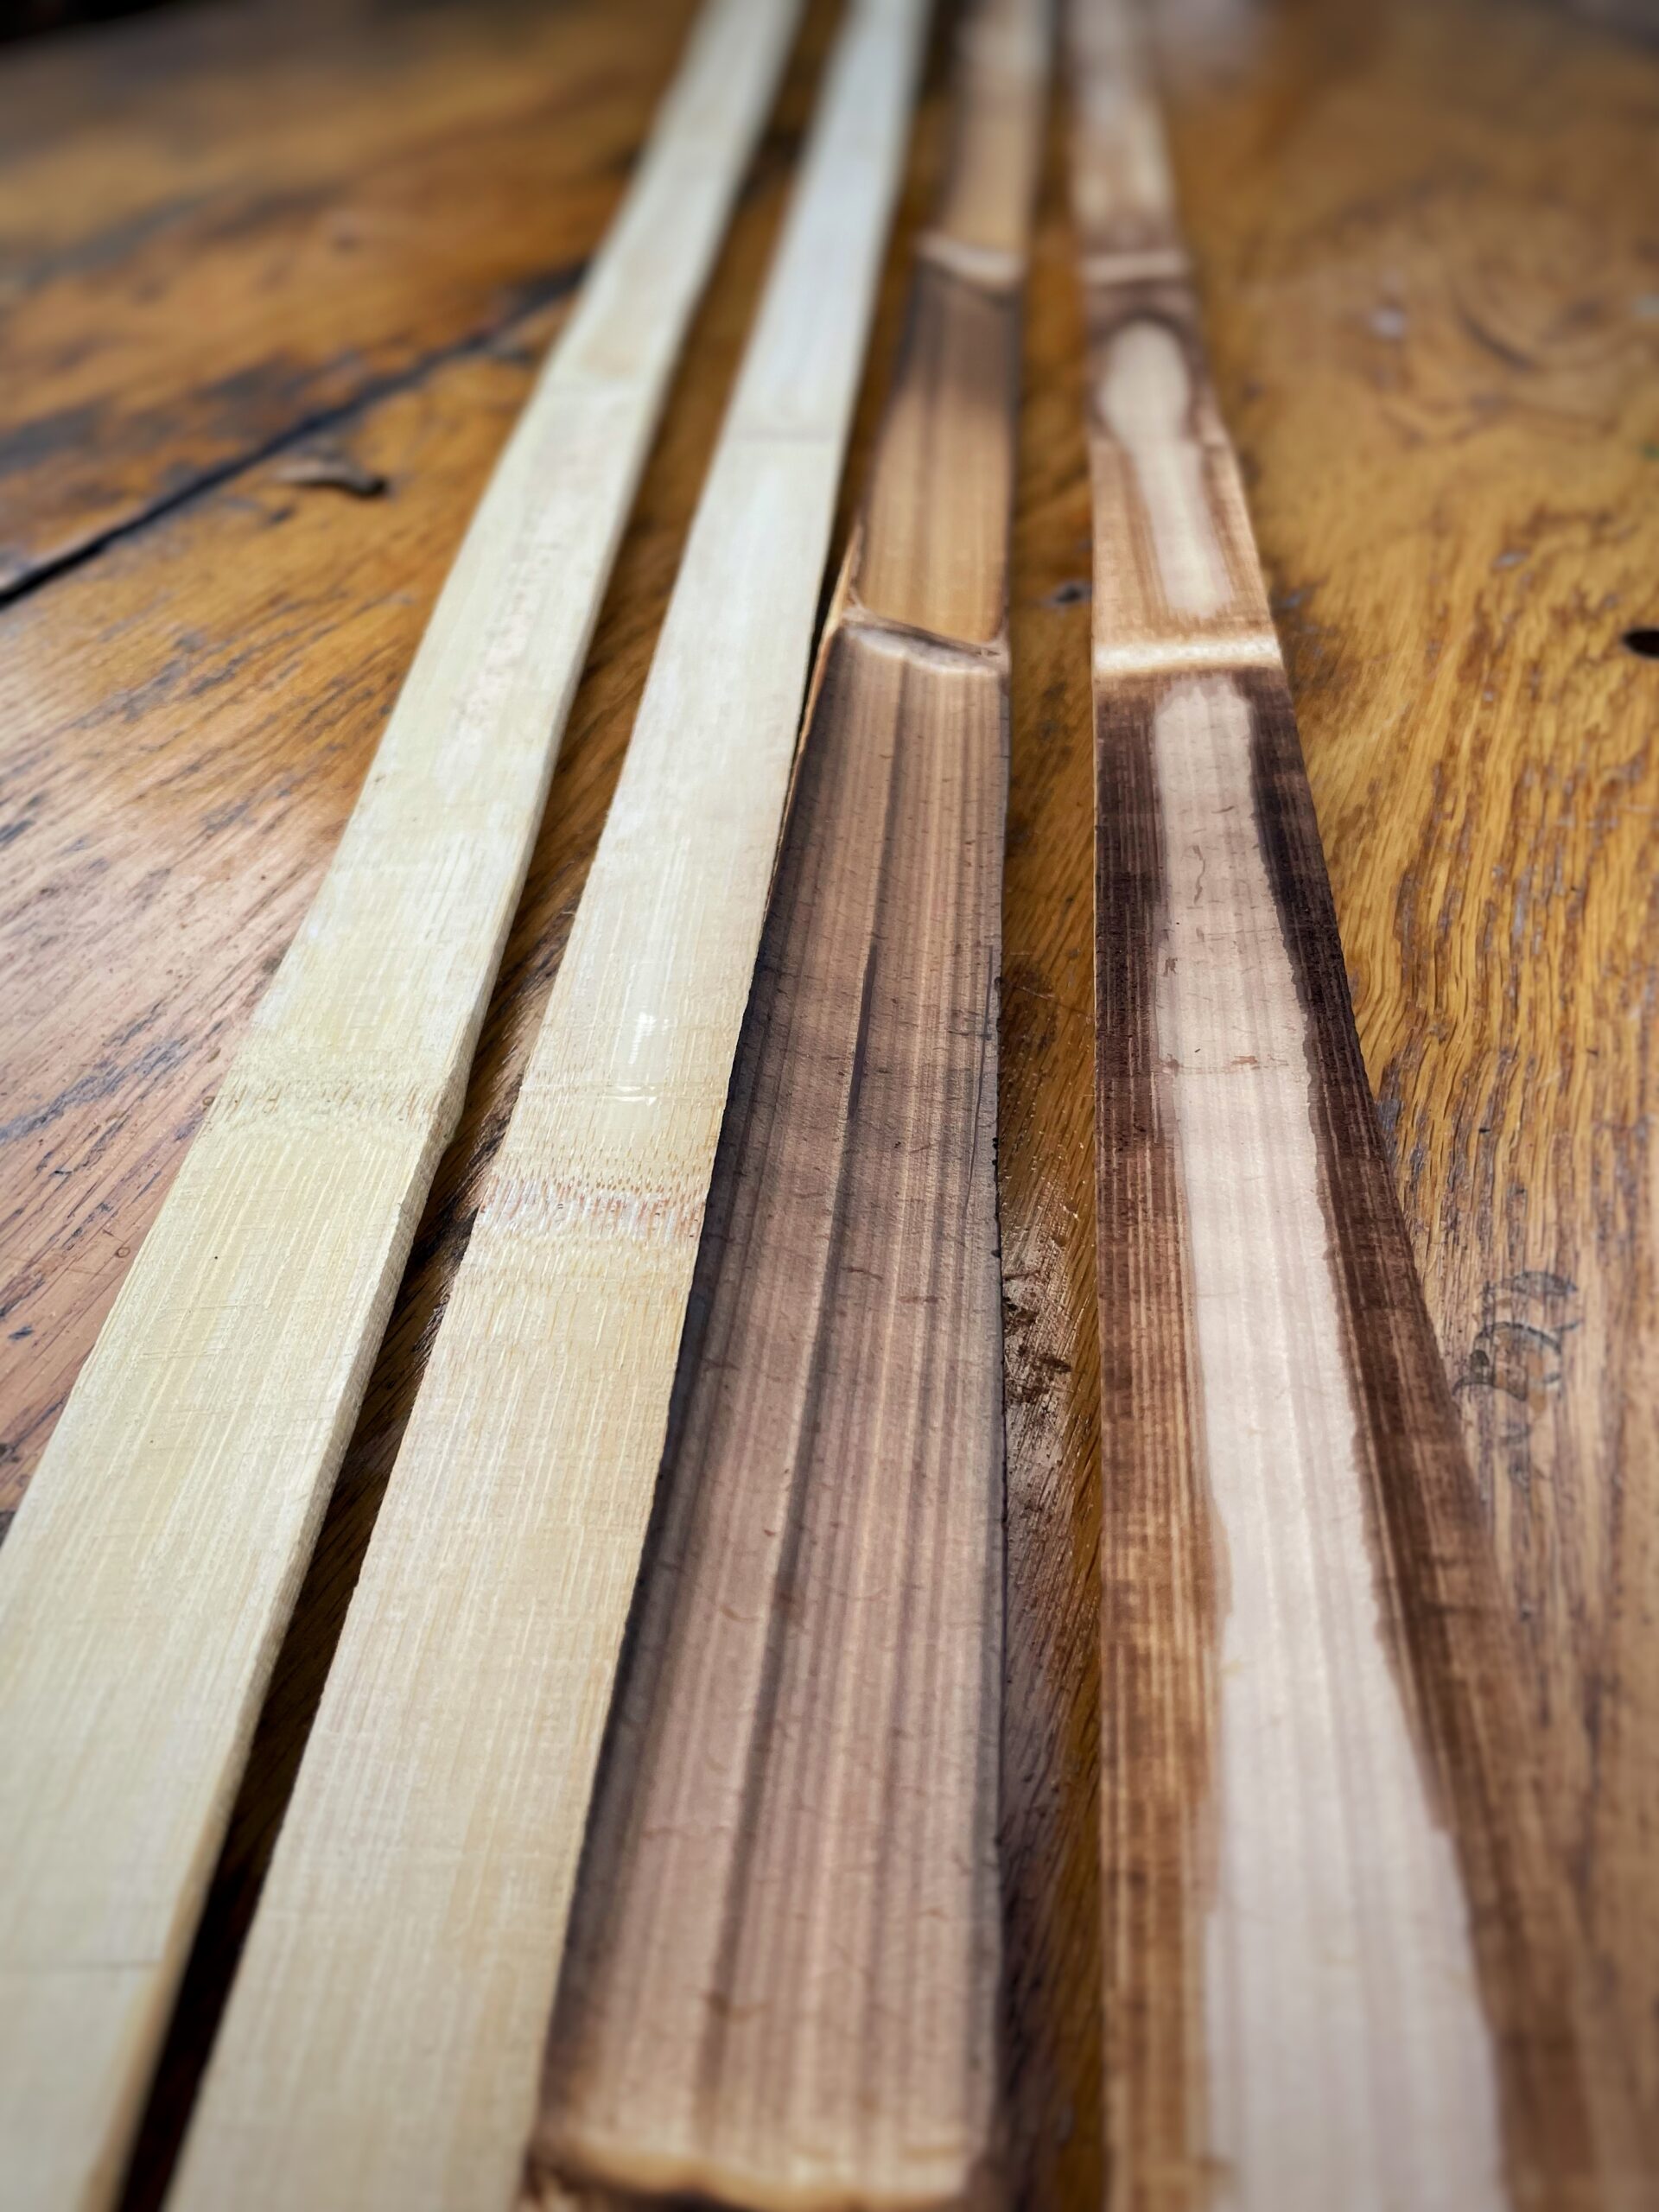
Then two slats, the back and belly, are worked with a bandsaw, drawknife and belt sander to create a flat surface on the inside. There can be no gaps or mistakes that can create weak spots where the bow might fail. The natural skin of the bamboo is left intact.
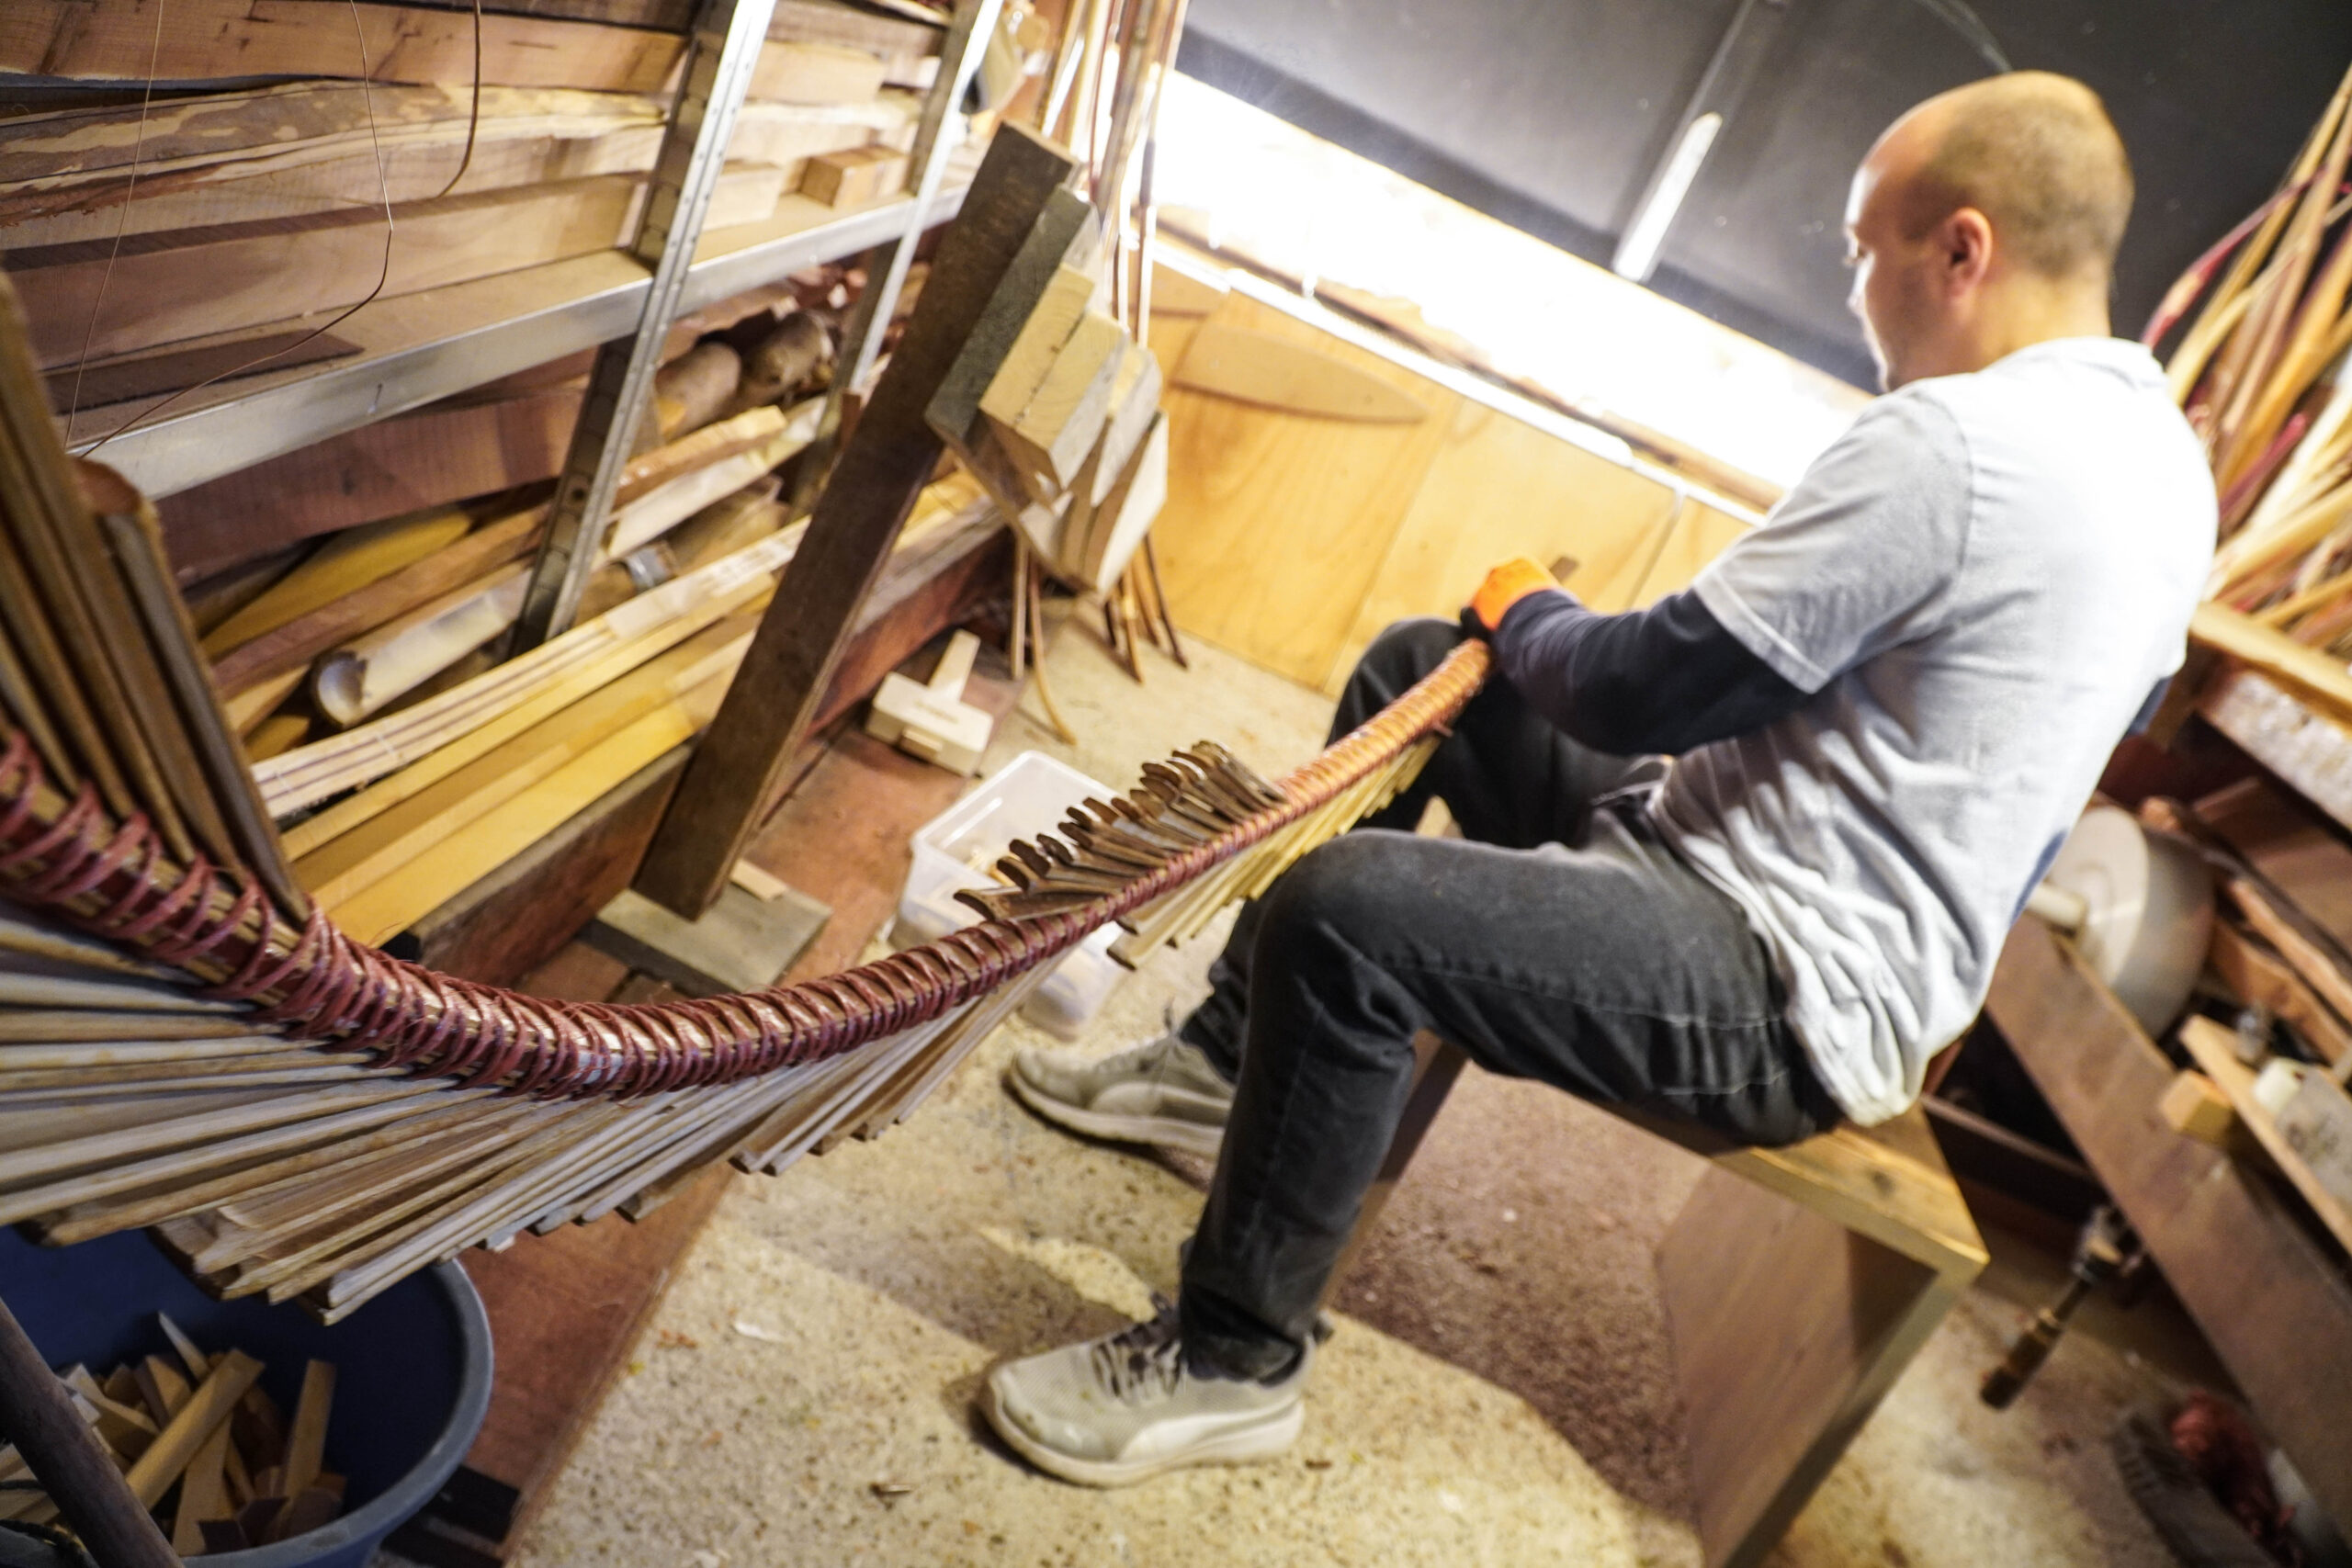
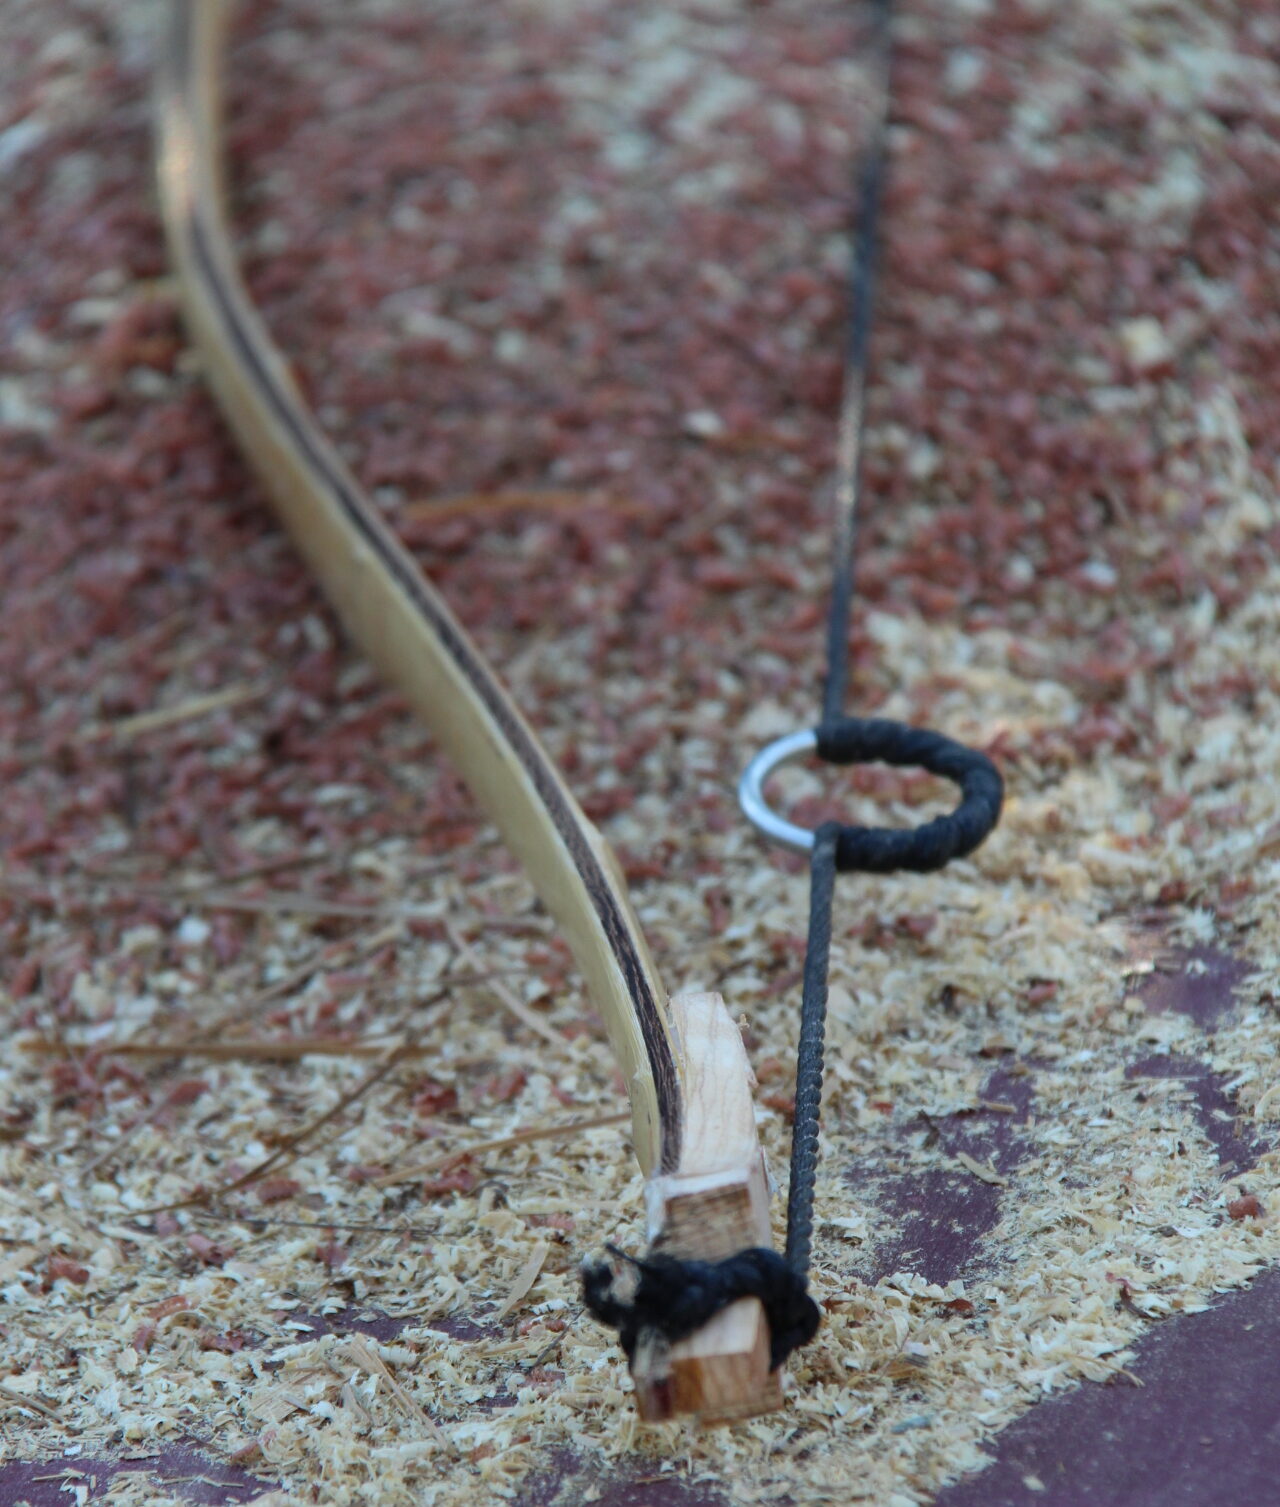
Many traditional composite bows are set on a ‘bowform’, with the workpiece clamped to a jig in the shape of the bow. With a yumi, however, setting the curves is all done by hand using rope and wedges, a technique used for many centuries and probably longer.
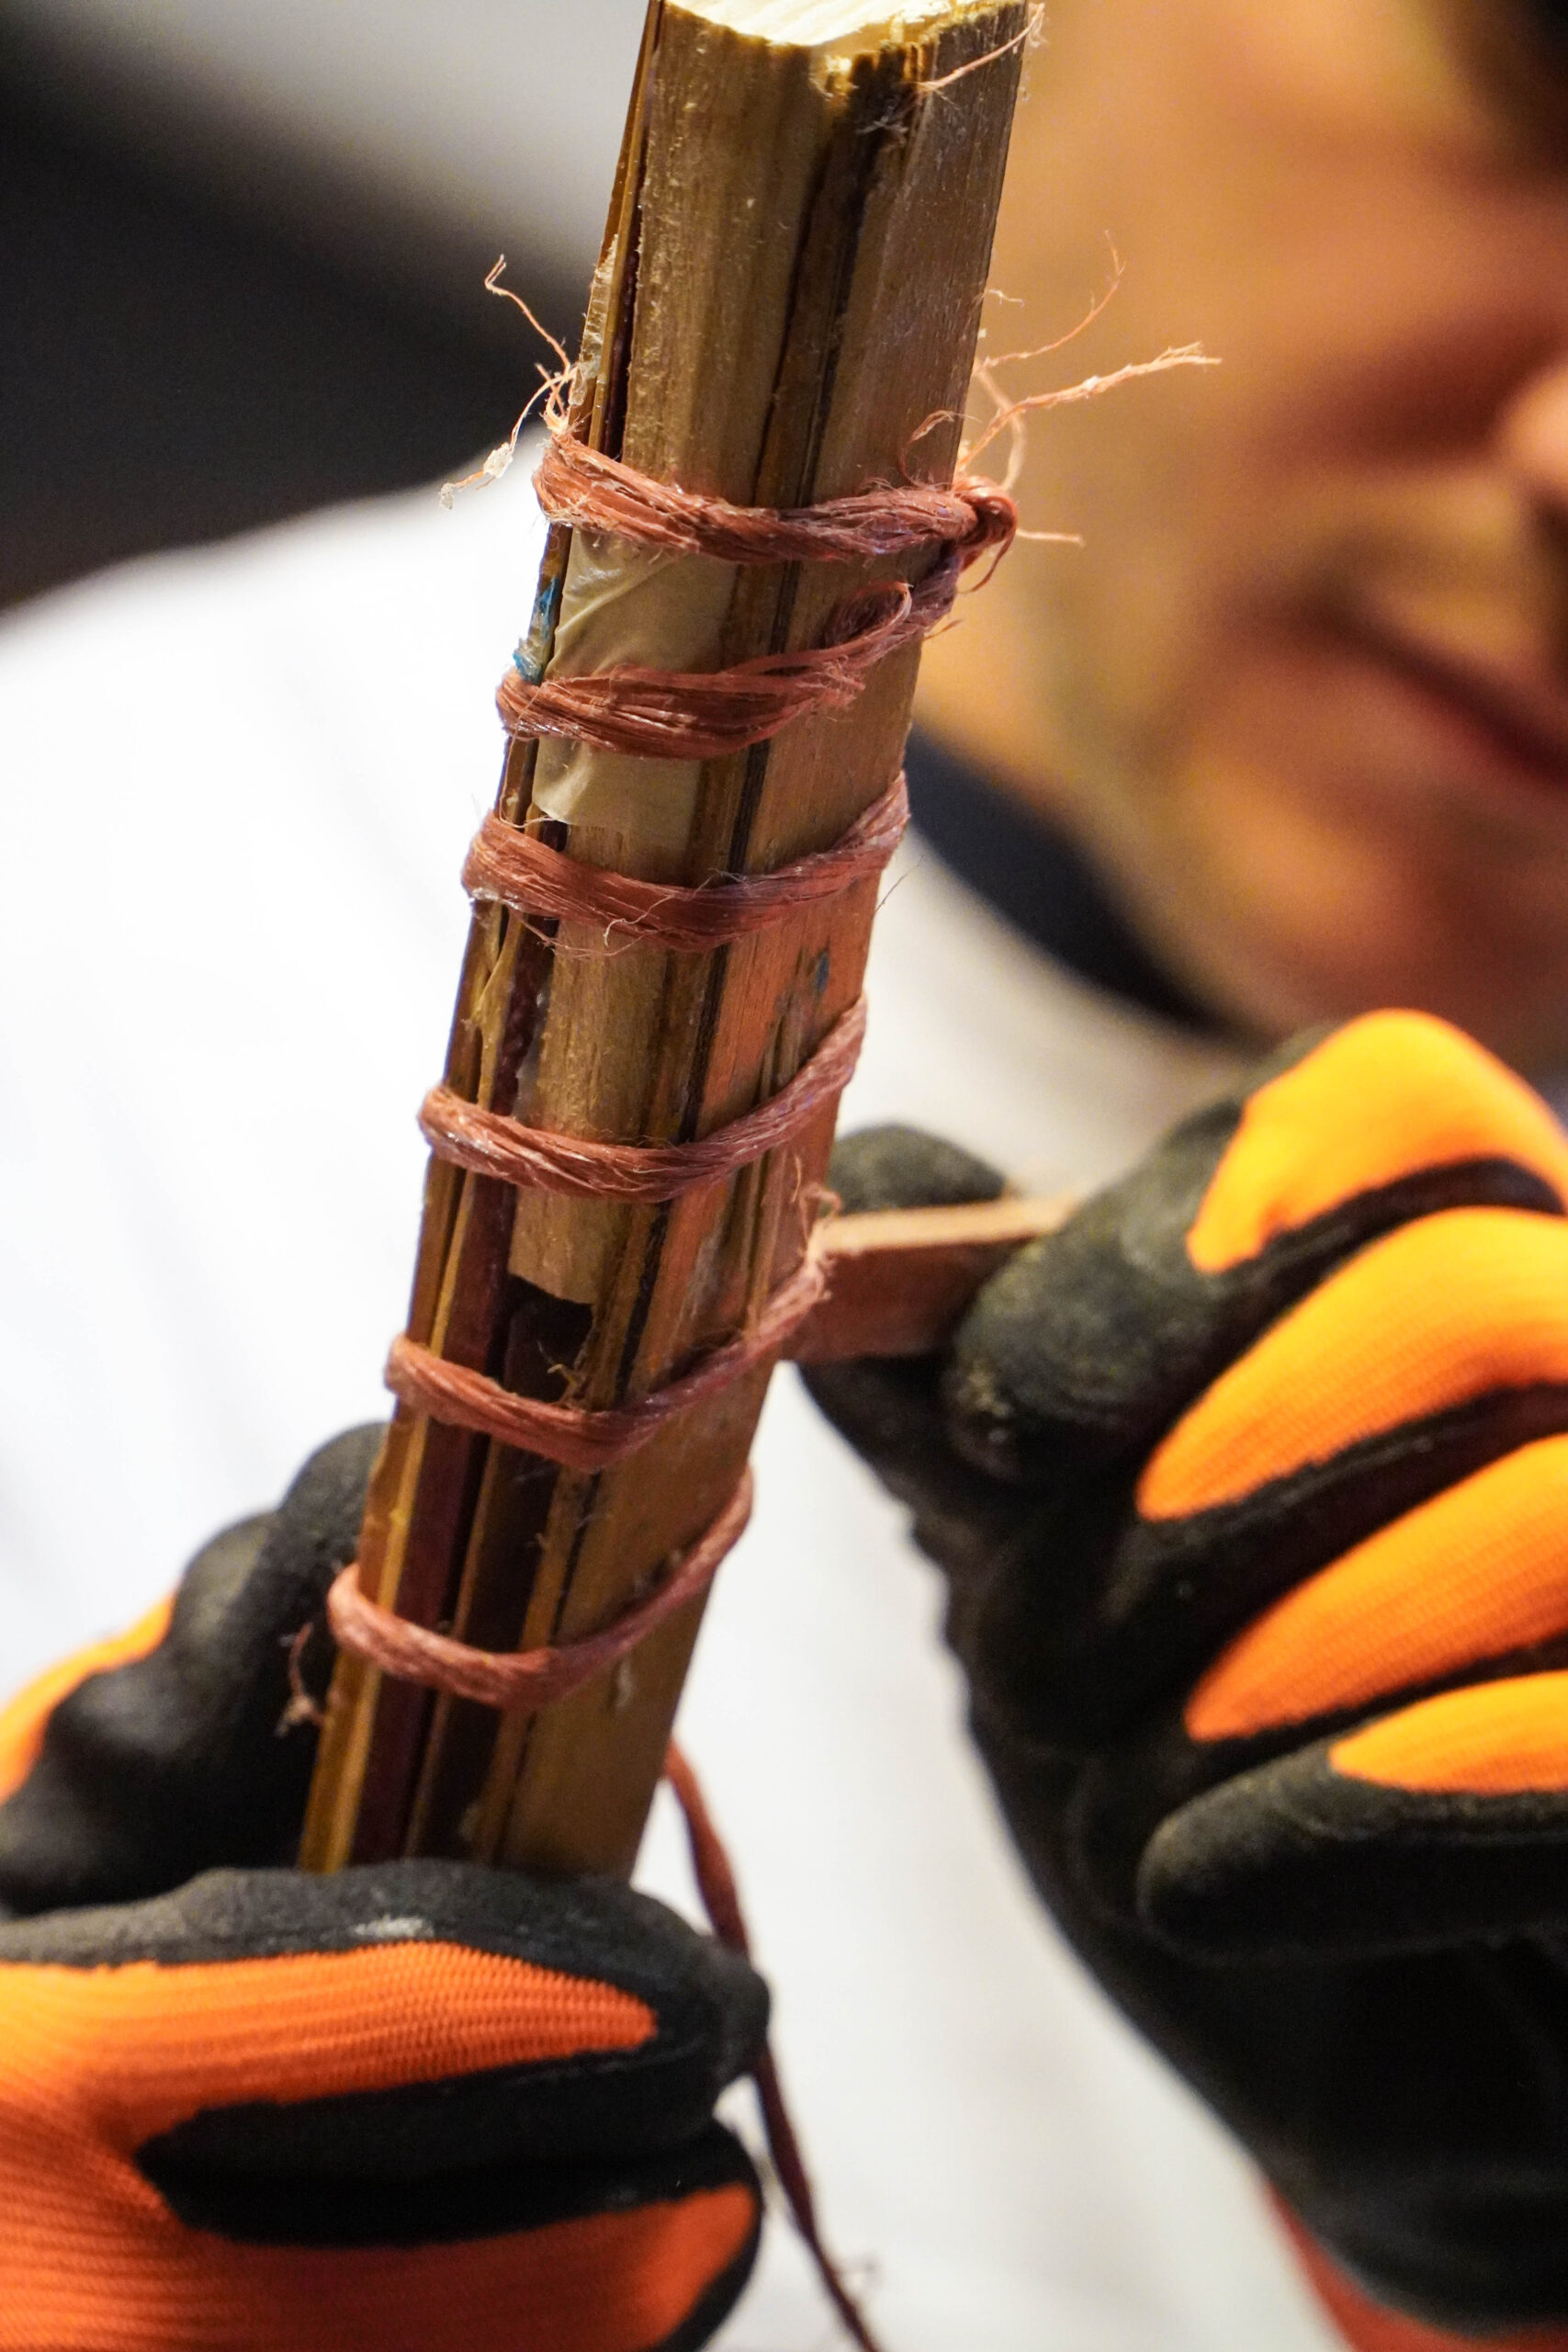
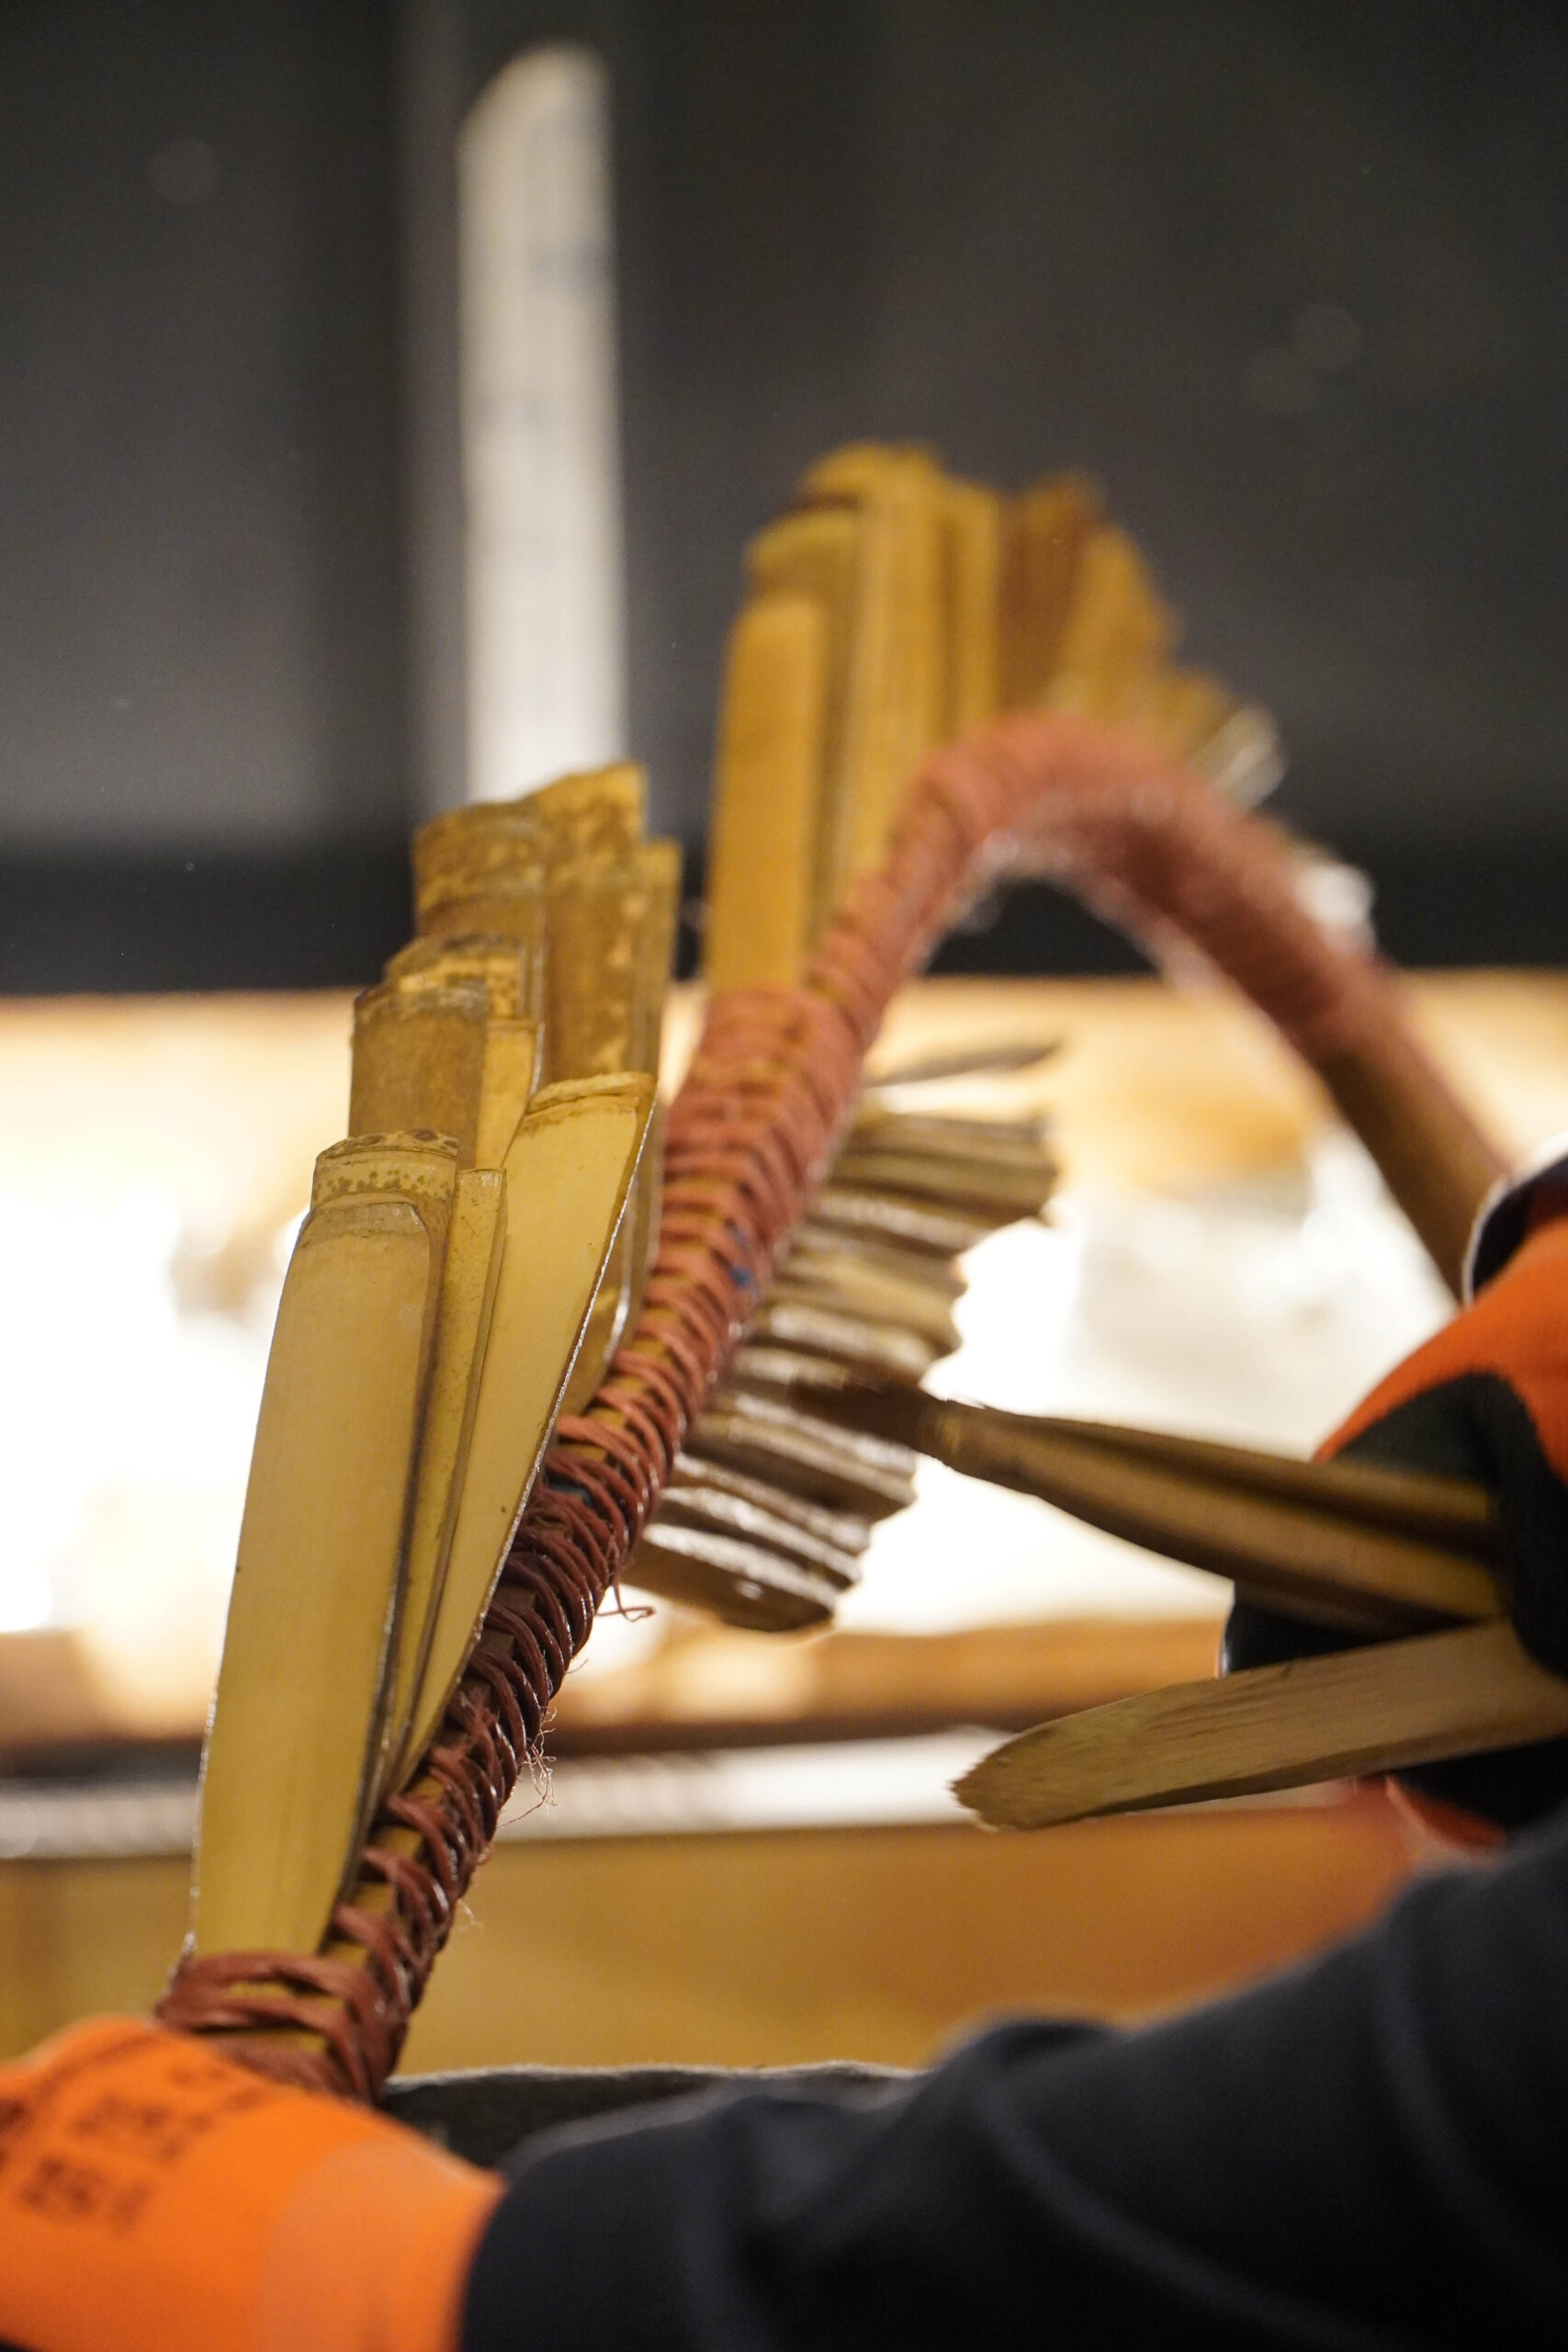
This way, no bowform is needed and you can manipulate the shape to your desired form. Pressure is placed on the area that needs to be curved. The wedges are then hammered into place, ensuring a tight bond.
In a way, ropes and wedges make sense as one of the oldest ways to laminate pieces together. You only need rope and can make wedges on the spot. Imagine a nomadic tribe that makes laminated bows. To me, it seems logical to do it this way instead of carrying a bowform. And if you had bowforms, what clamps would you have used? What bowforms have been found?

There are forms for siyahs for horn bows but not for complete bows that I know of. There have been signs of clamping wood with cord and sticks since ancient Egypt. They would glue and then bind planks together with cord. Placing a stick in the middle of the cord and then twisting will bring tension on the cord and ensure good bonding. So, in a way, this method is nothing new.
After the wedges are set, the bow is left to dry. After a day, the wedges can be removed and work begins on shaping the bow. Using a spokeshave, rasps, files and cabinet scrapers, the bow is rounded on the sides.
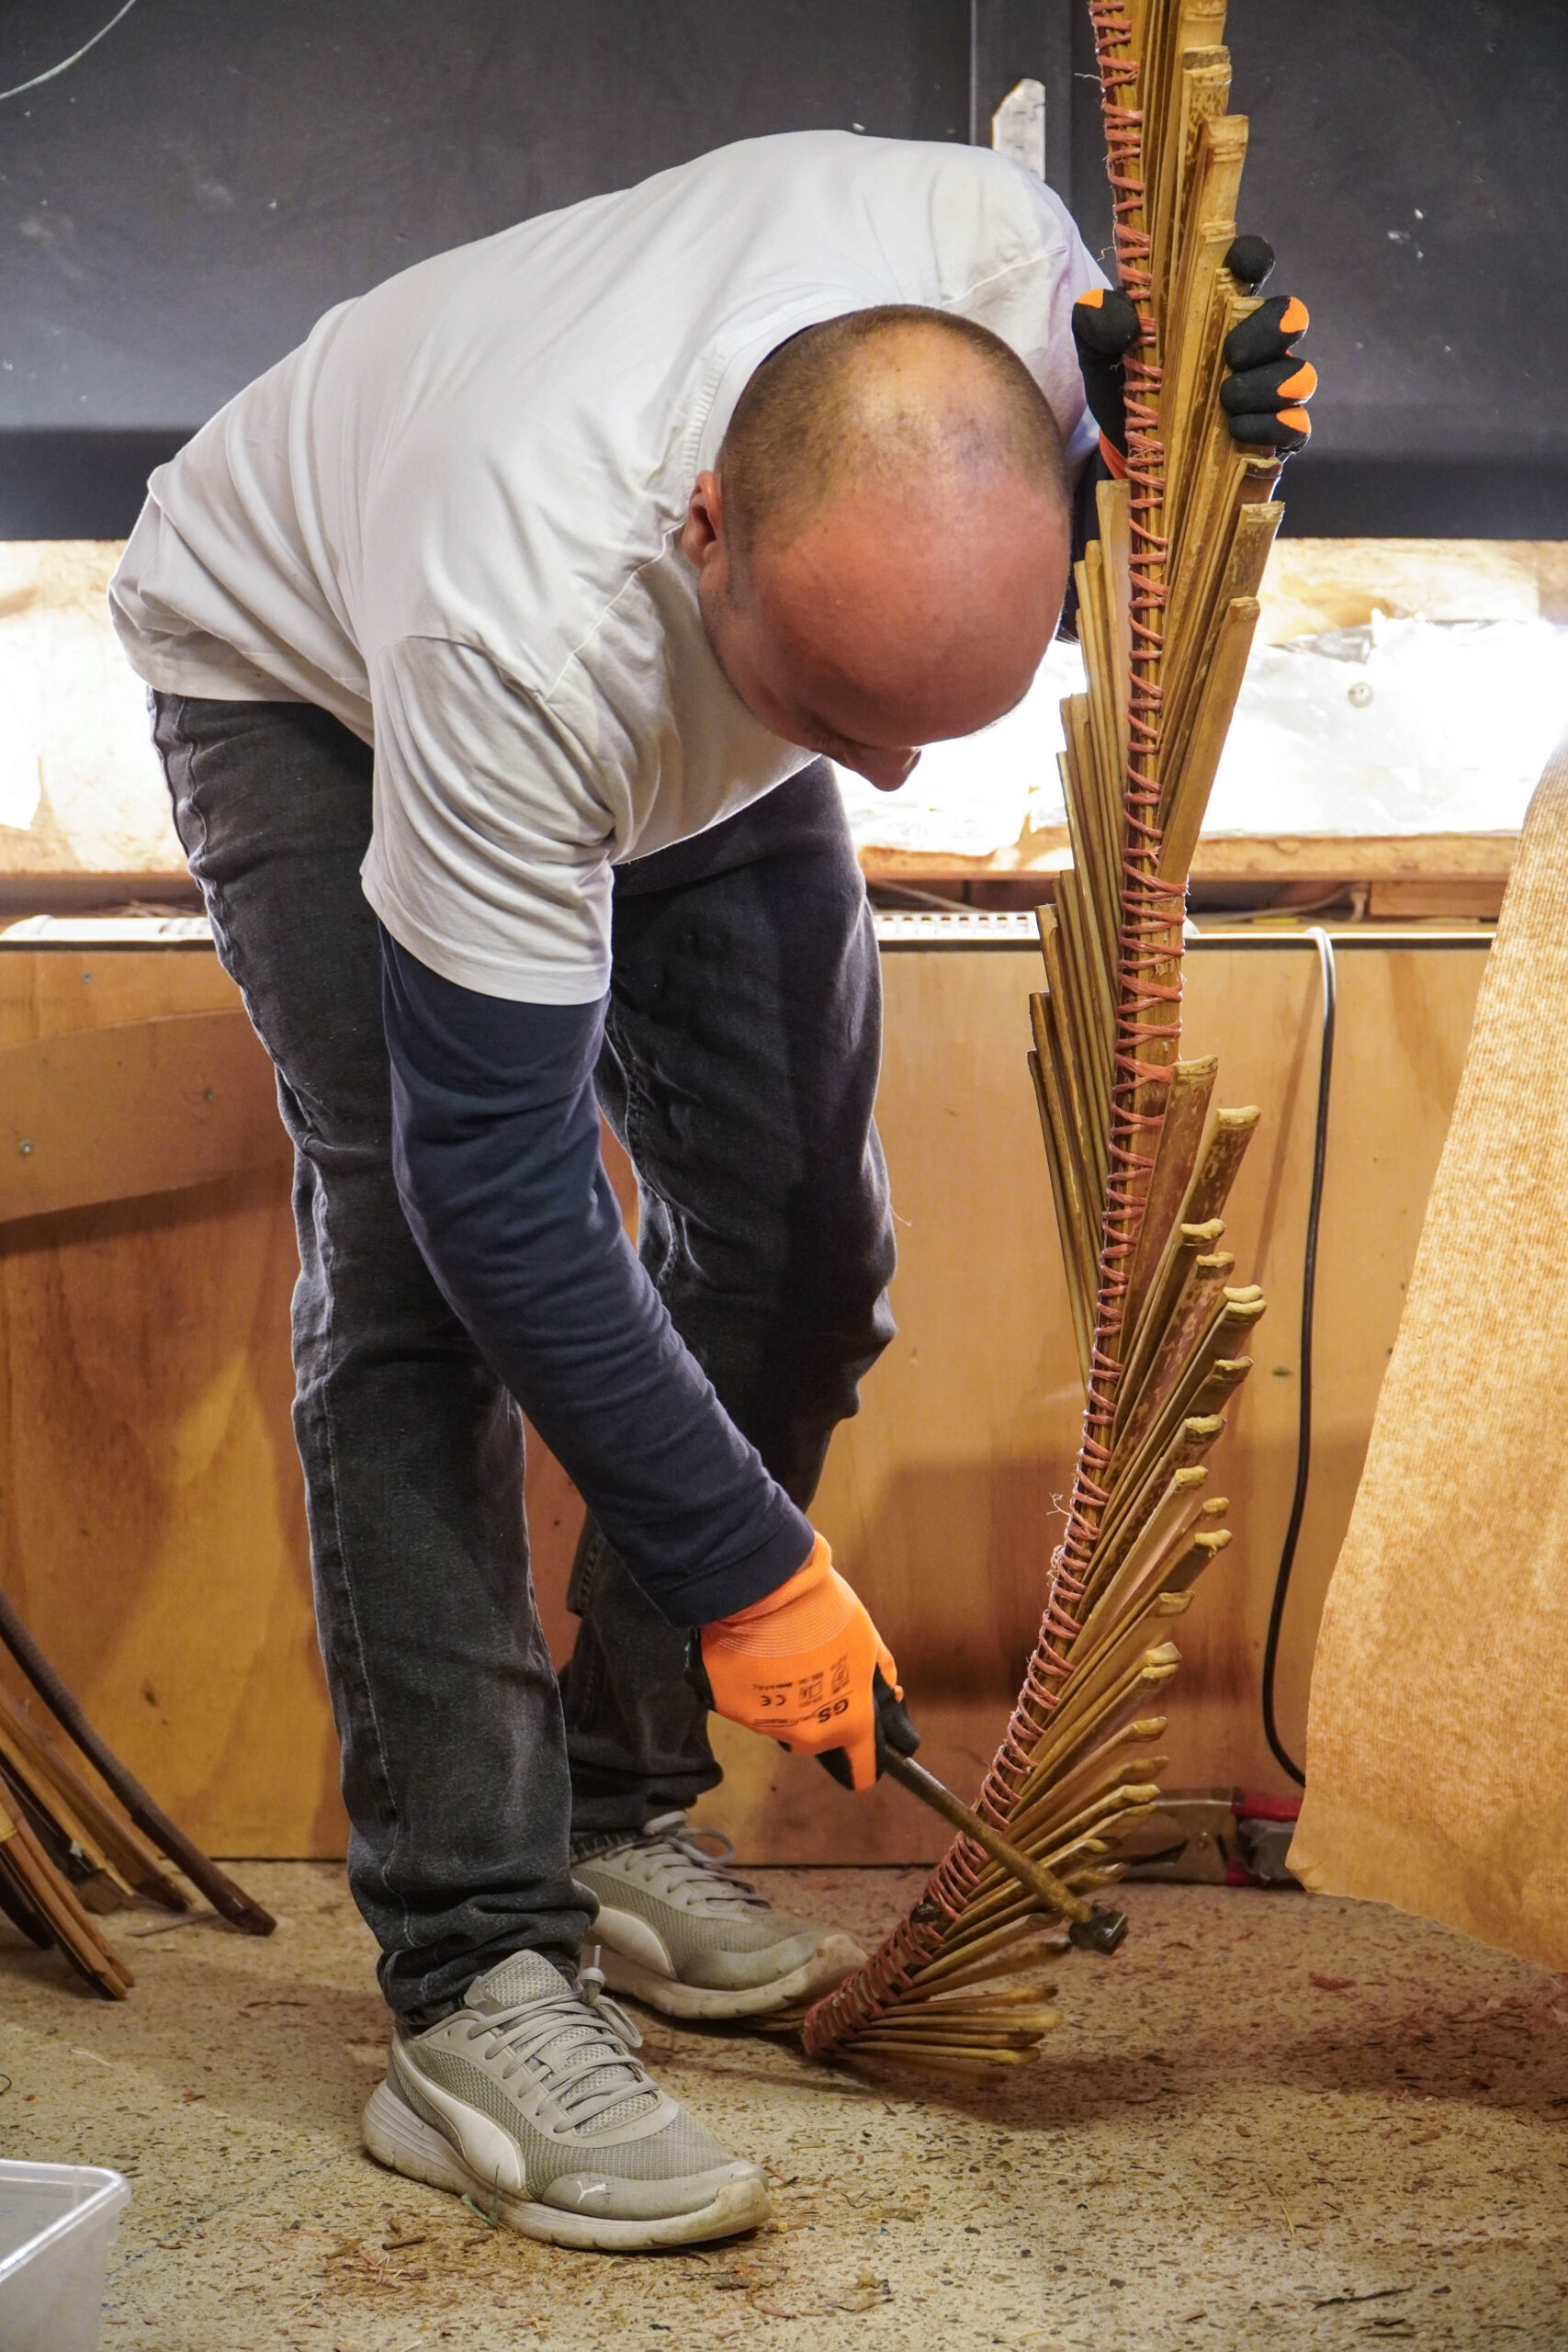
The bamboo on the outside is left intact. The bowmaker can’t remove any material on the back or belly because it will create a weak spot. This makes these bows more challenging to create. The curves, thickness and shape all need to be exactly right when the glue-up begins.
A thick string is put on the bow and work begins on the final tiller. Through experience, I can already feel and see if it is going to be a good bow. (Every once in a while, your work ends up in the woodstove. That’s just part of the game.)
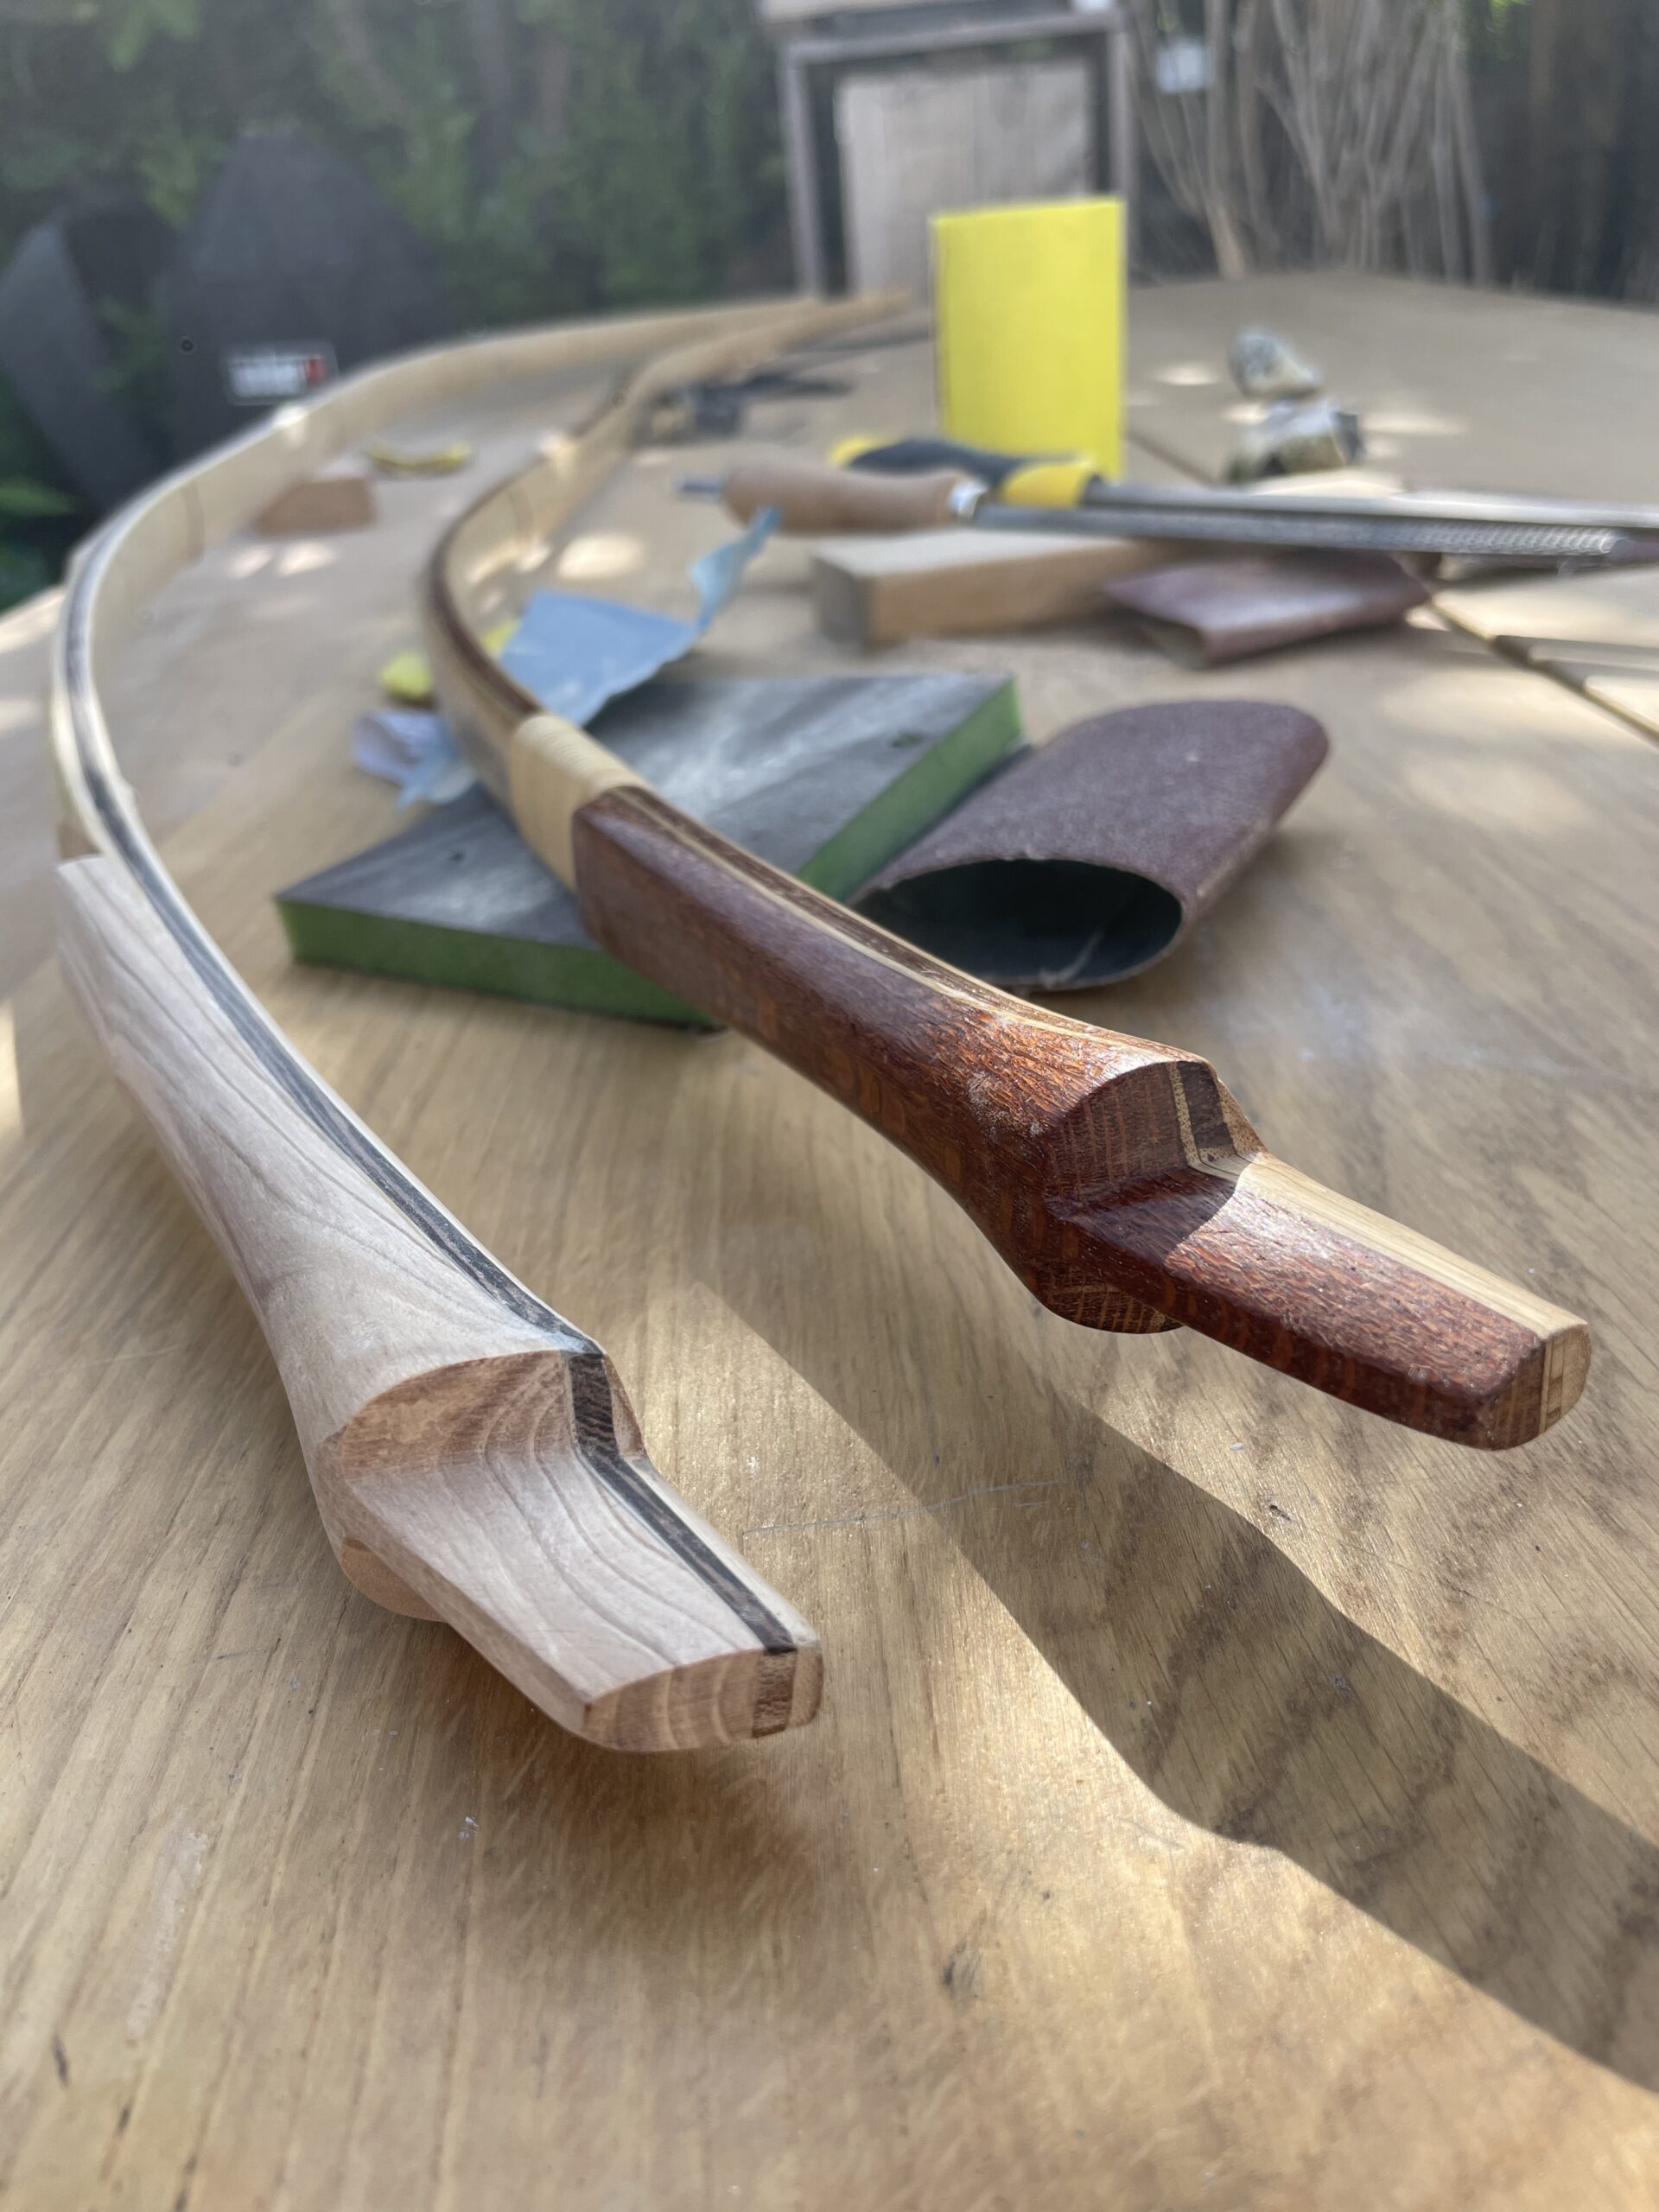
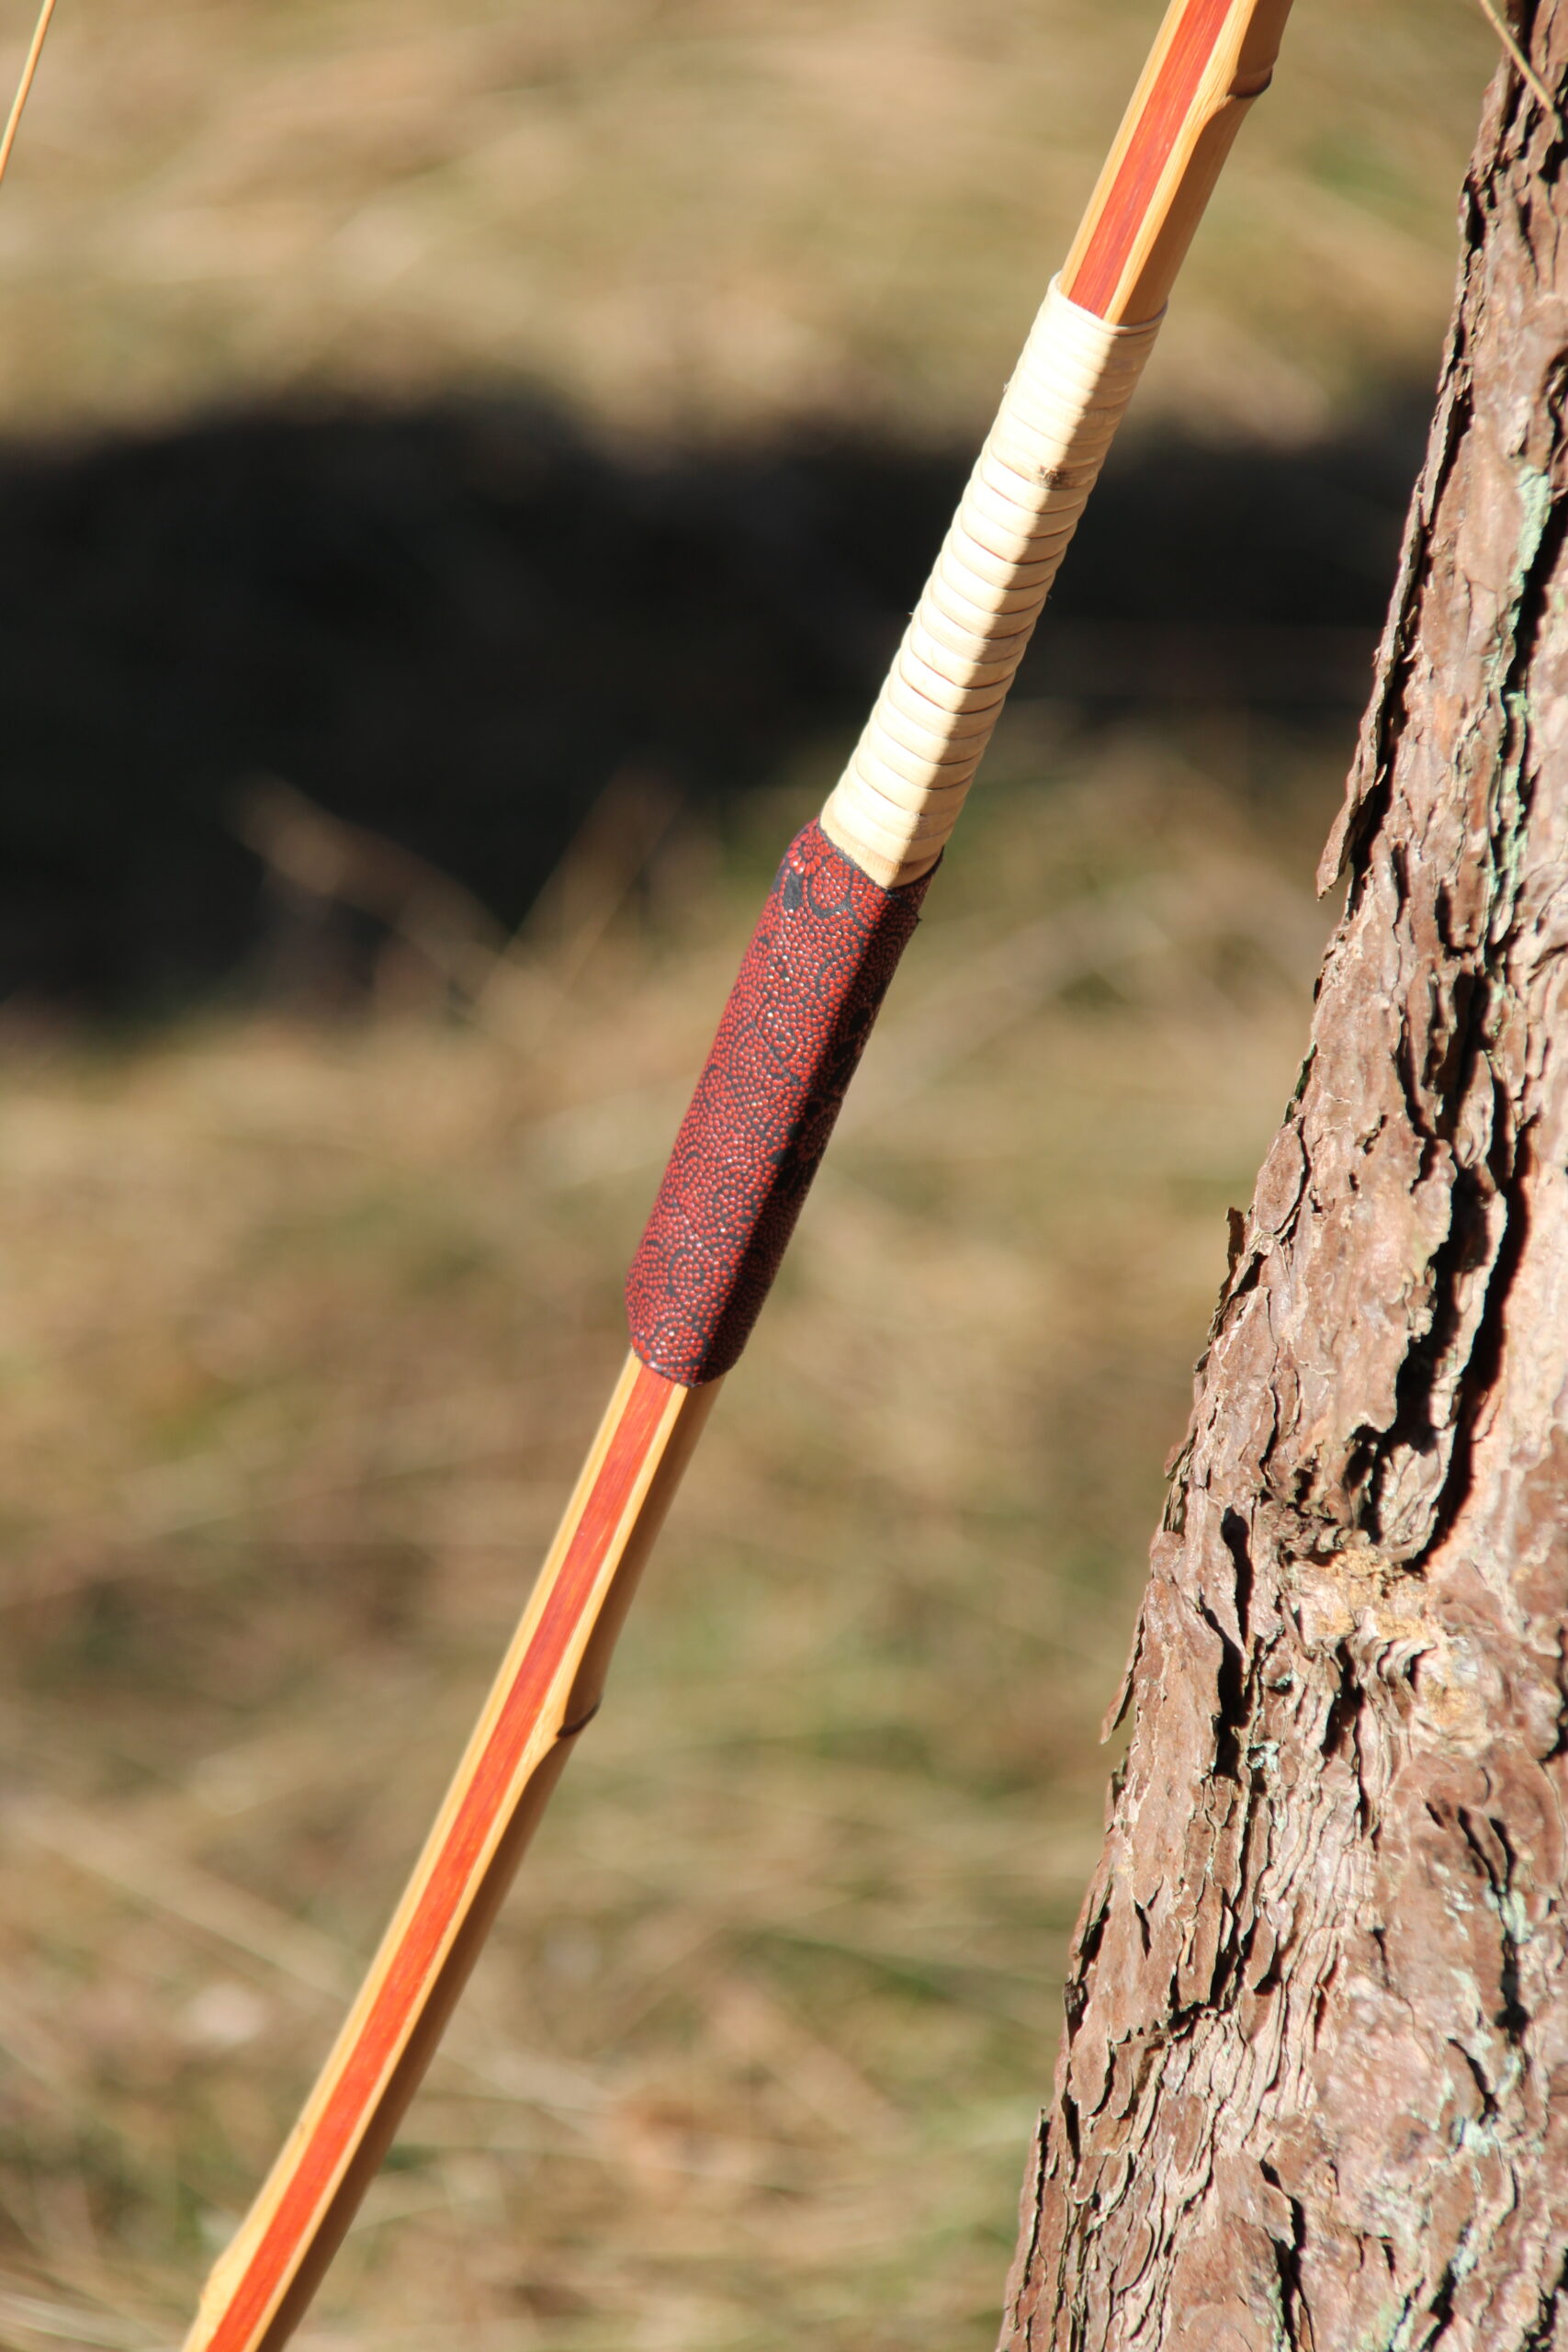
By removing some material on the sides and applying pressure, the yumi is shaped to the right curvature. The whole bow is then sanded down to a fine finish. Rattan wrappings are applied at the ends and handle area. This rattan is of fine quality and, after a quick soaking in water, becomes a little more pliant to work with. When the rattan dries, it shrinks to a tight fit so no glue is needed.
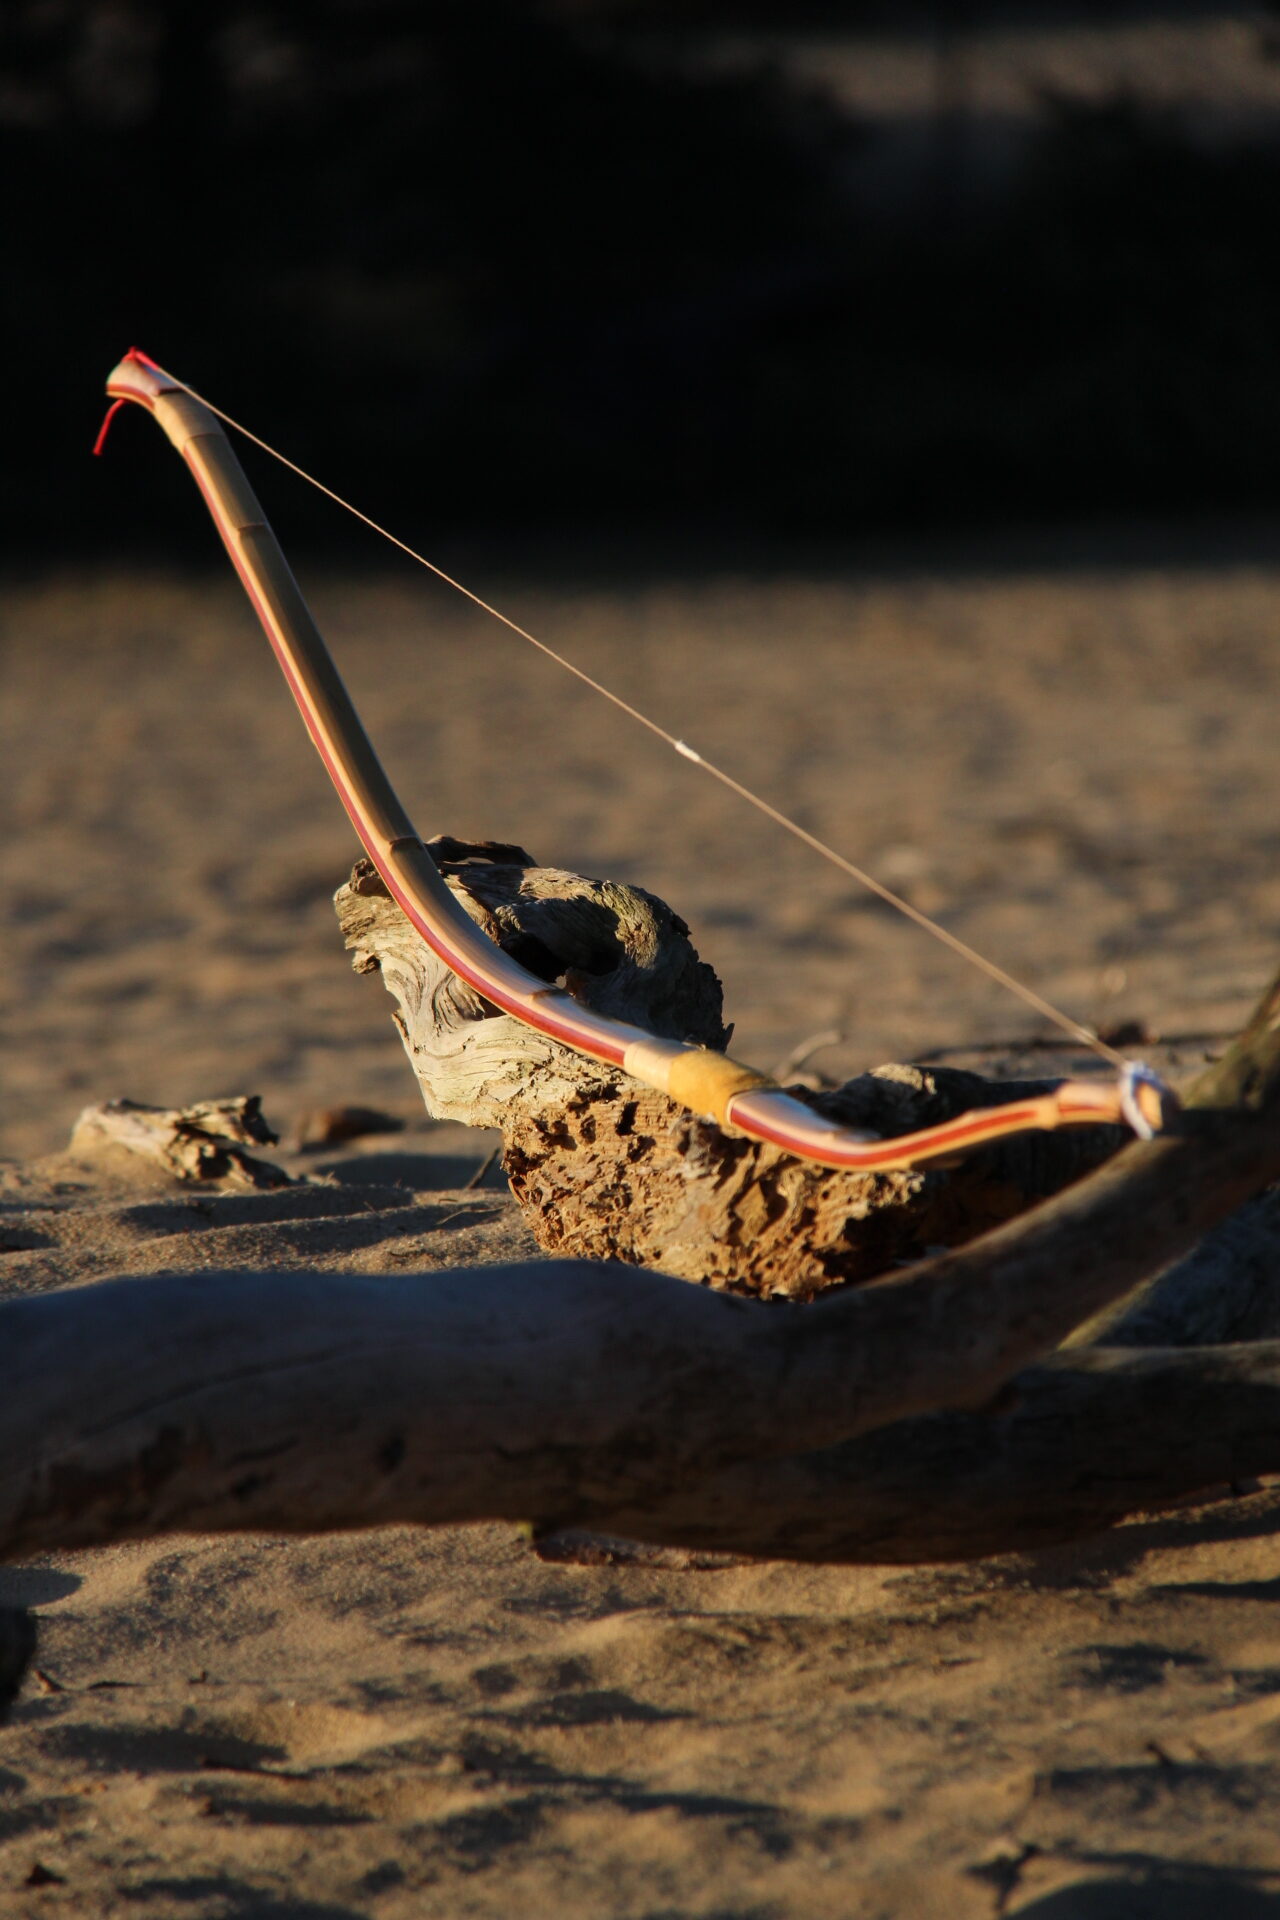
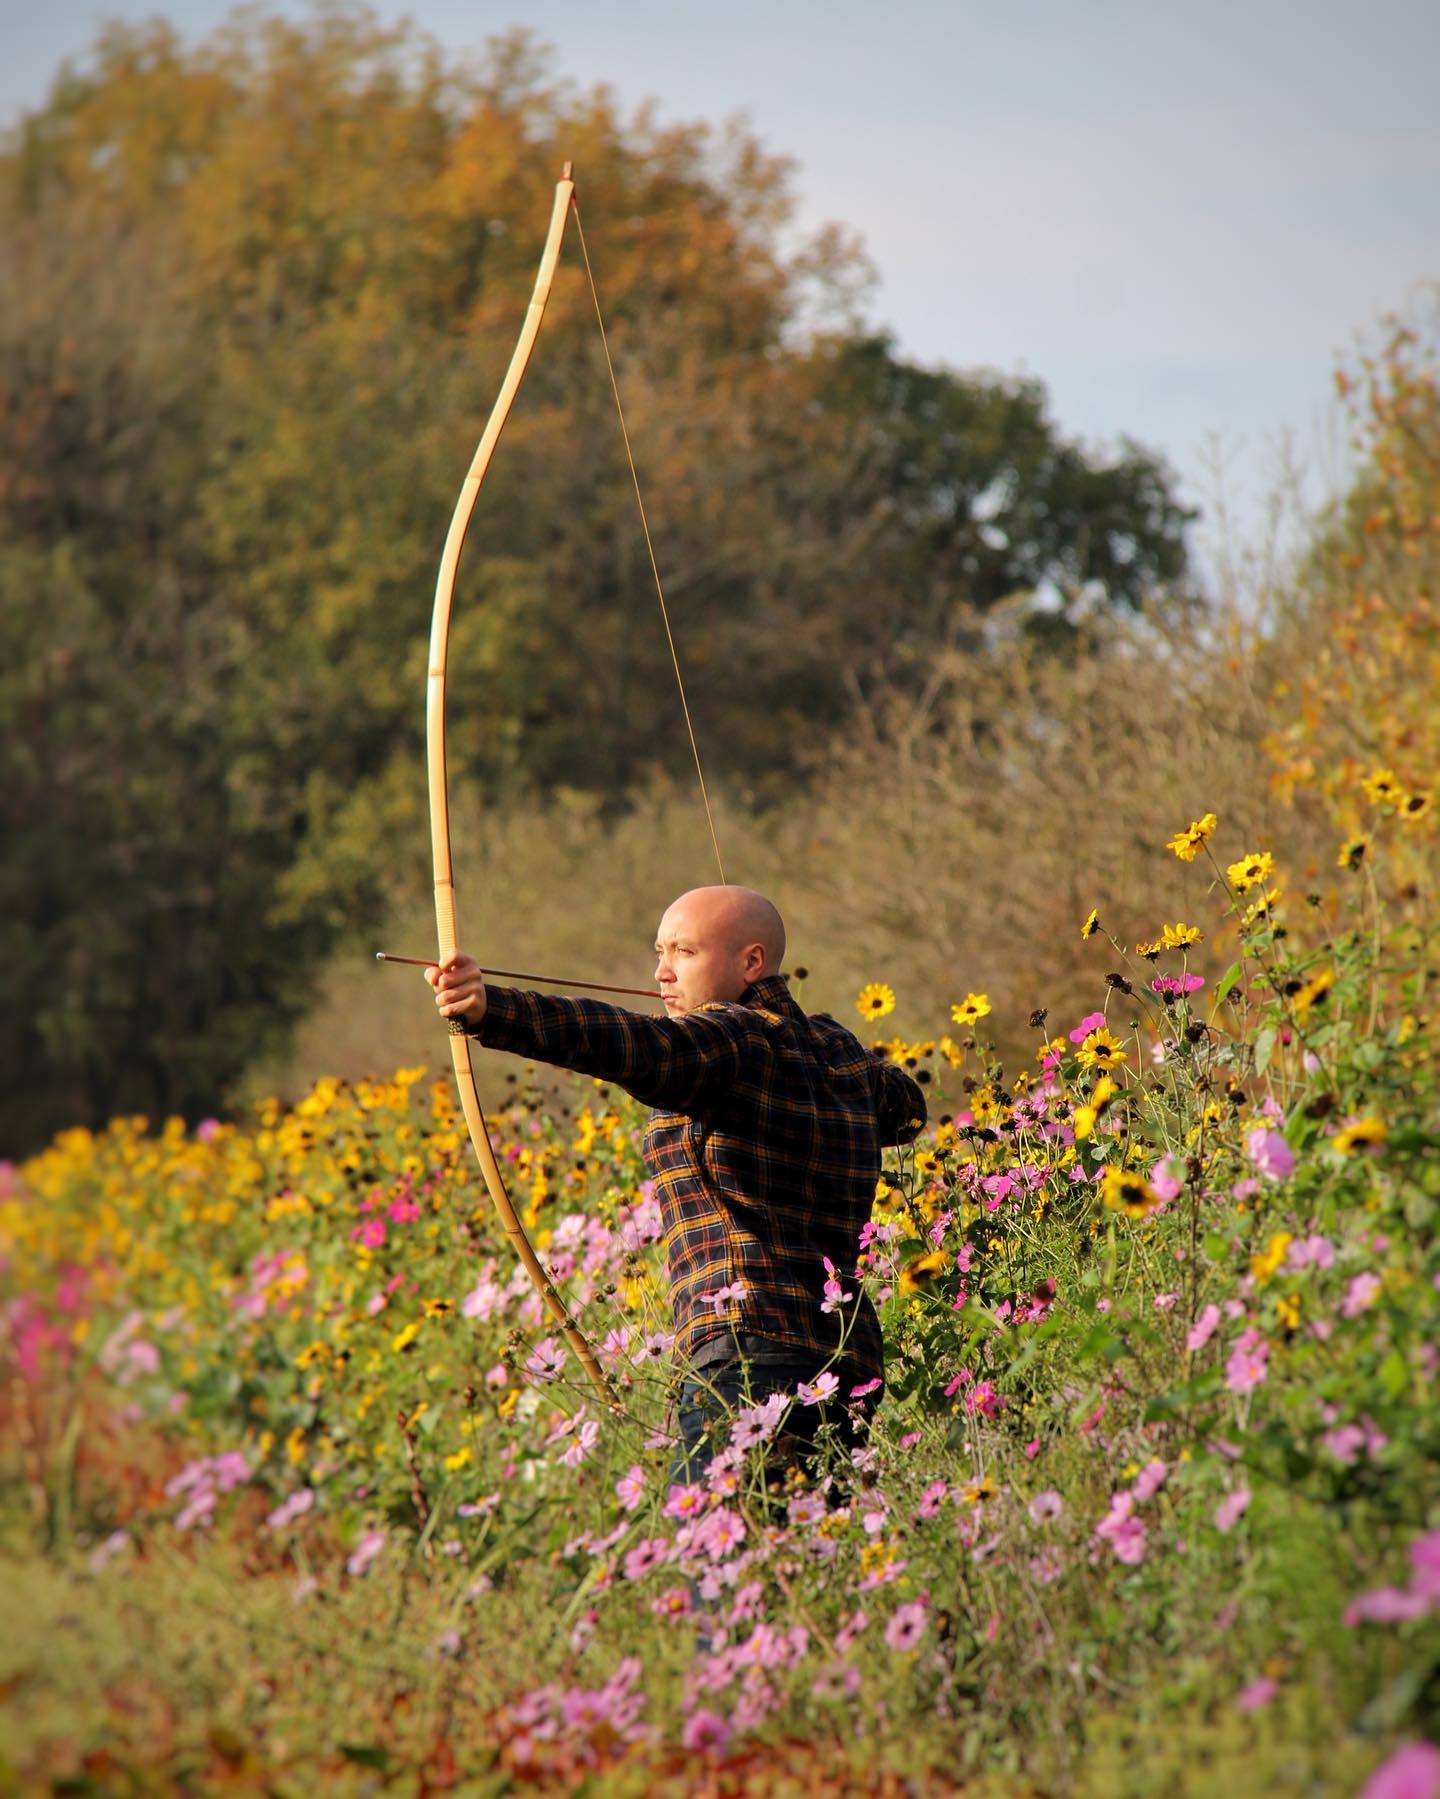
After the bow has got its final finish on, I get to test shooting. The bow I am shooting here is called a daikyū, the standard full-length yumi. There are five named standard lengths, varying from 212cm (83in) to 245cm (96in).
This one is a nisun-nobi of 227cm, over 7ft, with a max draw of 100cm or 39in. Made with madake bamboo and bloodwood, it draws 22kg (48lbs) and has a lot of stored energy. Here is when you know if all your hard work has paid off. It’s a very rewarding moment when you finally get to shoot the new bow.
You can read more about Stefan’s work at: bamboo-bows.com