
Patrick Huston shares his tips to fine-tune your equipment for outdoor rounds before competing at the long distances
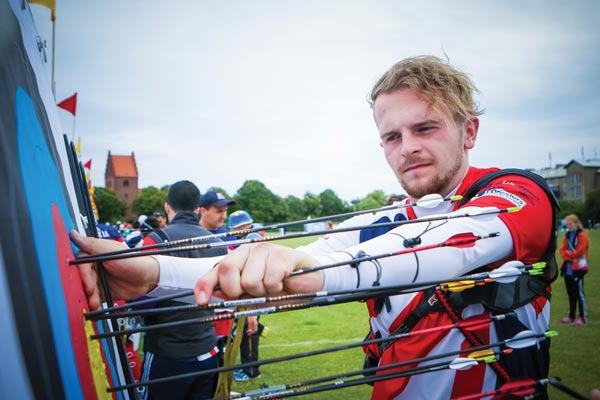
At these distances archers want to be dropping as few points as possible, and it can be a real mental workout to stay focused
By the time you read this we’ll be a little way into the outdoor season. You’ve possibly done a few tournaments and have an idea where you’re at, or you might just be doing the switch over to an outdoor setup and shooting the longer distances. In this article I’ll discuss some points to consider for getting the most out of your skinny arrows and some other bits of equipment, how to maximise your scoring in outdoor rounds – multiple distances can be a real pain if you’re ill-prepared – and I’ll chat about the rounds to be shot and more.
Tuning
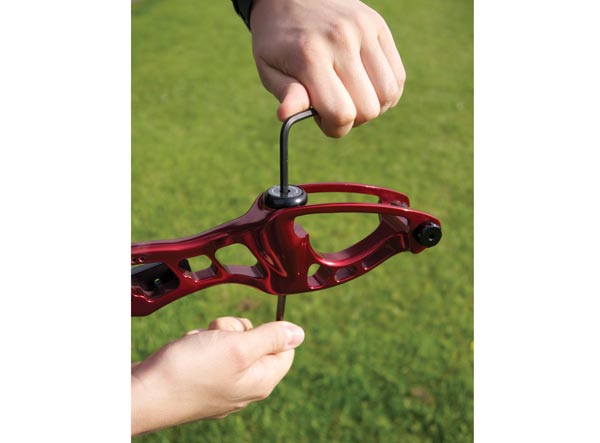
Adjusting your limb bolts by a turn can help bring a set of arrows into tune
So, first off – equipment. Outdoors pretty much anyone who is taking archery seriously (and you probably are if you’re reading Bow International) will be shooting skinny arrows. These really do require some setting up to get the most out of. Even if you’ve been shooting them indoors it’s always worth going over them as tuning can bring you a lot of valuable points. I had a friend in Northern Ireland who went from shooting 630s to 650s on a 70m round just by some basic tuning.
Having the correct spine of arrows for your bow is of utmost importance, and really is worth investing in if they aren’t correct. The best way to check this is to set up a target at 20-30m with your button on medium tension. Shoot a few bare shafts and a few fletched arrows and they should be within three inches of each other for 20m and six inches for 30m. If it’s more than this then you really need a different spine.
A walk-back tune will identify any tweaks required to your button’s centreshot or tension
For right-handed archers, bare shafts to the left of the fletched group indicates they’re stiff, and to the right indicates they’re weak. Most archers won’t have the ability to play with arrow length too much, so I advise winding your poundage about slightly, just a turn or so either way to bring the arrow into the group. Another thing to be aware of is you will need to make sure your nocking point is correct before really taking much notice of left and right variation, as this can affect it. I knew a guy once with a 15mm high nocking point – his arrows seemed to spine, but were actually massively weak; he was just stiffening them by having them flex a lot in the up/down plane.
After this, it’s worthwhile spending some time going through brace heights to get the bow sounding nice and quiet. Start 1/8 of an inch outside the recommended range and go up in three-twist increments to 1/8 of an inch outside the range, keeping a record of how the bow feels and sounds. Then, plain and simple, just go with the one that sounds the best. If you can’t quite get the vibration gone adjust your tiller very slightly, as that can often get the vibration cut down quite a lot.
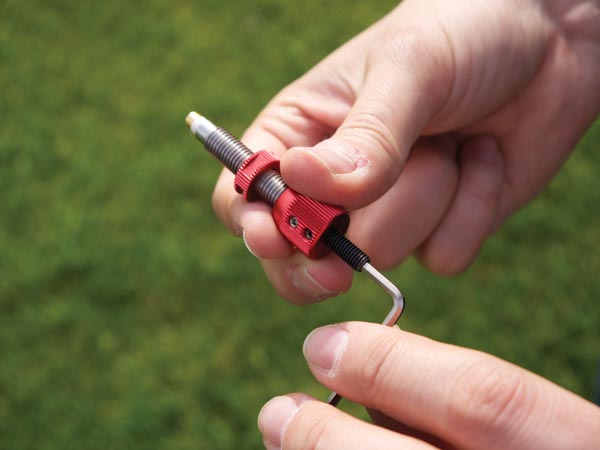
Putting a few twists in your string to test your brace height range will help you get your bow sounding nice and quiet
Next, you need to do a walk-back to check you centreshot is correct. Set it so that the width of the point can be seen outside the string. Then start at 10m and shoot an arrow at the top of the boss (no closer or you’ll miss the boss when you move back, as I discovered recently) and then walk back in 3-4m increments. Keep aiming at the same point at the top of the boss and don’t move your sight. You may need to do this a few times and plot your arrows each time to get a reasonably accurate average plot. If your arrows curve off left then bring the button back in – the centreshot needs to move closer to the bow. It’s the reverse for a curve to the right. If the arrow goes in a straight line in either direction, adjust the button tension in the opposite direction, however you shouldn’t need to do this if you got the spine spot-on correct the first time.
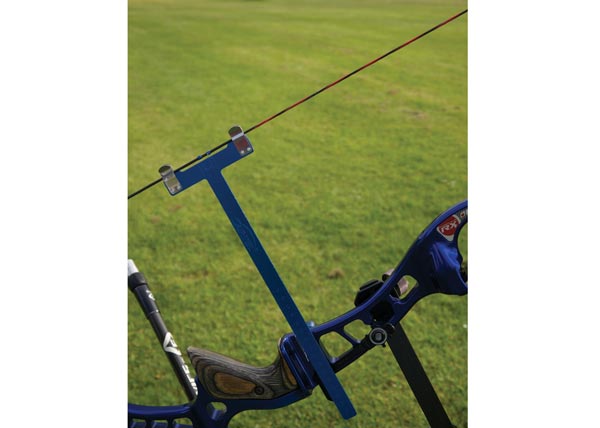
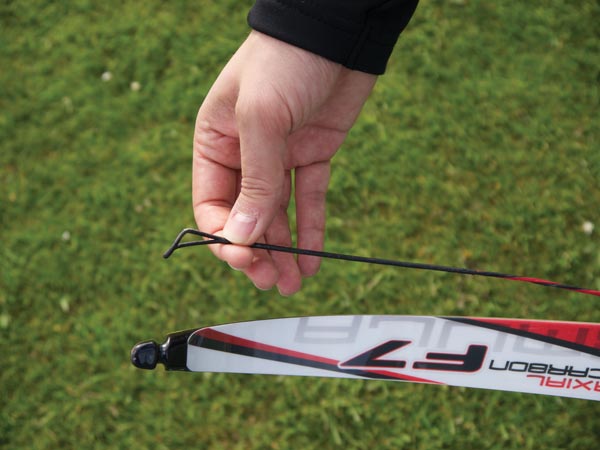
Check your nocking point before tuning, as this can impact your results
By this point you should have your bow reasonably well-tuned. However, in my opinion this is just basic tuning. The place you need to spend more time is in fine tuning. This involves, most importantly, a calm day! On such a day, plot your arrows at a comfortable distance at which you can group consistently. Watch where most of the fliers are landing and counter-adjust against that. So, if your errors are landing left, then let out some tension on the button. If the fliers are high, then adjust your nocking point. This is something you can afford to spend time working at as it can make a huge difference to your scoring ability! All in all, you should now have a bow primed to shoot as best it can for you.
While we’re still on the equipment note I’ll point out that it may very well be worth you experimenting with sight pins. The outdoor season provides a variety of lighting conditions to shoot in as well as a very different target picture compared to the indoor season. Personally, I use the Spigarelli Berti sight pin as it allows me to aim really finely, though with the Beiter iris kit, fibre pins such as the AAE Gold, the Shibuya round pin and many more, the options are vast. It can really help gain a few extra points if your eyes can be relaxed when shooting while still providing an accurate aim!
Competing
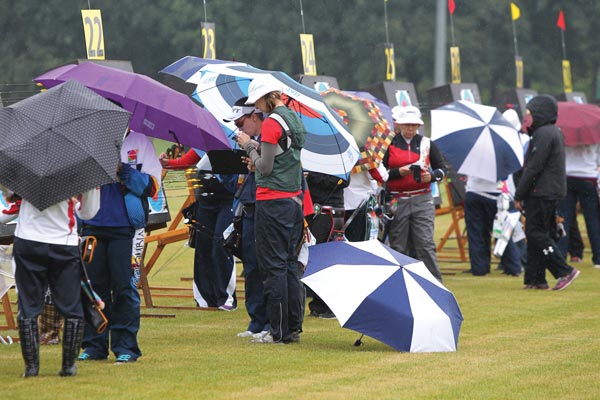
Make sure to practice in your waterproofs, as you’ll never know when you’ll need them in competition
The outdoor season means there is a large number of shoots available to go to. The most common will be 1440s (or FITAs to the old-school among us) and 720s, but I am an advocate of looking at the other rounds going on outdoors. Yorks and Herefords can provide a very different challenge, requiring 72 arrows at 100 yards or 80 yards respectively. This can be very good training, however the real mental work comes in at the 60/50 yard distances where the 122cm target is up close and personal.
At these distances archers want to be dropping as few points as possible, and it can be a real mental workout to stay focused when the gold is as large as it is. Of course, there is a wide variety of imperial rounds going on to suit archers of every ability, from Albions to Nationals, Windsors, Westerns and more. You will often find a local circuit of these shoots going on which can be really fun to enter. This gives you an opportunity to make archery friends from your local area along with enjoying more relaxed and informal shoots.
Once again, they can be a good training exercise for keeping focus throughout rounds with a big target perspective. So have a look through the calendar and book into some more historical rounds and enjoy archery at a different level.
Sighting
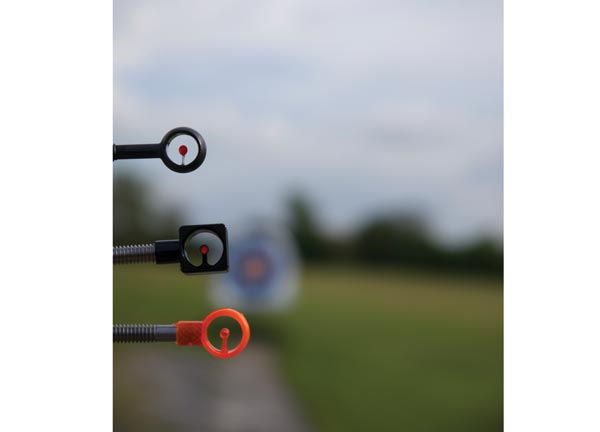
Experiment with sight pins – there are a variety available and there will be one out there that suits you
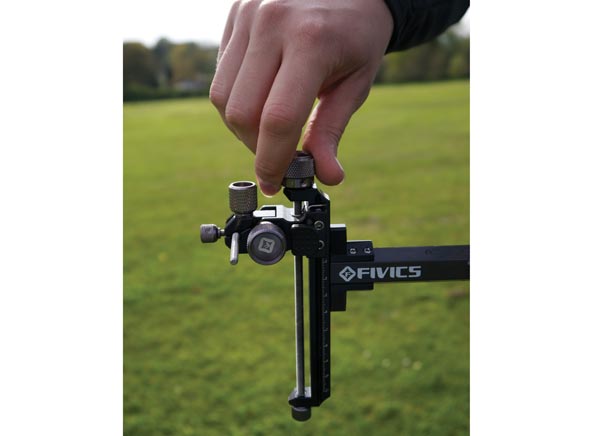
Now, the major difference between indoor and outdoor rounds is that outdoor rounds have multiple distances. This means changing sight marks. Most people will get their sight marks at the club the week of a tournament – however, is this the most effective way? I think not. Realistically you need to check, double check and triple check your sight marks. One of the most accurate ways is to actually shoot the round you are going to shoot. This means that you will be getting your marks in the level of fatigue you’re likely to experience during the shoot itself. Make sure to record your sight bar setting and brace height as well, these are crucial!
Despite that, as best as you might prepare in getting your sight marks, fields will vary from shoot to shoot, never mind adding wind and other weather conditions into the mix. This means it’s quite likely that your first arrow won’t land where you intended. I strongly recommend that you learn your sight adjustments for the distances you are going to be shooting. Move your sight, say, 50 clicks or 100 clicks and plot exactly how far the group moves at a given distance. Then do some maths to work out what the adjustment per ring is, and record this along with your sight marks. This means when you arrive at the competition you can change distances like a pro and get your arrows scoring highly as quickly as you can.
Training
Working out how many clicks it takes to move your arrows a colour ring on the target is very useful
I’ll finish off with a couple of training tips. Try changing into your waterproofs halfway through a practice session. It’s very likely to happen at a shoot so you should make sure to be used to it and be aware of how it changes your shooting. Maybe even try shooting with a wet tab – if it rains at a shoot this will be something you’ll have to deal with. Dunk it in some water and ping some sticks!
Try scoring a round aiming at the red/blue border, with your sight set so your arrows land in the centre. This is great practice for aiming off in the wind, which, as simple as it seems, can make even just shooting proper shots and following through on the middle quite tricky.
Hopefully this will help you hit some new personal bests this outdoor season! There are so many opportunities to compete and shoot in what can be lovely weather in Britain. So get outside and get training, tune up your bow, enter some tournaments and enjoy this most regal of sports in the way it was intended. Happy shooting!
This article originally appeared in the issue 116 of Bow International magazine. For more great content like this, subscribe today at our secure online store www.myfavouritemagazines.co.uk