
Duncan Busby shows you how to squeeze out every last point on the way to 600.
In recent years indoor archery has become about the pursuit for perfection; this indoor season alone has seen world records falling in the compound category.
At the 2nd stage of the Indoor Archery Series in Luxembourg GB junior Ella Gibson broke the FITA 18 record of 596 in the qualification round, this was then beaten at the next stage of the tour by Sarah Prieels who increased it to 597.
Dutch Pro Mike Schloesser scored another perfect 600 and is the first (but not the only archer) to accomplish a perfect ranking round in competition. Asked about his performance, he simply said “I think I shot two nines in the tournament, it’s an upgrade on the last competition (in Macau); I shot three nines there.”
More and more archers are trying to find those precious few points to up their game to the last level, from where there are no further improvements to make.
Nobody has ever cleaned an entire competition including matchplay without dropping an arrow, but with no weather conditions to take into account, together with a single, fairly close shooting distance, this could still happen.
Indoor archery requires competitors to focus only on their equipment, shooting form and their mental game to achieve results. As Scholesser put it “I will shoot that perfect competition, it’s gonna happen for sure.” If you too share that same determination then tuning your equipment is the best place to start.
So what are the 12 biggest differences you can make to your set-up to really improve your chances in a competition?
#1
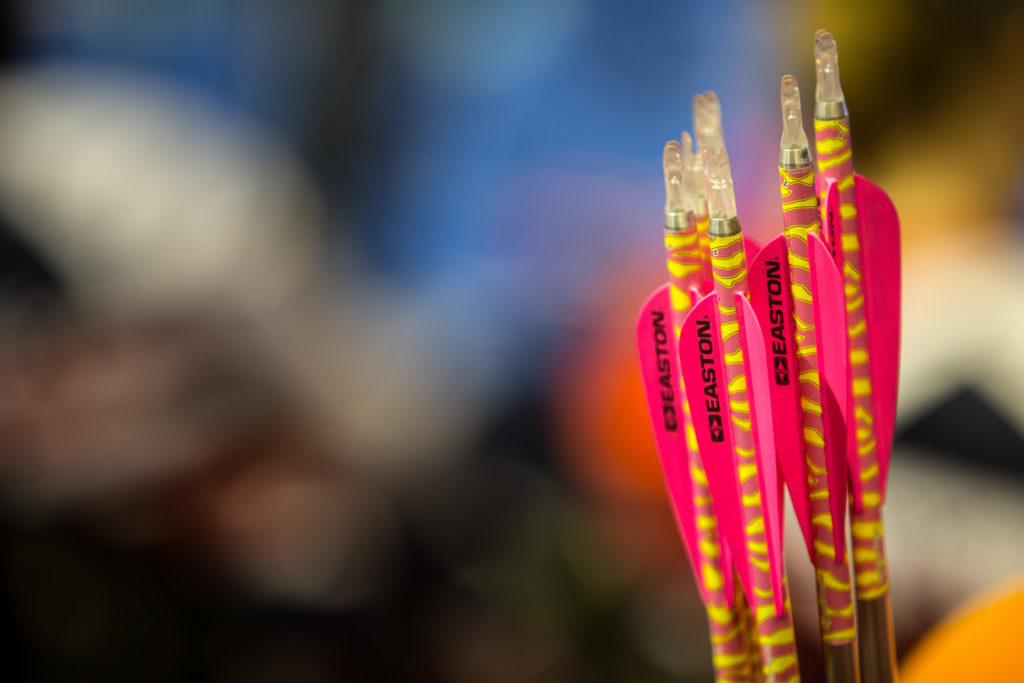
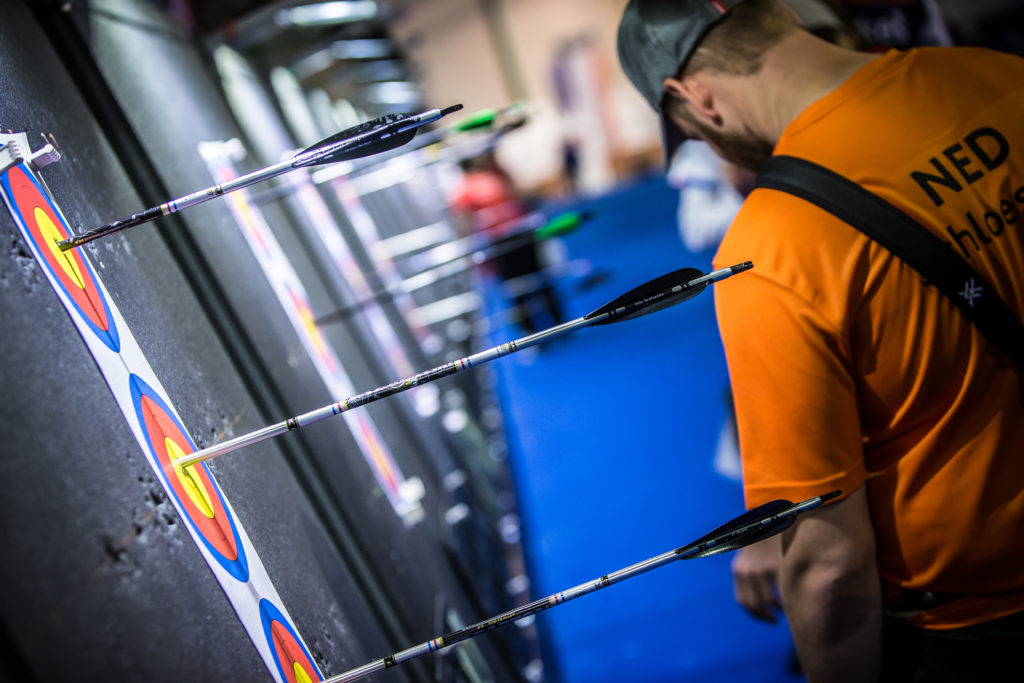
Most indoor archers want to maximise their line cutting potential by using fat arrows, but they can be notoriously difficult to tune.
World Archery rules limit their diameter to 9.3mm but these size arrows are often significantly stiff for many set-ups.
Choosing the largest diameter shaft can sometimes be counterproductive, so select a spine that is closest matched to your bow as it will give you better results even if it is a little thinner.
#2
As speed isn’t an issue indoors you can weaken fat arrows by leaving them a little longer than usual; you can comfortably sit several inches of arrow off the front of your bow in order to get it to spine correctly. Remember you can always cut them down later if you need to stiffen them up.
#3
Make sure your arrows are flying as straight as possible; you’ll never repeatedly hit the tiny indoor 10 if your arrow flight is poor. Your arrow should be sitting centrally in the bow and at 90 degrees to the string before you move on to any fine tuning like paper testing or group tuning.
A paper test can tell you a lot about your set-up but it’s not infallible; poor paper tears can have several different causes, so you’ll need to take every factor into account when analysing your results. Remember if you don’t get a clean tear through paper but your results on the target face are good and consistent, go with the target face.
#4
Experiment with different point weights; a heavier point will increase the arrow’s front of centre, this is the percentage of weight that’s in the front half of the arrow.
An arrow with a high front of centre will be more stable in flight which is important when shooting shorter indoor distances, as there is less time for the arrow to correct itself before it reaches the target.
Remember that increasing the point weight will also weaken your arrow spine, which is often welcome with large diameter arrows, however heavier does not always mean better if it negatively affects your tune, so be careful you don’t make your arrows too weak with heavy points.
#5
Indoor distances are a lot shorter than those shot outdoors and as the arrow is only in the air for a small amount of time it’s important that it’s stabilised quickly. Larger vanes up to 5” long help to better stabilise the heavy weight of an indoor arrow over these short distances.
Large high profile plastic vanes have now become the most popular choice amongst serious tournament archers due to their consistency and ease of application, though they can cause more clearance problems than feathers, particularly if you fletch with a helical offset.
#6
Feathers are left and right wing specific; if you choose to fletch your arrows straight or with an angled offset you can use either wing, but make sure you don’t mix the two. It can happen.
If you choose to use a helical offset you’ll need to make sure you match the helical to the wing, otherwise you will force the natural line of the quill in the wrong direction.
Using a helical off set helps the arrow spin quicker which in turn stabilises it faster; although it can make clearance more of an issue and if too much of an angle is put onto the vanes they’ll never to stick to the arrow shaft.
#7
Poor results on the target or through paper are often caused by vane contact or poor arrow stability; if you’re having clearance problems, and you have addressed your fletching angle, consider switching to a smaller vane or one with a lower profile.
As a general rule you should use a vane no shorter than 3”long and with the biggest profile you can comfortably and cleanly get out of your bow.
#8
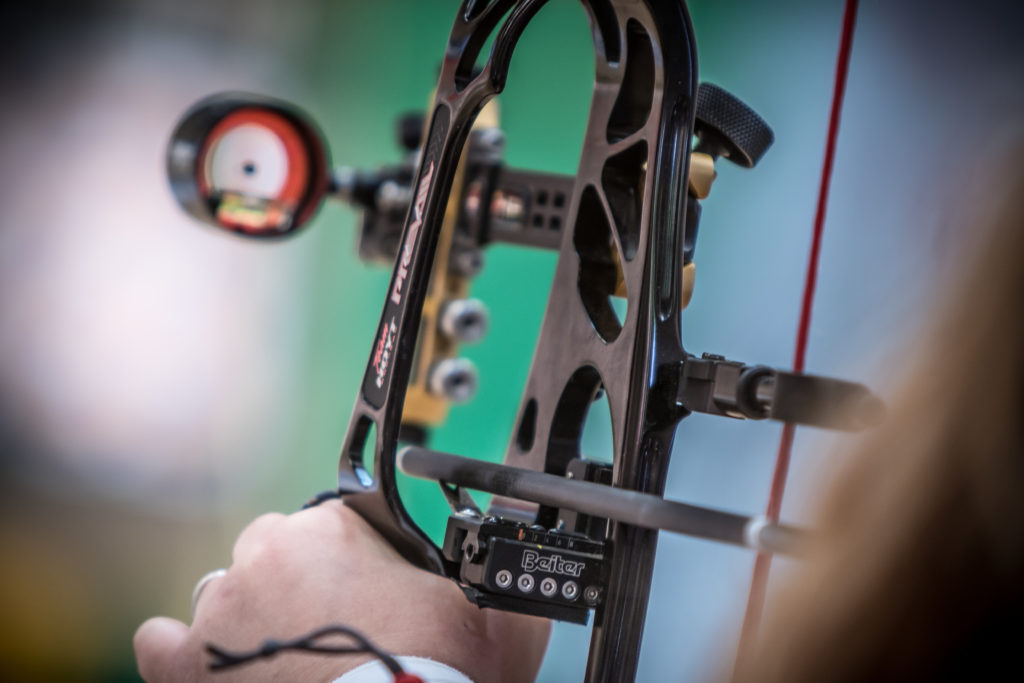
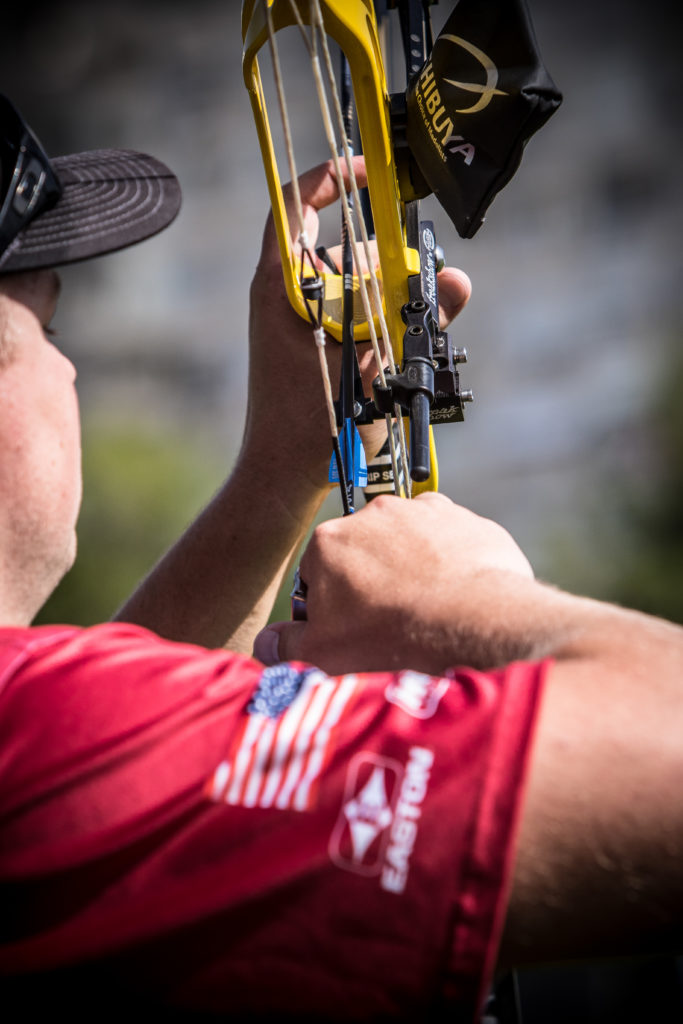
A blade style rest is the most popular choice of arrow launcher among professional compound shooters, but you must ensure you’re using the right stiffness for them to work correctly.
If the blade is too weak your arrows won’t be supported enough during release; your results will be poor and you will often get arrows hitting low on the target.
If your blade is too stiff it will not flex enough on release which will cause clearance problems for your arrows; this makes your shots much more critical as it causes your arrows to bounce off the rest.
Most compound shooters find that a 0.010 blade works well for them indoors but if your arrows are particularly heavy you may need to go up to a 0.012 blade.
If like a lot of archers you choose to use a very stiff blade to stop your arrows falling off the rest, consider using a slightly wider blade instead; just make sure you can still achieve proper vane clearance first.
#9
Finding your correct draw length is crucial to achieving a steady hold over the target; a draw length that is too long will constantly float around the target whereas a draw length that’s too short will initially hold well but start to make erratic movements towards release, if you’re suffering from either of these issues try adjusting your draw length a small amount to see if it helps.
Unless you’re significantly under or over drawn you’ll only need to make very small adjustments in order to affect the way your bow holds, so start by twisting or untwisting your strings or cables to make any alterations – you can then move on to larger adjustments using cam modules if necessary.
You should always remember to make a note of how many twists you’re adding or taking away so you can retrace your steps if you find no significant improvement.
#10
Your stabilisers will also play a crucial role in the consistency of your set-up; unfortunately stabilisation is very individual and will greatly differ from archer to archer, even if you’re using the same equipment, so be prepared to experiment.
A good starting point for most archers is with a 30” front rod and either a 12” or 15” rear bar; the number of rear bars you choose and their overall position is usually dependent on your bow and the amount of torque you put into your shot; some archers find twin bars help to reduce the effects of hand torque.
You should try to shoot with a good amount of weight on the front and back of your bow, but don’t overload your stabilisers; too many weights will cause your form to break down as you struggle with the weight of your set-up, whereas too few will make your aim erratic as your bow will continually move around the target.
The mass weight of your set-up needs to be manageable and effective, rather than a hindrance to your aim; some pro’s will shoot with what can only be described as a ridiculous number of weights on their stabilisers but you must remember these guys train nearly every single day and shoot hundreds of arrows, so they’re able to build themselves up without damaging their form or their physical health.
#11

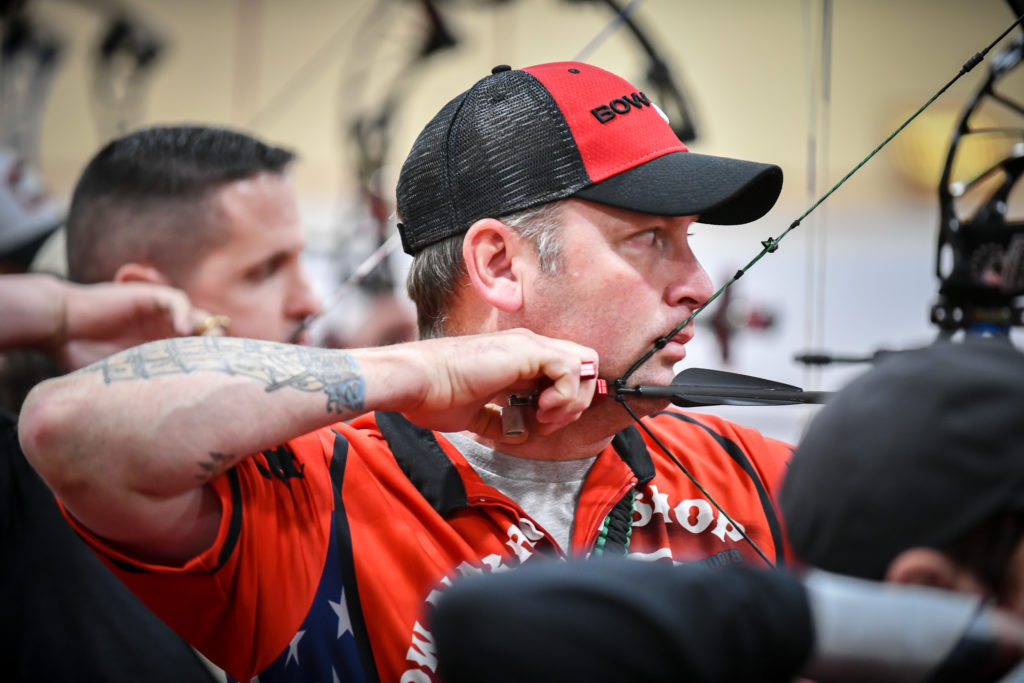
Your aiming aperture can make a huge difference to how well you shoot indoors; a small dot or fibre pin can be particularly punishing as it can cause you to over aim; this is when you become over focused on the target and distracted from your shot execution. A larger dot or even a ring will make any movement less obvious and will allow you to refocus on your shot.
Try out a number of different dots and rings in order to see which one works best and if a simple change of aperture doesn’t have the desired effect try switching to a higher or lower power lens, sometimes seeing more or less of the target can allow you to achieve a more natural aim, particularly in what can sometimes be challenging lighting conditions.
#12
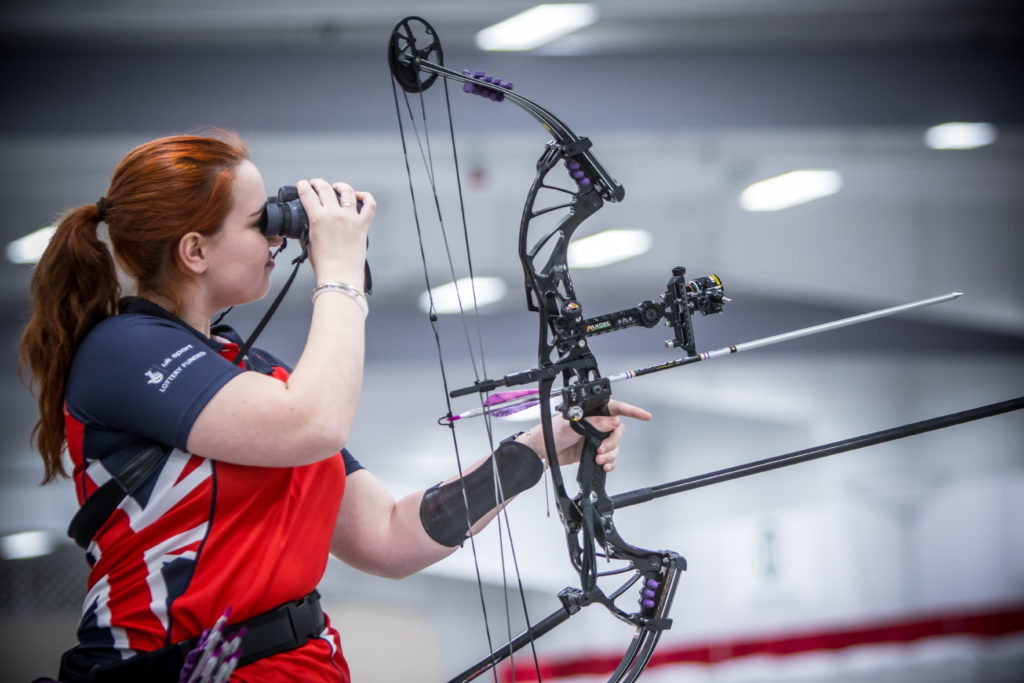
Your choice of bow can have an enormous effect on your indoor shooting experience; as arrow speed isn’t an issue common practice is to shoot a longer axle bow with a large brace height as this combination offers the most stability and a comfortable string angle – although those with shorter draw lengths will be able to achieve these aspects with a shorter axle bow.
As not everyone has the option of owning an indoor specific bow, one with an axle to axle length above 36” and a brace height of 7” or more will be ideal for most archers and as the majority of target bows on the market fall into this category you may find your current model works perfectly.
The New Year brings with it new opportunities for the indoor season, so there’s no better time to begin the 12 step ladder to success.
You never know you may find those two or three extra points you were looking for that will allow you climb your way to the top!
What are your veiws on using a 4 fletch arrow
Hi Rob – I will try to answer this as an experts question. Cheers!
If you have a limb driven rest, positively try and test 4-fletch. I now have 3 Hamskea. Hunting, indoor and outdoor bow’s in all 3 and my groups are definitely tighter.
Thanks. A really useful article. Provoking thought without being overly prescriptive.