
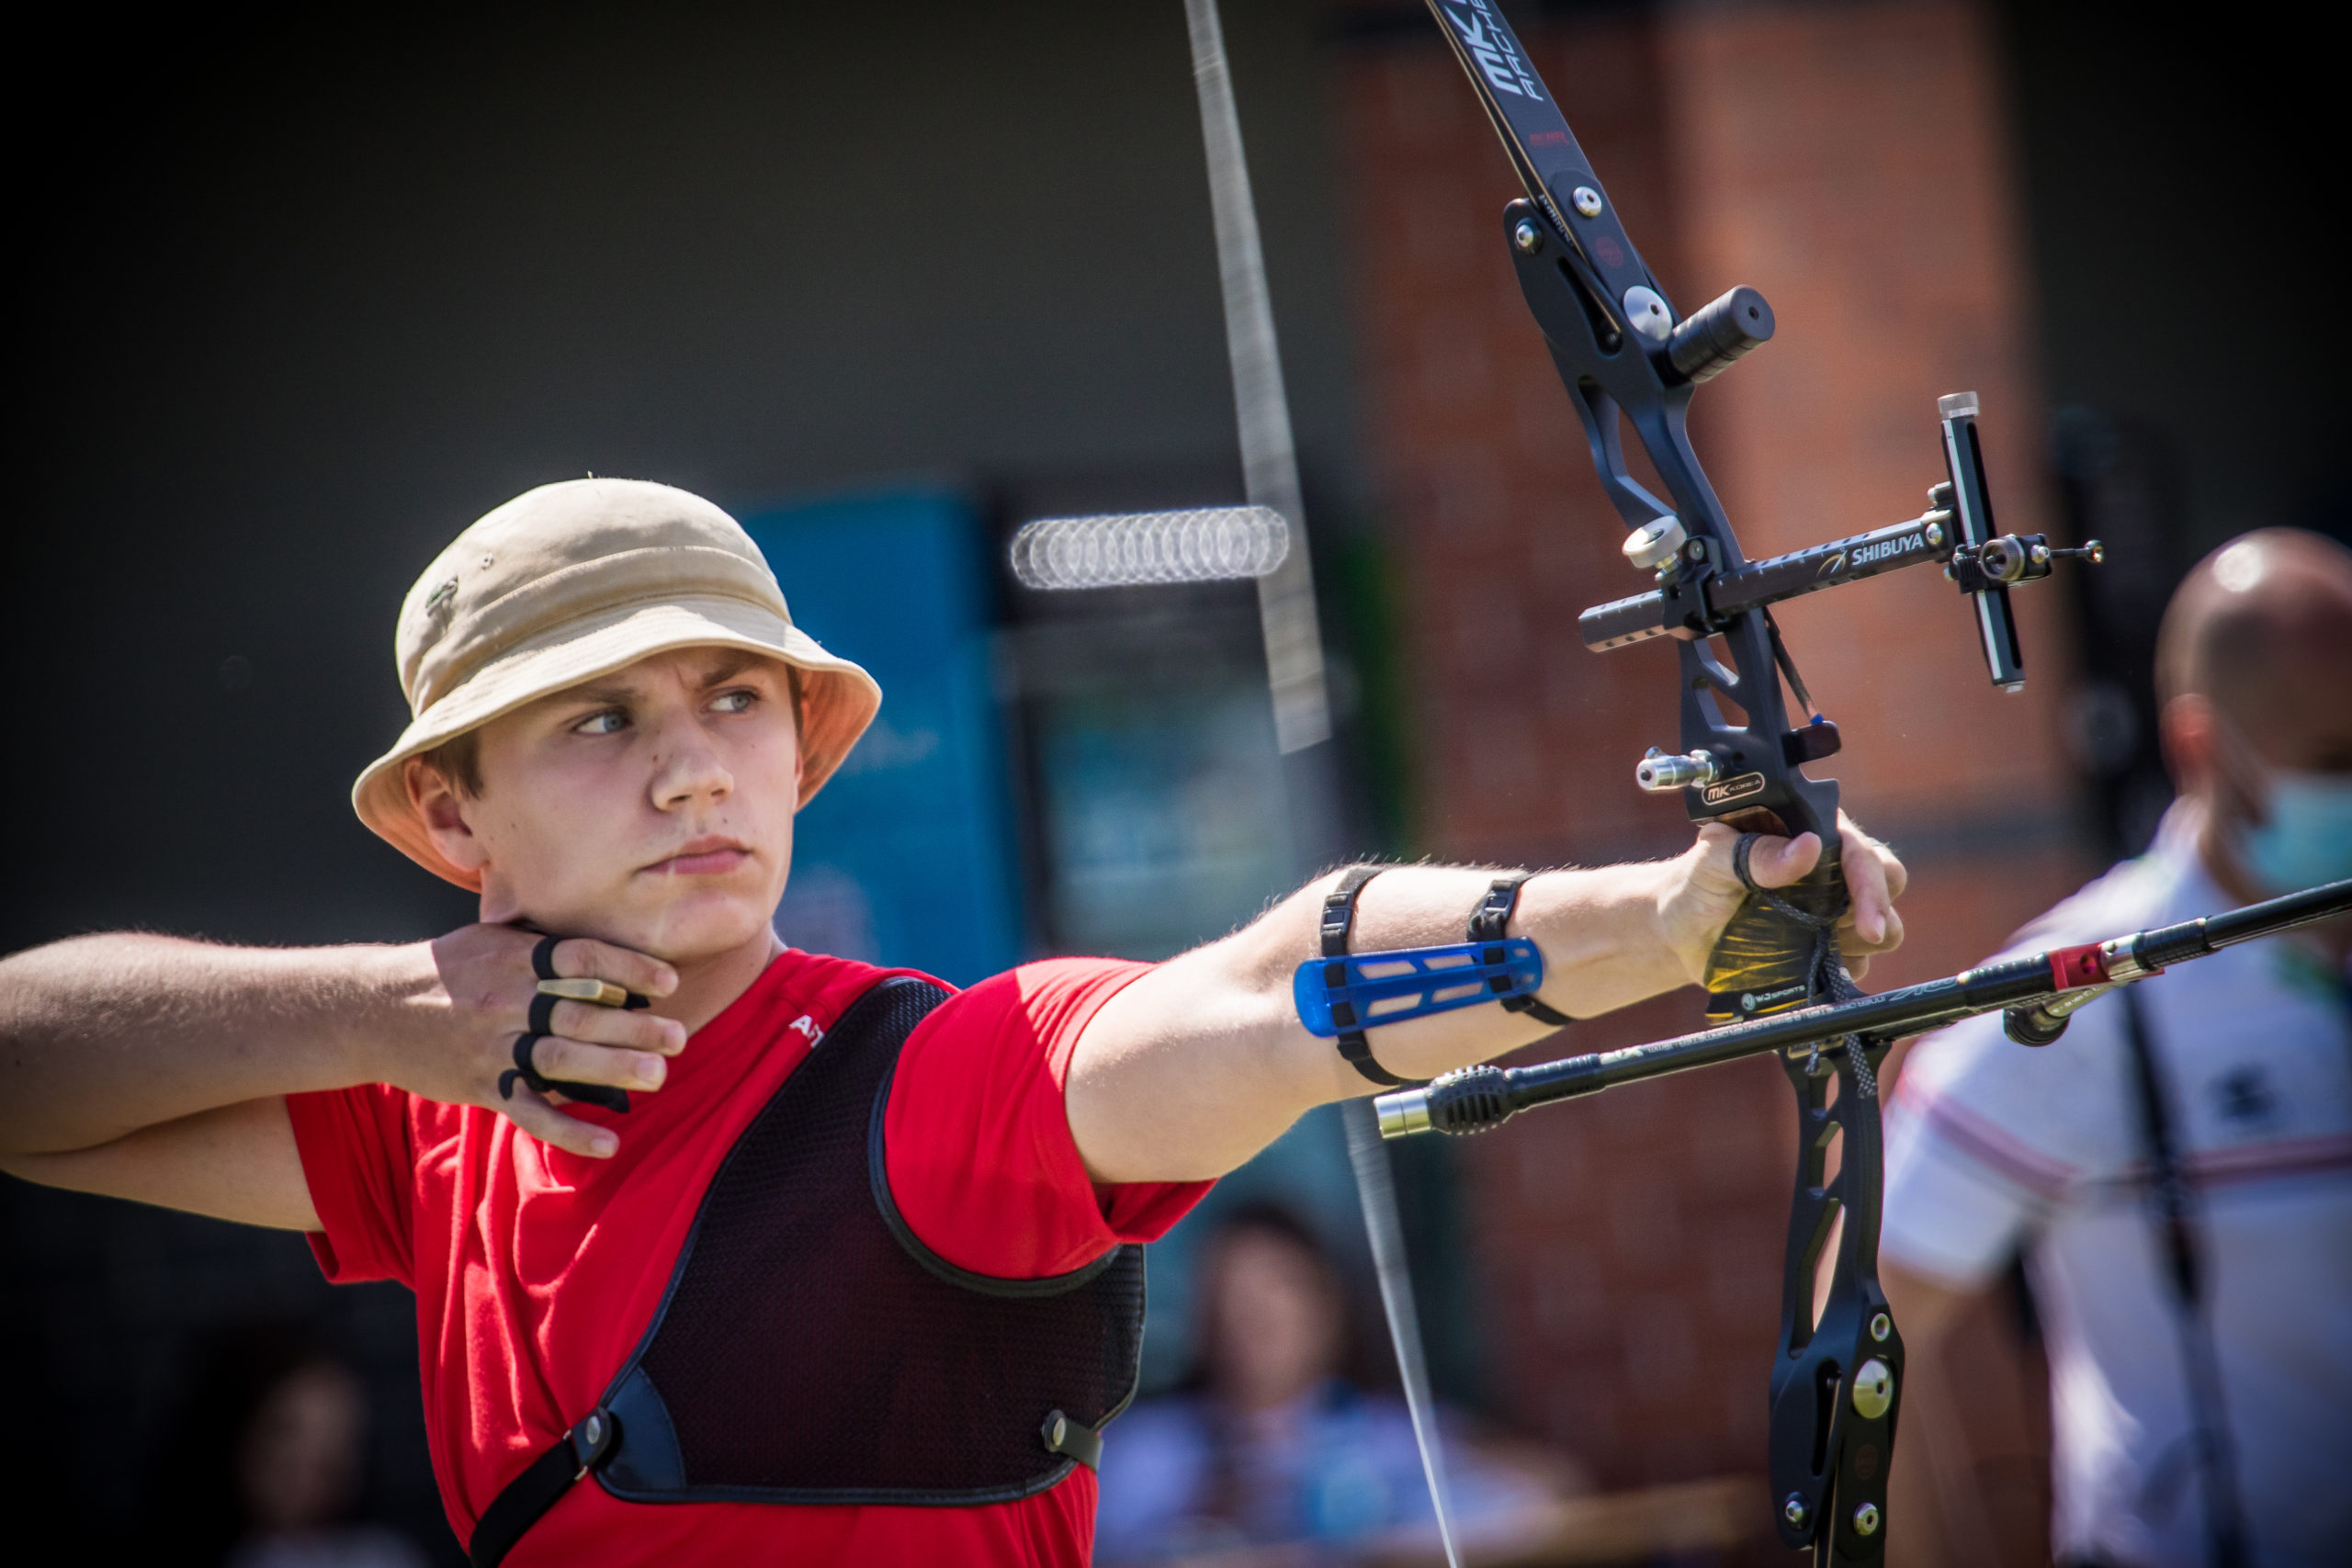
Andrew Smith looks in all directions for the answers
Archers really are a generous lot, happy to throw away points during a round or head-to-head match by not realising they have an issue and failing to make an adjustment or a correction quick enough to stop haemorrhaging points.
Given the lengths some go to to have their equipment perfectly set up, this is quite contradictory to what you would expect. James Park has written several articles in this publication demonstrating that even the best archers could benefit by adjusting their sight earlier. But it is not just about moving the sight. Changes in our form from shot to shot will move our groups around the target face or create a rogue arrow landing where it was not supposed to.
The decline of multi-distance rounds and the growing prominence of the WA70m and head-to-heads at county, national and international competitions does mean that lots of archers concentrate on this round and are slowly losing the ability to understand some of the shooting errors they have made and how to correct them.
Another reason why archers are slow to react is that they are told to believe in their training, so naturally assume that if an arrow does not hit the mark, it is a form issue and not a mechanical problem and proceed to waste another arrow without running through a quick analysis as to why it happened.
Practising this analysis after each shot during training will make the process part of your shot routine for competitions and not take you out of your comfort zone. The head-to-head round can make this harder because we only shoot three arrows each end, making it difficult to see a pattern before it is too late to make a correction. A coach in the box can help by plotting arrows and seeing the rogue pattern before the archer, especially prompting the moving of the sight or noticing a form error, but of course, not all of us have that luxury.
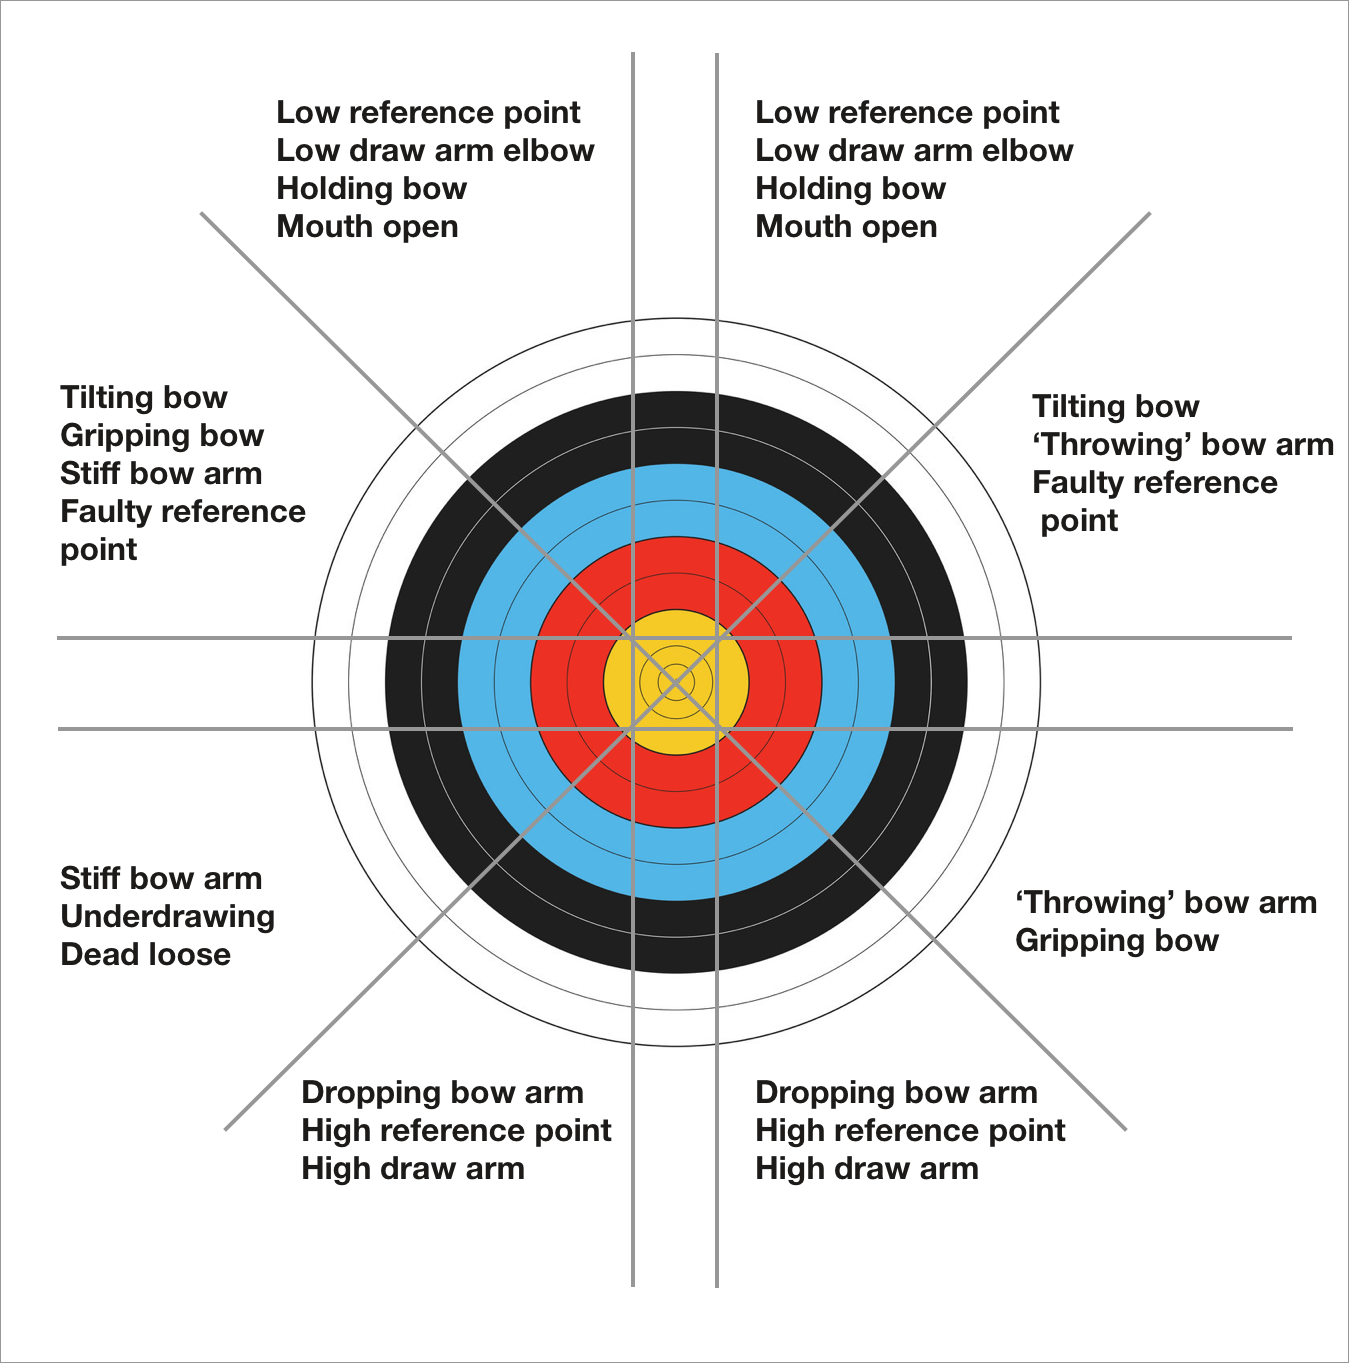
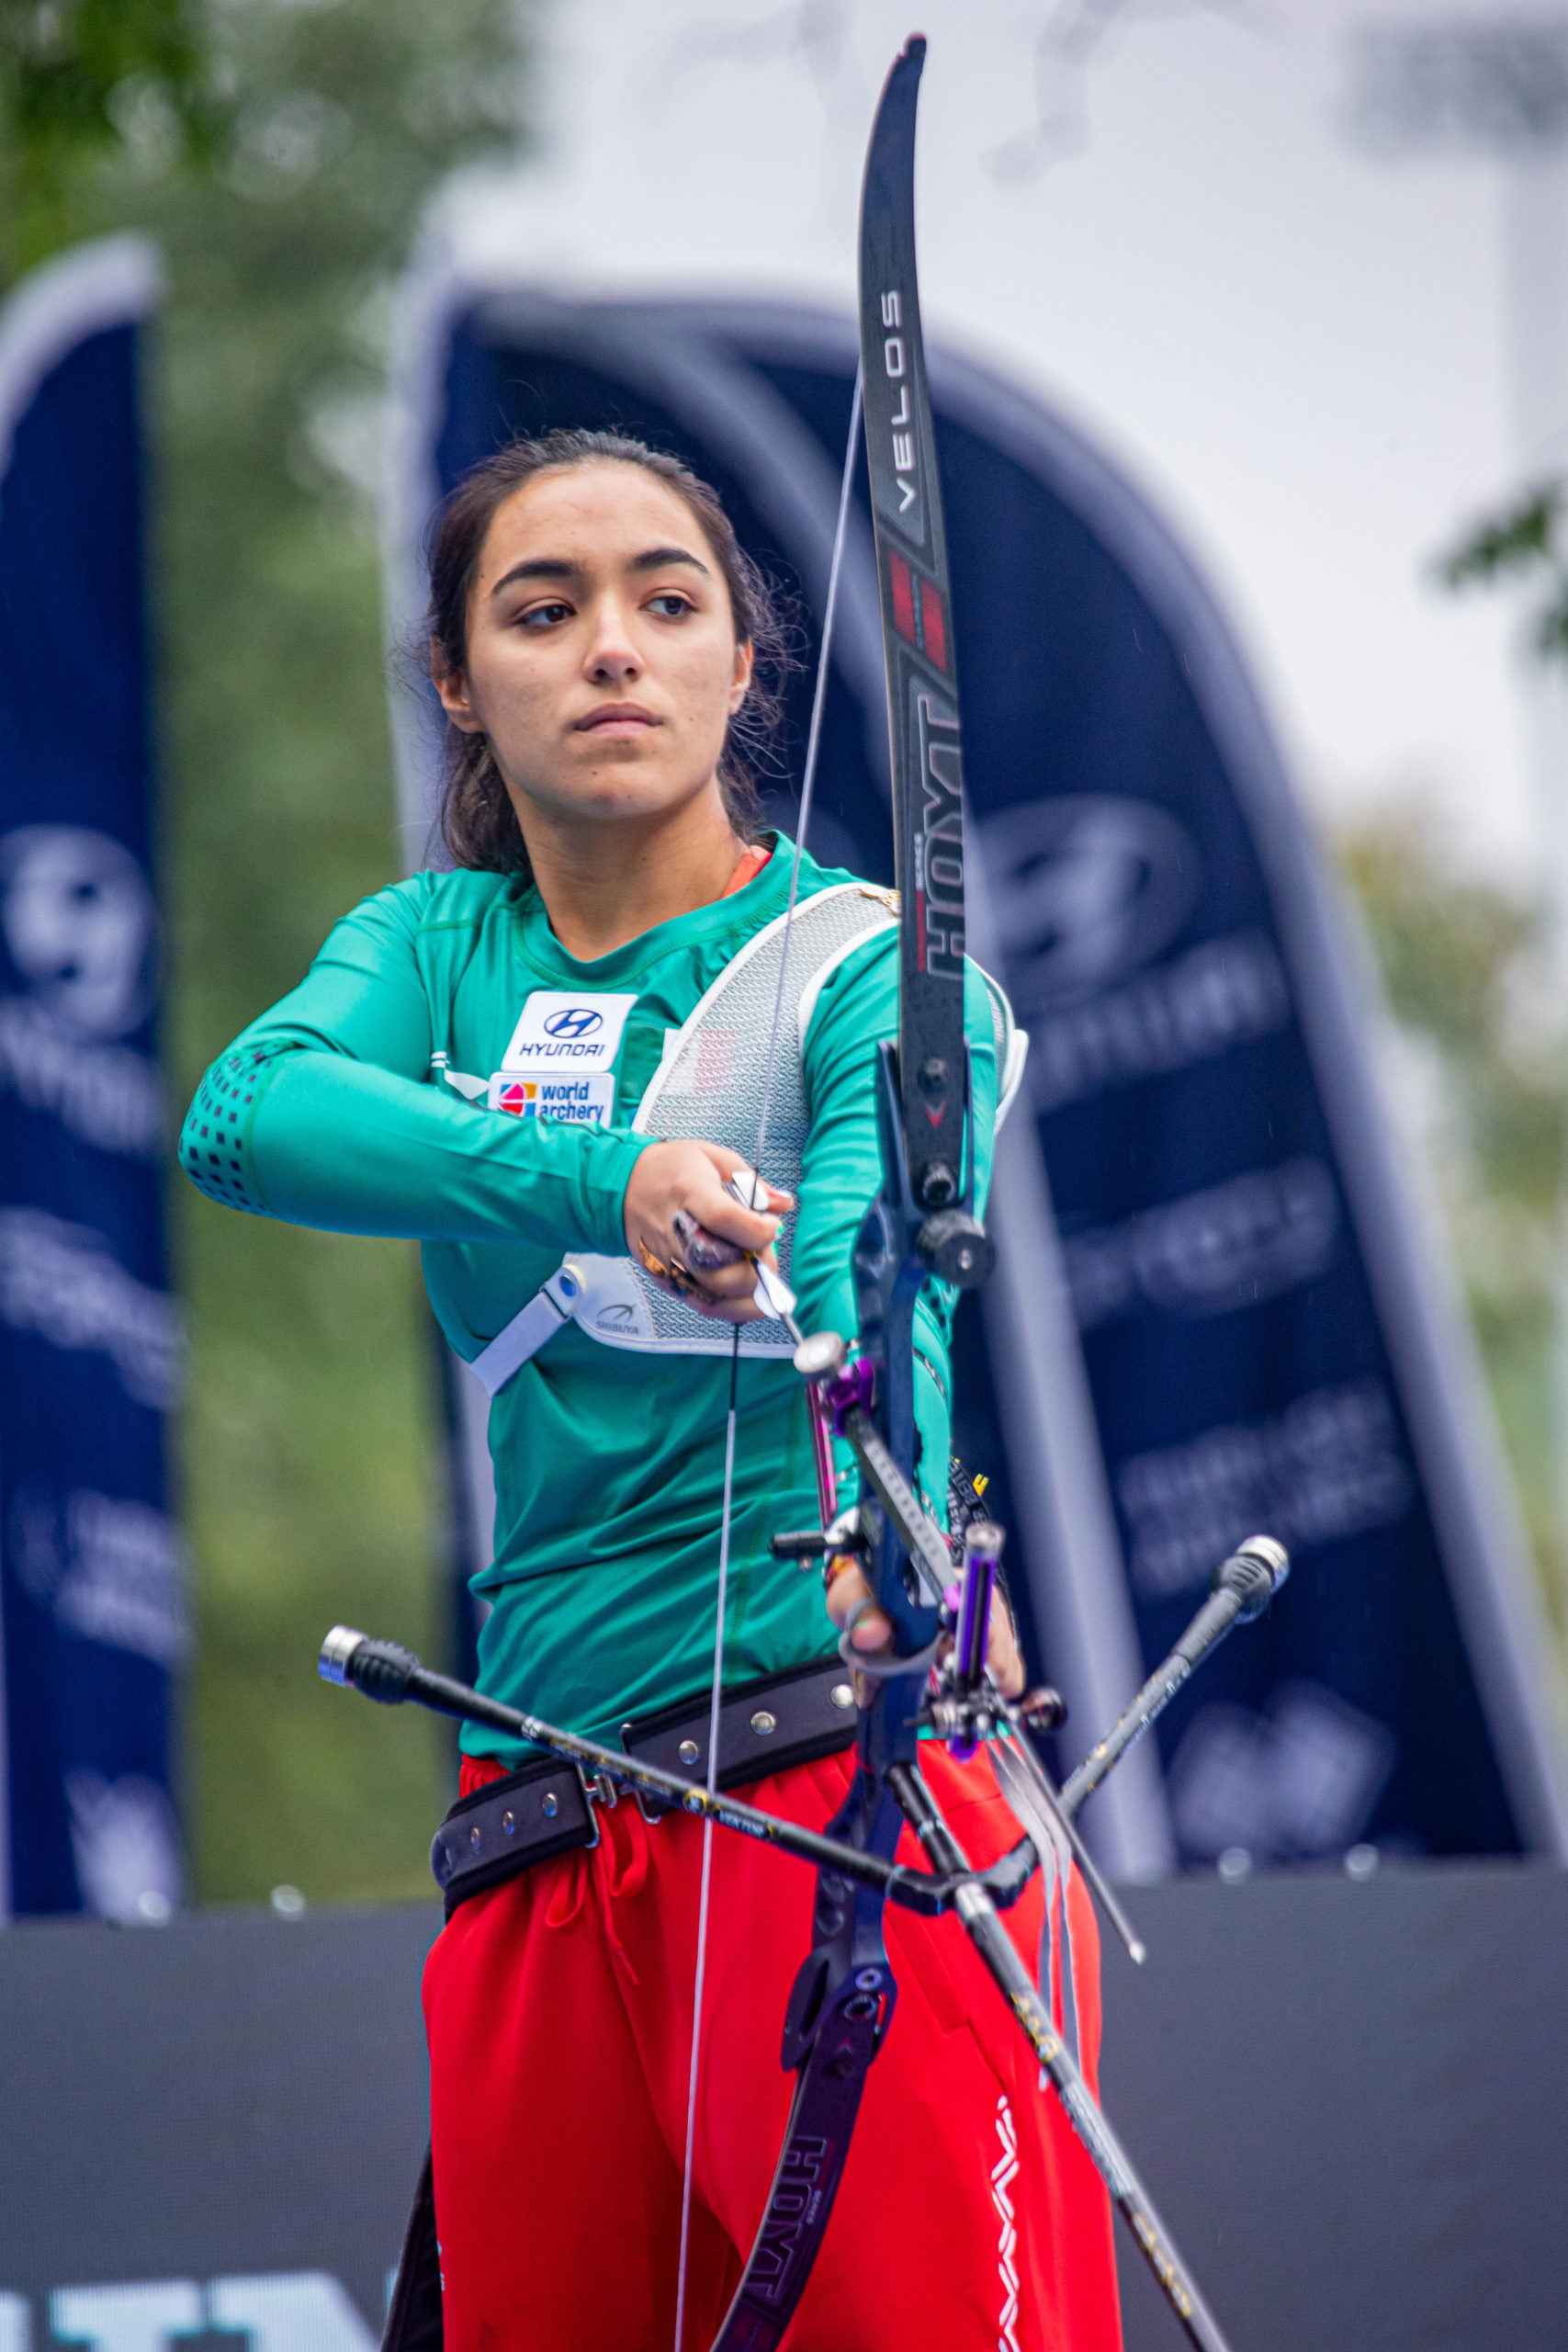
We all shoot in a similar way and have done so for many years, so it is well understood and documented that particular shooting errors will result in arrows landing in a certain place on the target face. Here we will look at these errors and how they show up on the target face. To keep it simple, all the examples are for a right-handed archer, so for left-handed archers the left/right errors will be reversed.
First, we will consider when you should act. In my opinion this should be straight after the shot, but with a level of realism – we cannot expect results in competition that we don’t see in training. The more you practice, the quicker you will understand if you have executed a good shot and whether the arrow has landed within your average group size.
It is also vital to keep calm and not overthink it; panicking and adjusting your sight or even ‘trying harder’ will not help. Just run a calm, quick checklist in your head: was it a good shot; can I see a problem with my bow or arrow; have I experienced this before; and if so, what was the solution?
If necessary, make an adjustment and get back to shooting the next shot as you have practised many times before; it could just be a one-off. When you score and collect, check the rogue arrow, making sure it is still straight and that there is no damage to the nock, vanes, point or shaft. Make a physical note of its number in the day’s training log – if it’s the same arrow each time, it might well be a mechanical problem. (I don’t have to tell you to number your arrows, do I?)
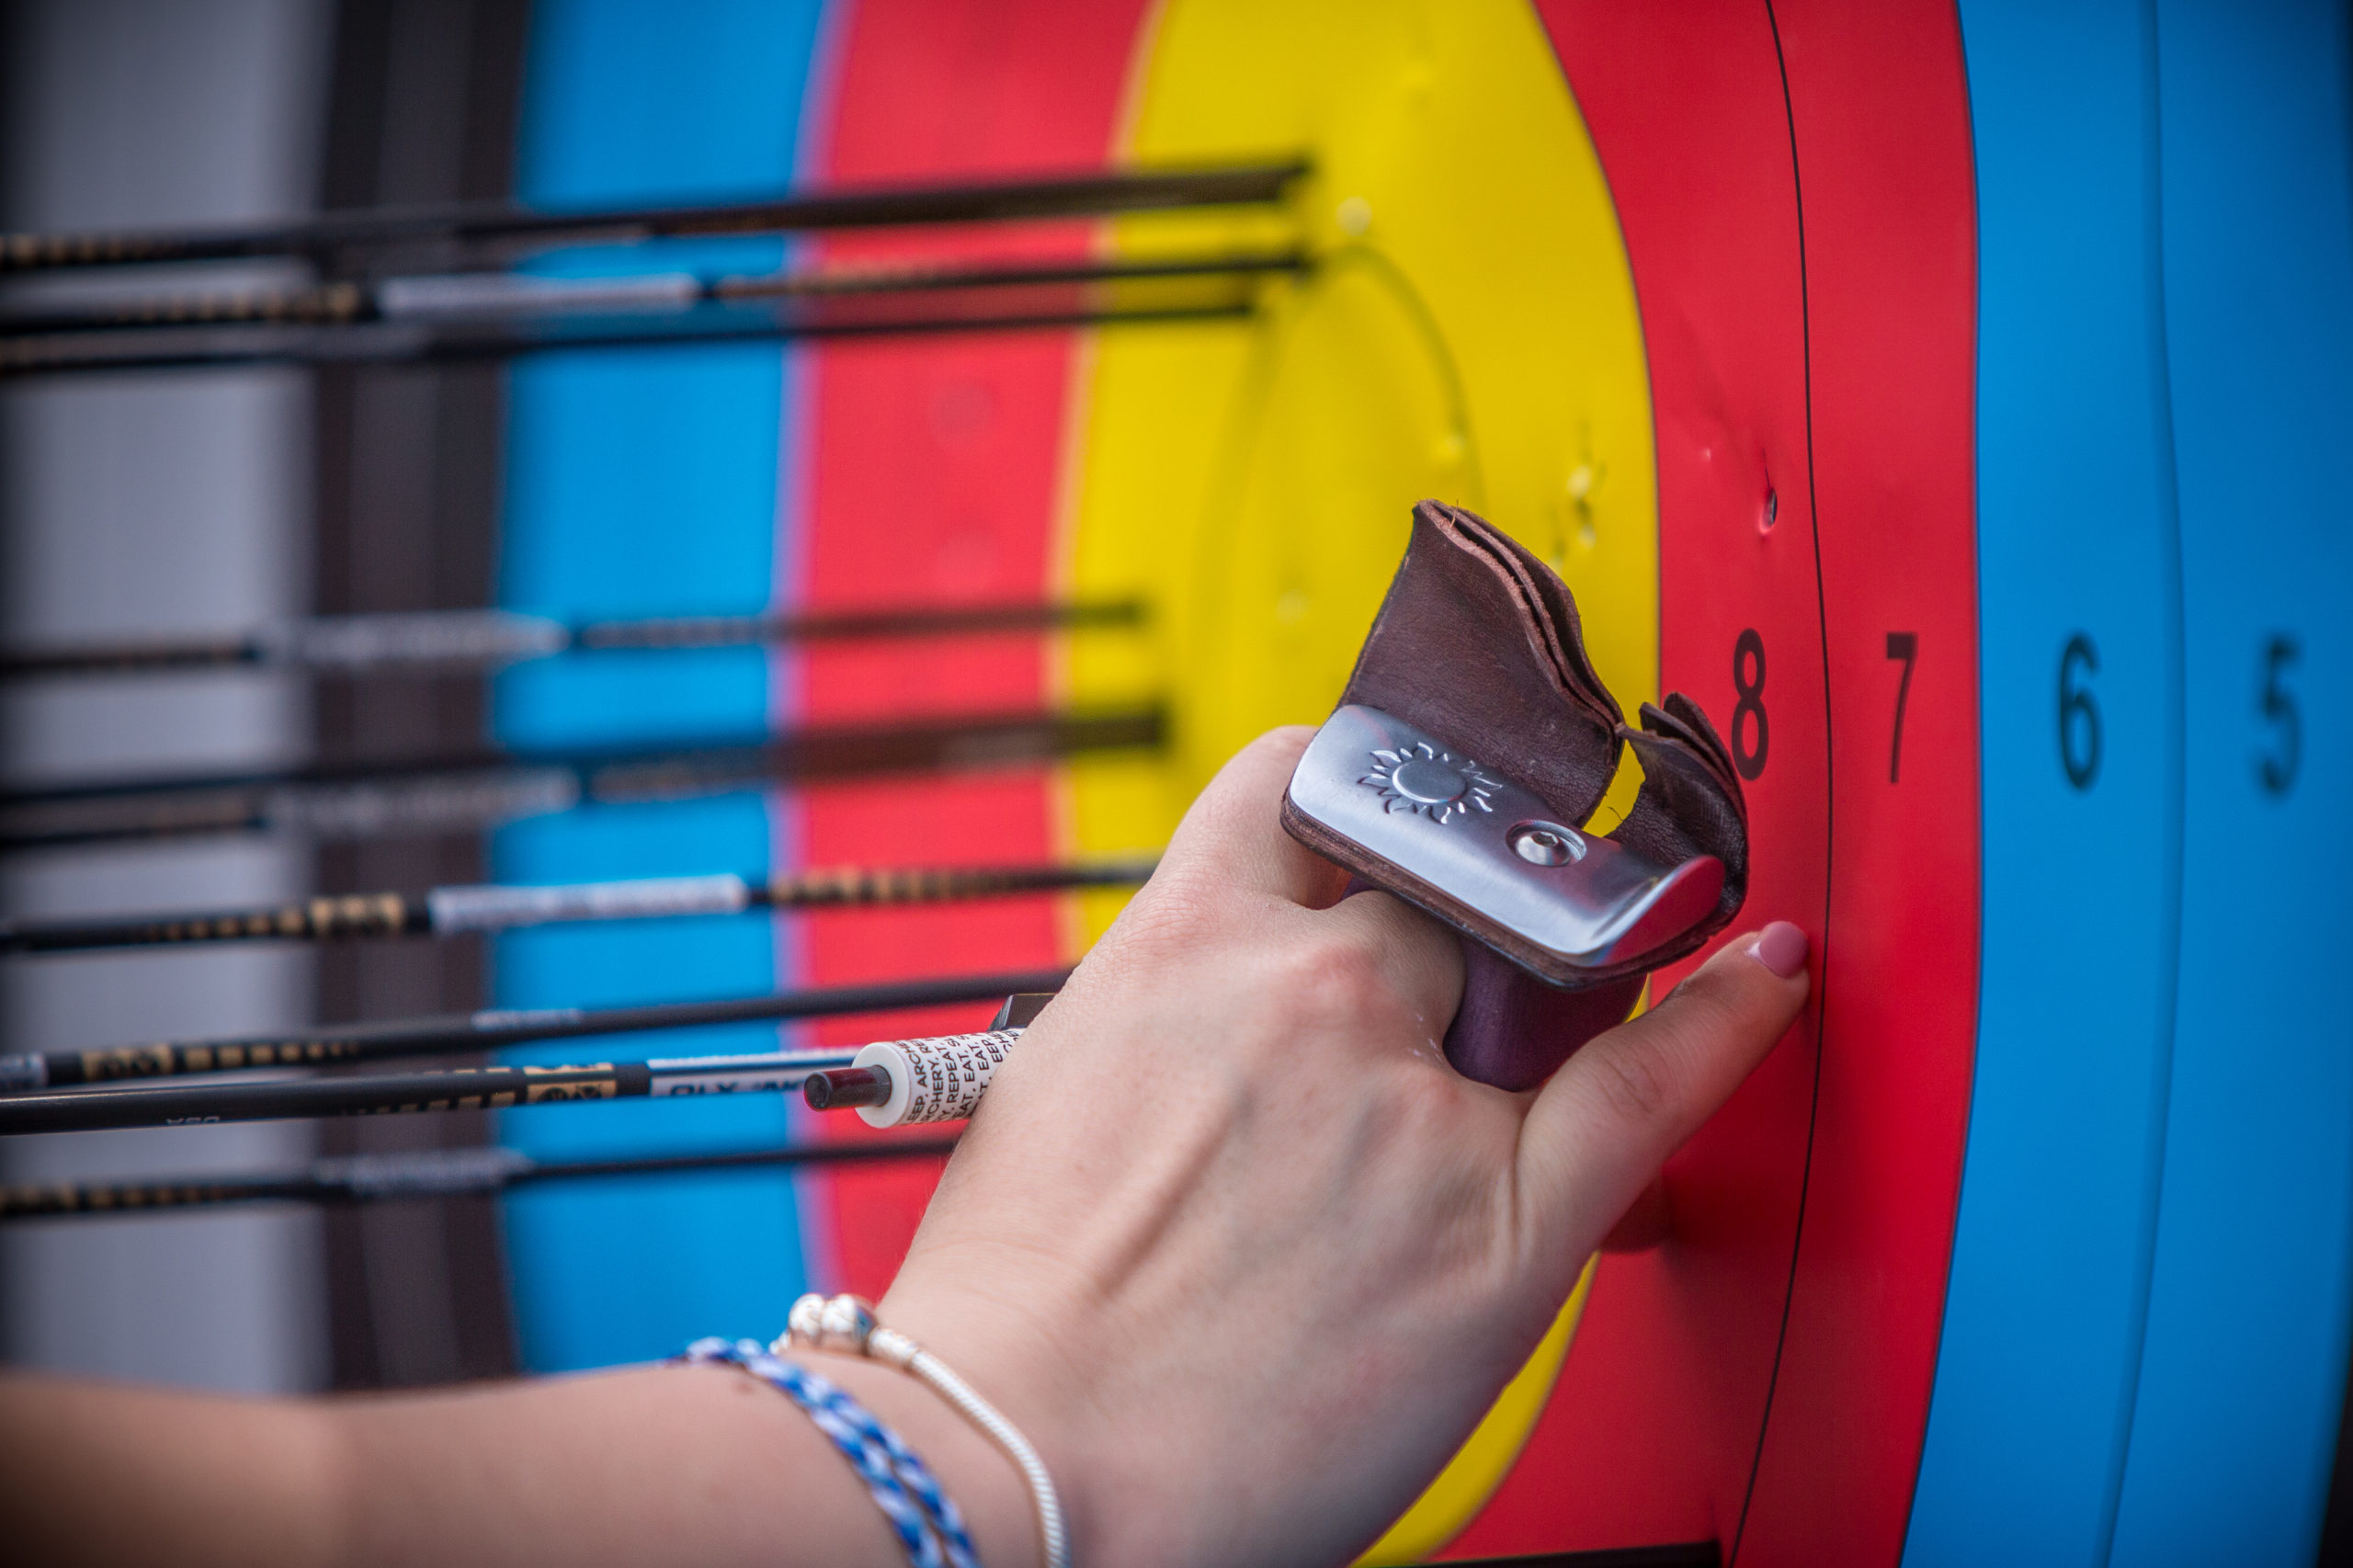
Shooting and equipment errors show up on the target as arrows landing high, low, left or right of the gold, or a combination of these. We will look at each in turn.
Low Shots
Low errors are usually down to a poorly executed, weak shot; the most common errors are dropping the bow arm during the shot, the hips tilting forward and a high bow-arm shoulder. Poor hand positioning and pressure on the grip – especially gripping the bow – will reduce the energy being transferred to the arrow.
Other considerations are arching the back, not drawing back far enough, or the head moving forward to meet the string, as both will shorten the draw. The draw arm can present many issues, most involve not getting in line to be able to execute a strong shot, for club/county archers the main issue is not using the back and finishing the shot before looking to see where the arrow has landed.
Placement of your drawing hand on the face, which is part of your back sight, makes it important that the hand is positioned in the same place each shot. Too high up the face and your arrow will drop low because your anchor (reference point) is closer to your eye, reducing the angle to the sight pin.
Low shots can also be caused by bottom finger pressure. If you have varying bottom finger pressure and it drags on the string, it can send them low (varying string finger pressures can send them everywhere). If you notice your bottom finger takes a lot of pressure, this can very likely send stray arrows down in the target.
The most important thing about getting consistent finger positioning is to let your fingers and hands relax. Adding tension in the wrist makes it a lot harder to be the same each time. Allow your hand to really stretch out, and when placing your fingers, just press them against the string. You may be surprised how little you need to engage to draw the string.
String clearance is a silly error that we all make by not checking that the clothing we wear is clear of the path of the string. We are told that our string should not touch the chest at full draw, though most archers find it does. Different materials will grab the fibres of the string differently; wearing a chestguard eliminates this.
Low shots can also happen by ‘peeking’ at the gold from behind your sight pin, which most often means aiming low. Trying an open ring or a larger sight pin can help here.
High shots
High shots are mostly for ‘opposite’ reasons to low shots and can be the result of overconfident shots. Things to consider are too much pushing forward on the bow arm, drawing back too far, the positioning of the tab and hand too low below the jaw, or even opening the mouth during the shot. A high elbow will lead to higher shots, as it puts a different finger pressure on the string.
Right or left shots
Right and left shots are generally down to your string picture (position of the hand and the string on your face) and the effect of the light on your string and sight pin giving the impression that over a day they are moving, so we need to understand this and compensate accordingly.
Other reasons for left and right shots are poor positioning of the bow hand – possibly a bent wrist (left) over-extended (right). An over-extended bow arm (left) moving the teeth/jaw adjusts the position of the string on the face (left and right); a poor release slows down the arrow (left).
Tilting the bow right will result in the arrow drifting right, as will shooting through the clicker, most probably. Bow arm moving on release – usually due to fitness issues – will result in left or right shots following the movement of the arm. Incorrect positioning of the feet or not standing in the same place on the shooting line will influence the twisting of the body, which can result in the shot being out of line. The quickest fix is to use some kind of foot markers.
Arrows landing to the right of the group are quite likely due to execution error on the front end of the shot – ‘collapsing’ as most people would explain it. The problem here is your bow arm moving inwards when the clicker drops. This might only be a fractional amount or it could be obvious. This could come from your front shoulder position and ‘set’, which a coach may need to look at. The best and easiest way to correct this issue is to focus on keeping pressure on the inside of your thumb in the grip, which pulls the bow away from the string on release.
We need to really have a properly fixed ‘back sight’. Ideally, you should try to fill as much of the gap underneath your jaw in to your neck as you can. This provides a more consistent reference that is less likely to move.
Next we need to really stop the head moving. You expand through the clicker, don’t pull through. Even if you expand from the back shoulder, then do that. If you pull, then the head moves. Expansion comes from inside the shoulder and makes your chest cavity and interior volume change. Long and short – don’t move your head.
Missing the target
Missing the target altogether makes it hard to identify the error and results in the greatest panic, especially if missing is unusual. Assuming you’re not shooting in vicious gusts of wind, the most common error is the arrow riding up on to the top of the button through incorrect finger pressure on the
string.
When using a sight, we do not look at the arrow, so the telltale signs at full draw will be finding it harder to get through the clicker, resulting in the arrow flying high right over the target. Missing low is usually down to string interference, which you should feel or hear. Generally, if you cannot draw through your clicker, or come through it easily, then there is something wrong with your form and you should start the shot process again.
Equipment failures
Equipment failures are often noticed too late, as I know from my own experience, especially those that involve arrow rests, which seem to have become more complicated, providing more opportunities
for failure. Strings have a life, and a drop in consistency could be down to your string wearing out or the nock fit/nocking point deteriorating. Damage to nocks, especially hairline cracks, is hard to notice and results in low shots or complete failure.
Fitness
Finally, for the average archer who is only able to practise a couple of times a week, it is hard to keep the same level of fitness and shooting consistency throughout the day and this will be the cause of many form errors.
There are simple exercises using your bow at home that, if done regularly, can reap big benefits and take no longer than making a cup of tea each evening.
Vittorio Frangilli, coach and mentor, once told me that mistakes are OK, as we learn from them – just try not to make the same mistake twice. There is invariably a great deal to remember; therefore, it is important during practice sessions to shoot shots to the best of your ability at all times. Every shot you make will be training your subconscious to shoot an arrow.
The more the subconscious does for you, the more consistently you will shoot and the higher your scores – but this is a subject that needs to be understood in its own right.
I want to see better visual coverage of archery from World Cup events. To many times cameras zoom in for facial close ups of the archer. That’s stupid. Facial close ups do nothing to inform the viewer of good archery technique.It would be informative to have a picture within a picture. One camera focuses on the anterior view of the archer while the other focuses on the clicker of the same archer. The overall anterior focus of the camera should be from the knees up to the top of the head and from the end of draw elbow to the end of the long stabilizer. Cameras behind and above the archer would be of great value. They would provide great view of archers alignment. Lastly keep the cameras still. There is no reason for cameras to move to cover a static archer who is to stay as still as possible.
Thank you for this “list” being able to know why arrows go where they go is very helpful