
Mark Brown goes through some of the kit that they don’t tell you that you need – and why.
I enjoyed my beginners’ course enormously; it was very rewarding. But I don’t remember being taught anything about basic bow set-up, or even simple maintenance tasks: that had to wait for my coaching course. Until then I relied on the kindness of strangers.
“You need a jig” they’d say, leaving me confused as how a dance could possibly mend an arrow. Clearly, they were winding the new boy up. And what possible use could a Bray Sight Gauge be? How did it differ from those used in other rounds?
Most archery shops will sell you a standard beginners recurve setup with a risers, string, limbs and so on. But if you carry on archery, you will need a pile of other things too, some of which is essential from the get go.
Why are these not listed anywhere, when they are just as essential as a string or arrows? No matter. It’s time to change that now.
You may be thinking: why isn’t so-and-so on here? There really are dozens of possible tools you could need, especially once you start making your own arrows. This is a personal list of what I consider the most essential.
Beginners
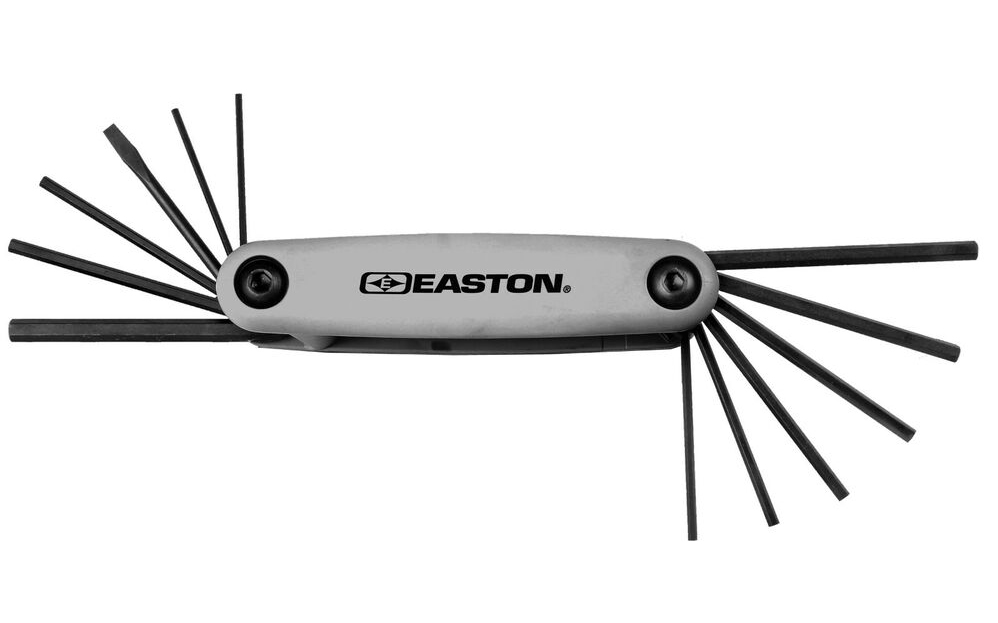
Multi wrench
Why you need it: Utterly essential to stop your bow case becoming a riot of confusing Allen keys, for probably the only sport in the world where participants have to mix imperial and metric measurements on the same piece of equipment.
What to look for: An archery specific one from one of the well-known manufacturers is best to begin with.
Arrow puller
Why you need it: Even beginners’ bows pack a lot of punch, they can beat bullet-proof glass! Arrows can be hard to extract from a target. Keep your hands safe, and keep the shooting moving with one of these. (Not having one is a great way to meet helpful people though.)
What to look for: Avoid novelty: flat, softer rubber is more grippy; bright colours are easier to find when dropped; it’s good to carry a spare.
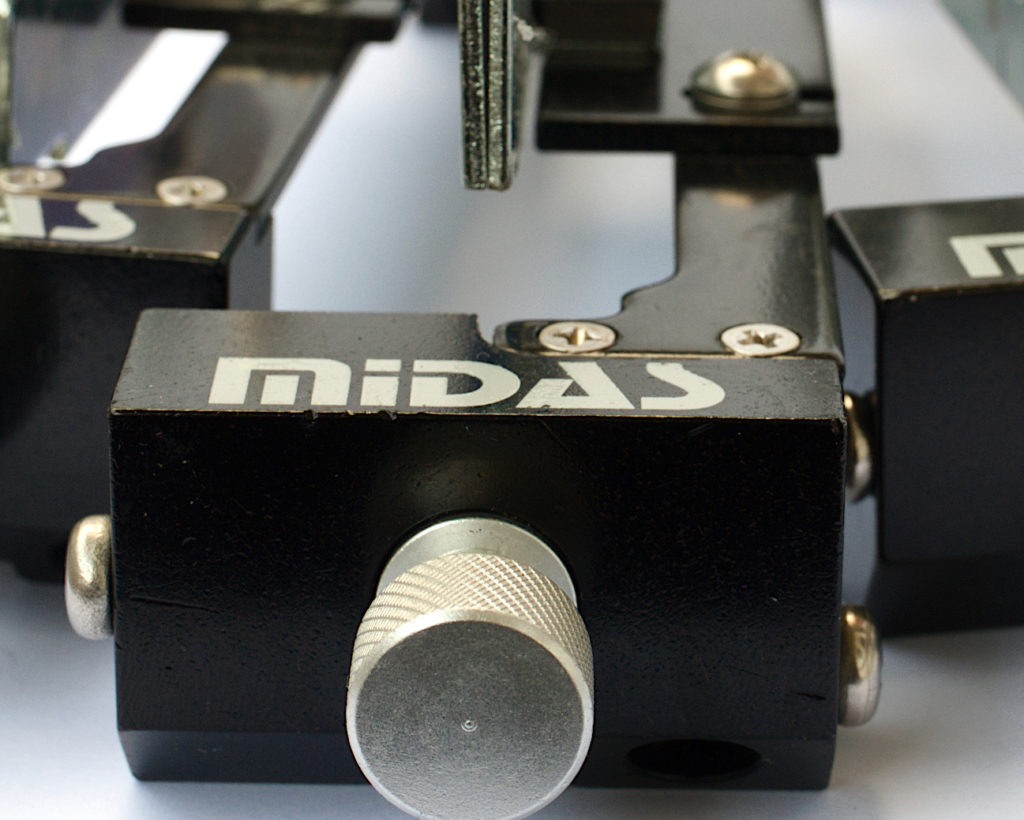
Brace Height Gauge
Why you need one #1: The brace height is one of the easiest things to adjust on a bow. It is a measure of how far the string is from the bow before you draw it; there is an optimum setting, so it’s important this stays the same each time you assemble your bow.
This gauge is designed to measure the distance between the throat of your bow grip and the string. It can also be used to measure the tiller, that measurement should also stay static once the bow has been set up.
What to look for: So long as you use it consistently, they are all much of a muchness. But beware, those sporting two scales, imperial on one side, metric on the other, can be calibrated in a way that one side doesn’t match the other: don’t use it to convert mm to inches!
Why you need one #2: The arrow must be clipped onto the same place on the string each time; there is an optimum setting. Once you’ve established where the best place is, you should be able to record it for when you get a new string. The gauge sits on the arrow rest and clips to the string so you can measure the nocking point.
Fletching Jig
Why you need one: the fletchings on your arrows will eventually need to be replaced. They may be damaged by impact with other arrows, fall off with time, or you may want to try something different.
The jig holds the arrow in place, and a clamp keeps the vane in nice and straight while the glue dries. It gives far more consistent results than super glue, sticky fingers, and dead reckoning.
Fletching really needs to be taught first hand, although YouTube will do in a pinch. Many manufacturers do not help things along with poor or non-existent instructions.
What to look for: Keep it simple. Gradations on the clamp help make vane placement consistent. Use a marker pen if necessary. Make sure the nock-end of the jig won’t damage your nocks, look for something smooth with a taper, avoid anything thick or angular.
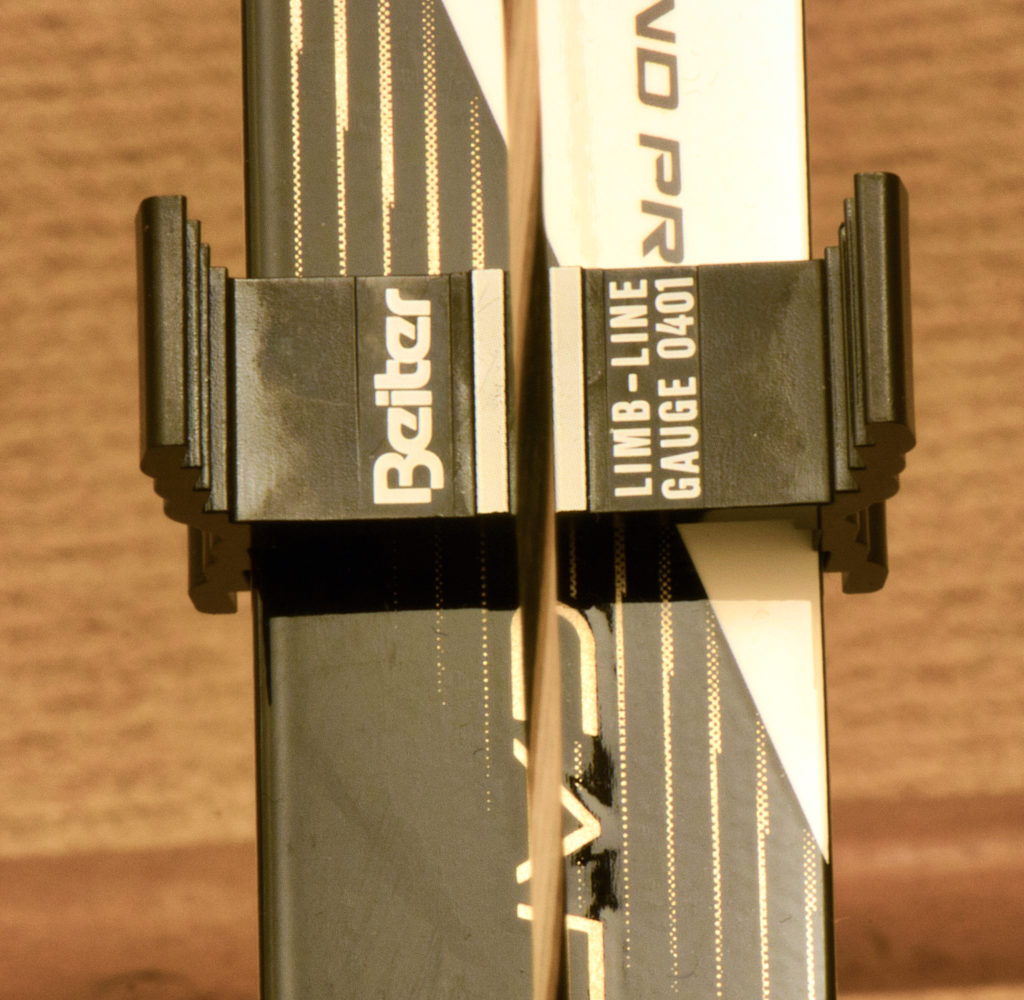
Limb Gauges
Why you need a pair: It’s sad to see competent beginners get disheartened because their wonky bow isn’t shooting straight. These cheap plastic things help you align your bow during basic set-up.
They clip onto the limbs, allowing you to determine the exact centre of the bow. From here you can see if the limbs are straight, the bow is pointing he right way, and the arrow is launched in the right direction. You will need them throughout your archery career, too.
Each bow, button and sight I own came with Allen keys, they are essential for adjusting the kit to get the best out of it. But can I find these keys when I need them? Finding a tiny dropped key in the field it almost literally like looking for a needle in a haystack.
Get a bunch of metric Allen keys, or a bow wrench as above. Use a pair of nock point pliers to move the little brass nock-point rings up and down, when finding their optimum position.
Intermediate
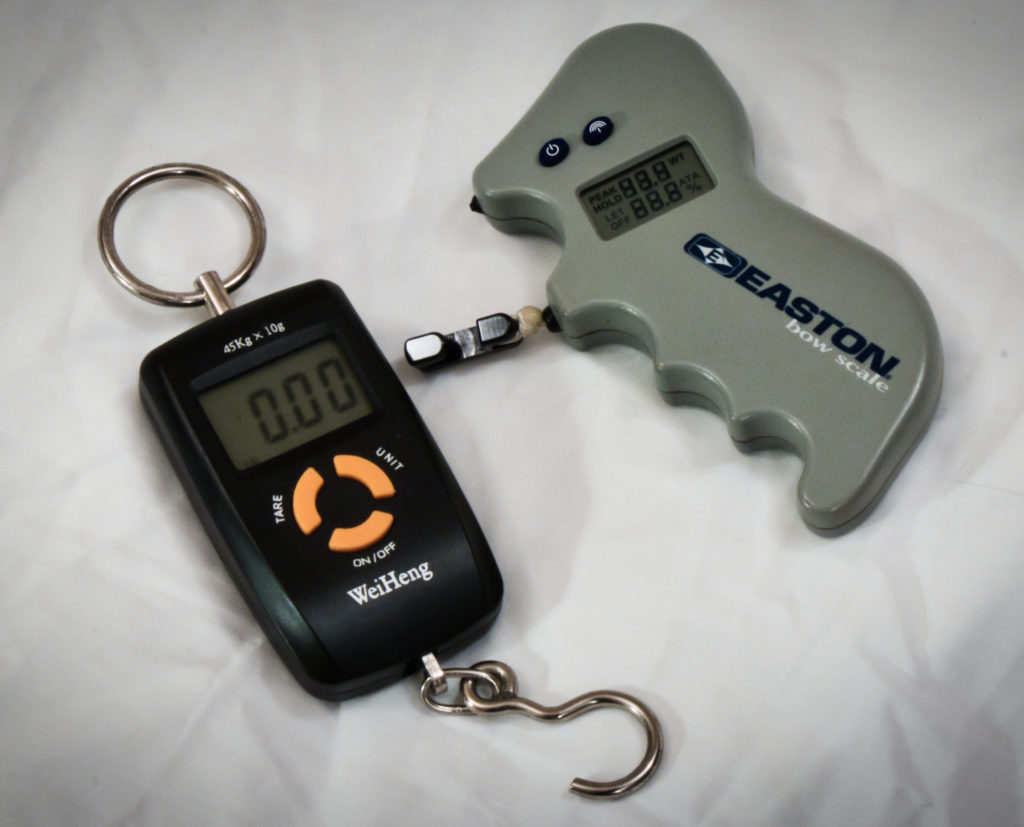
Bow Scale
Why you need one: Matching arrow spine to bow weight can be an expensive business. Despite constant rumours to the contrary, I have personally found spine charts to be pretty accurate, provided you shoot right with a well set-up bow (which is tricky enough as it is).
Take a short cut by knowing exactly the draw weight of your bow. The scale is held in your drawing hand, clipped to the bow string. You hold the scale, it holds the string as you draw it. Take a reading at full draw. Do it twice to make sure.
What to look for: Save tens of pounds with a digital luggage scale. Get someone to read it for you at full draw. (For compound you need something more expensive which will record peak weight.)
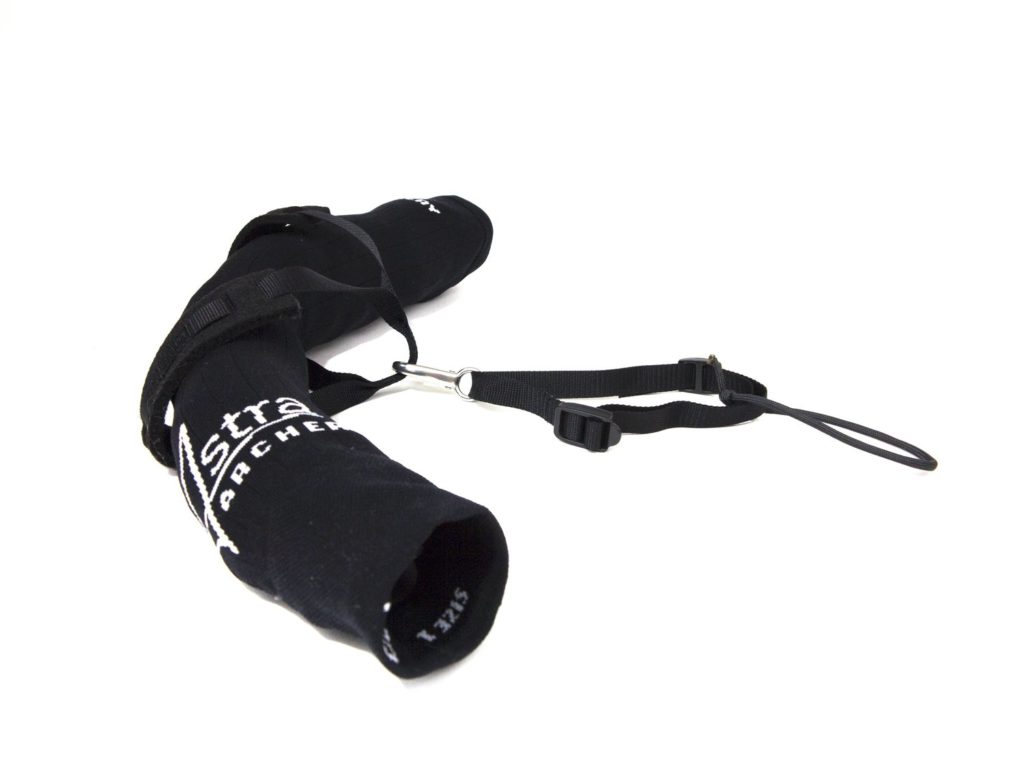
Shot Trainer
Why you need one: There is no bit of kit you can buy which will improve your shooting more than one of these. It is the single most cost-effective route to the next level.
It is a cord or strap which connects your drawing elbow with the bow string, allowing you to build up your strength in the right muscles as you hold the bow at full draw, or practice your release without damaging the bow. If you really want to win, combine it with an archery-specific physical training routine.
What to look for: A shot trainer should be comfortable: you will wear it for quite a while. We are vastly different shapes and sizes, so make sure it has plenty of adjustment. Use it with an old bow string to avoid damage to the serving.
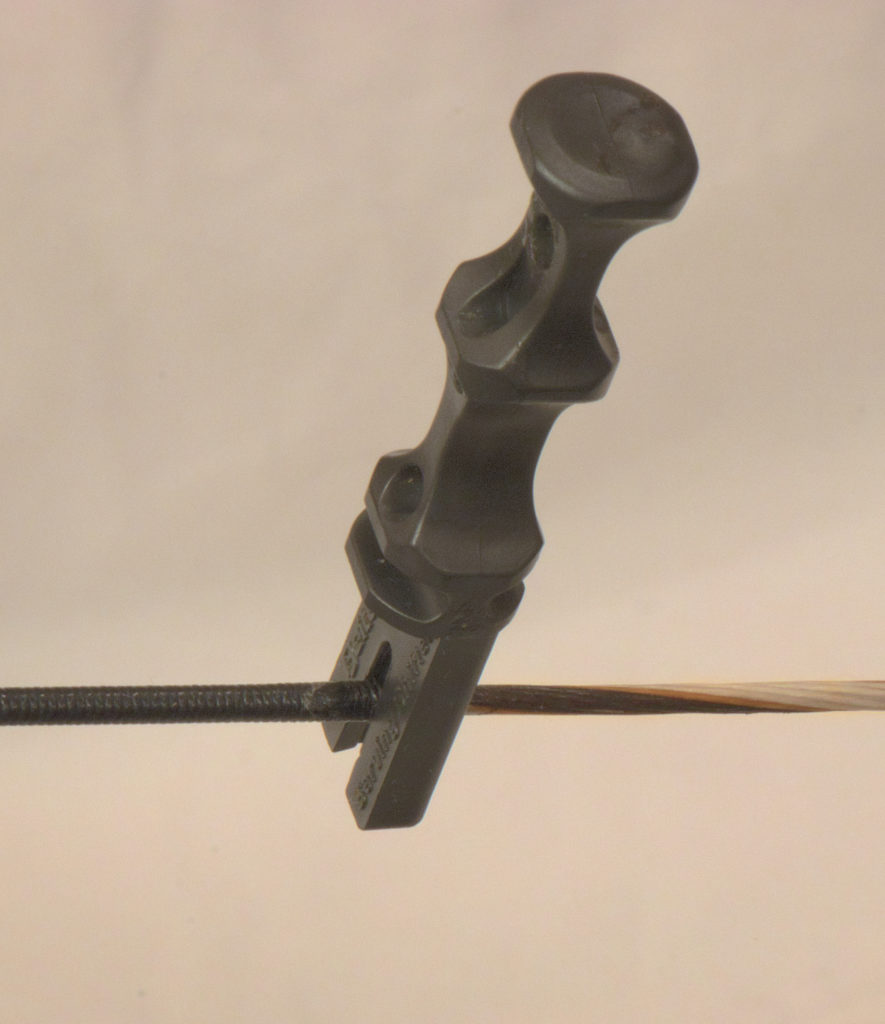
Serving Shifter
Why you need one: Use a serving shifter to move a served-on nock point a few mm or. The two-pronged fork is used to push the centre serving a few serving coils at a time. Be aware that the serving will be more compressed once you have shifted it up or down a few times; you will need to re-serve the string then.
What to look for: use a tool designed for the job: improvising something with, say, a brace height gauge will lose precision, be frustrating, and may damage the string.
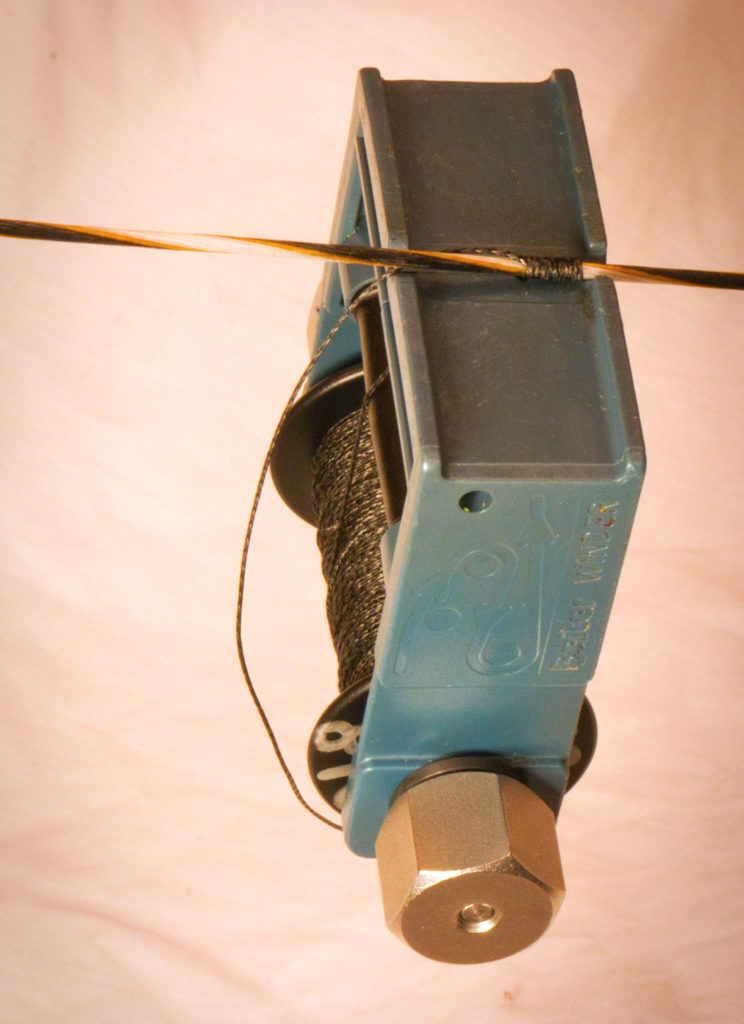
Serving Jig
Why you need one: You will need to replace the centre serving on a string for a variety of reasons: to get better nock-fit with a different width serving material; to redo a nock-point; to replace worn or damaged serving.
It’s not a job to be done by hand (I know someone who tried it, “never again” he swore), you need a jig for even tension and to speed up the job greatly.
What to look for: A jig should be heavy enough to get a good rhythmic spin going, but not too heavy that it spins out of control. The tension should be easily adjustable, but stay put.
Serving bobbins come with at least two different styles of holes through the middle, so make sure your jig can cope with your favourite – or preferably both.
Advanced/Club level
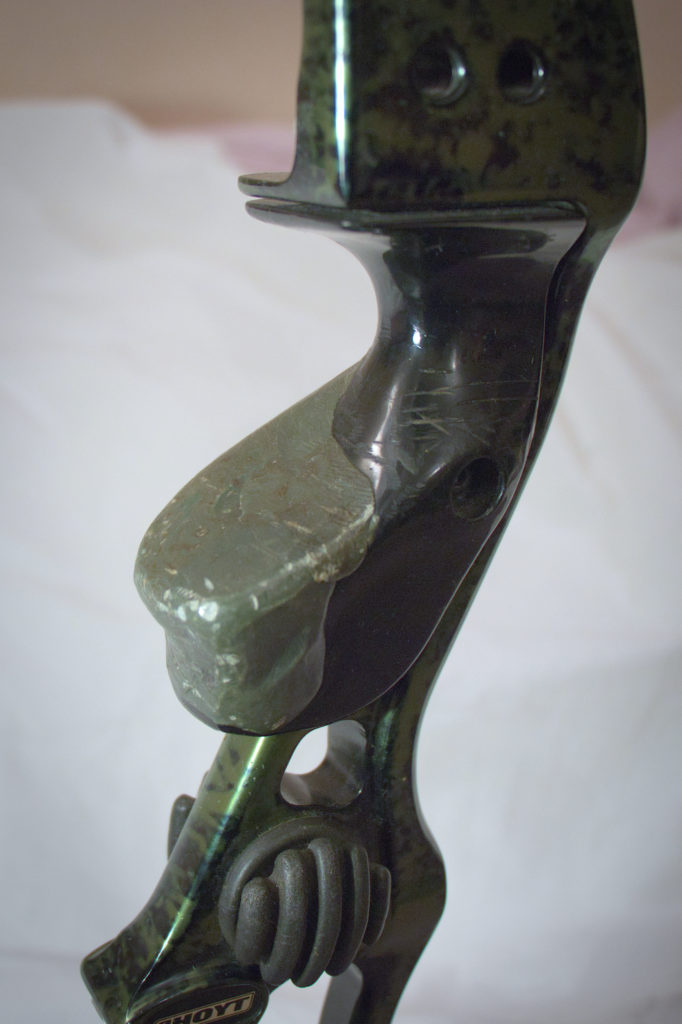
Grip Maker
Why you need one: Make your grip the right shape for your hand. Finding the right after-market grip can be an expensive and time-consuming business.
The grip is the only part of the bow you touch, so fit matters. This two-part putty, when combined, dries over a few minutes. Shape it over your bow grip before it dries, sand it down afterwards. There are plenty of tutorials out there: Coach Kim’s is particularly mesmerising.
What to look for: Some of the products out there smell a bit! But it will be OK once dry.
String Jig
Why you need one: making your own strings allows you to get exactly what you want: strand count, nock-fit, materials, length, quality: all the variables are under your control. If you can’t justify the cost of one, get your club to consider obtaining a good one.
What to look for: The cheap end of the scale (Sherwood, Cartel) are perfectly good, they pack away nicely, and are very good value for money: thoroughly recommended.
These will wear out after a while, but not until you’ve made about two hundred strings. If you want something sturdier, get one with a tension winder: Avalon, Gas-Pro and Spigarelli are all recommended.
Club Draw Length Shaft
Why you need one: How else do you plan to tell beginners what length arrows to get?
Arrow Cutter
Why you need one: You can save pounds building your own arrows; you can easily test different lengths; it’s the right tool for the job: quick and accurate. It’s hard to justify the cost on your own, but could make sense for a club.
Metal Detector
Why you need one: For a shared-use field, you really have to collect all your arrows. If some hapless child playing football finds it for you, it could end your tenure at that ground. Get a rake too, especially for carbon or wooden arrows without metal tape