
This article is sponsored by Last Chance Archery
The most crucial step is to use the right tools. Archery is two-sided, there’s the skill of shooting your bow, of course, and there’s the art of tuning your equipment. Without equipment that has been adjusted correctly, you could never achieve your goals and never have the success you’re looking for. This starts with a perfectly built arrow.
At Last Chance Archery, our primary goal is to build, create, and sell products that allow you to tune your equipment better and make it easier.
You’ve already chosen your arrow saw, cut your arrow shafts, squared the ends, cleaned the inside with a brush and swab, deburred the ends, installed your components, and now, it’s time to fletch your arrow. Note, you can also check your arrow shafts straightness, tune broadheads, spin test arrows, and much more if you check out the Revolution Arrow Tuner.
#1. Choose the correct fletching jig
It’s essential to choose the correct fletching jig. The fletching jig you select can be a vital tool inside your tuning tool arsenal.
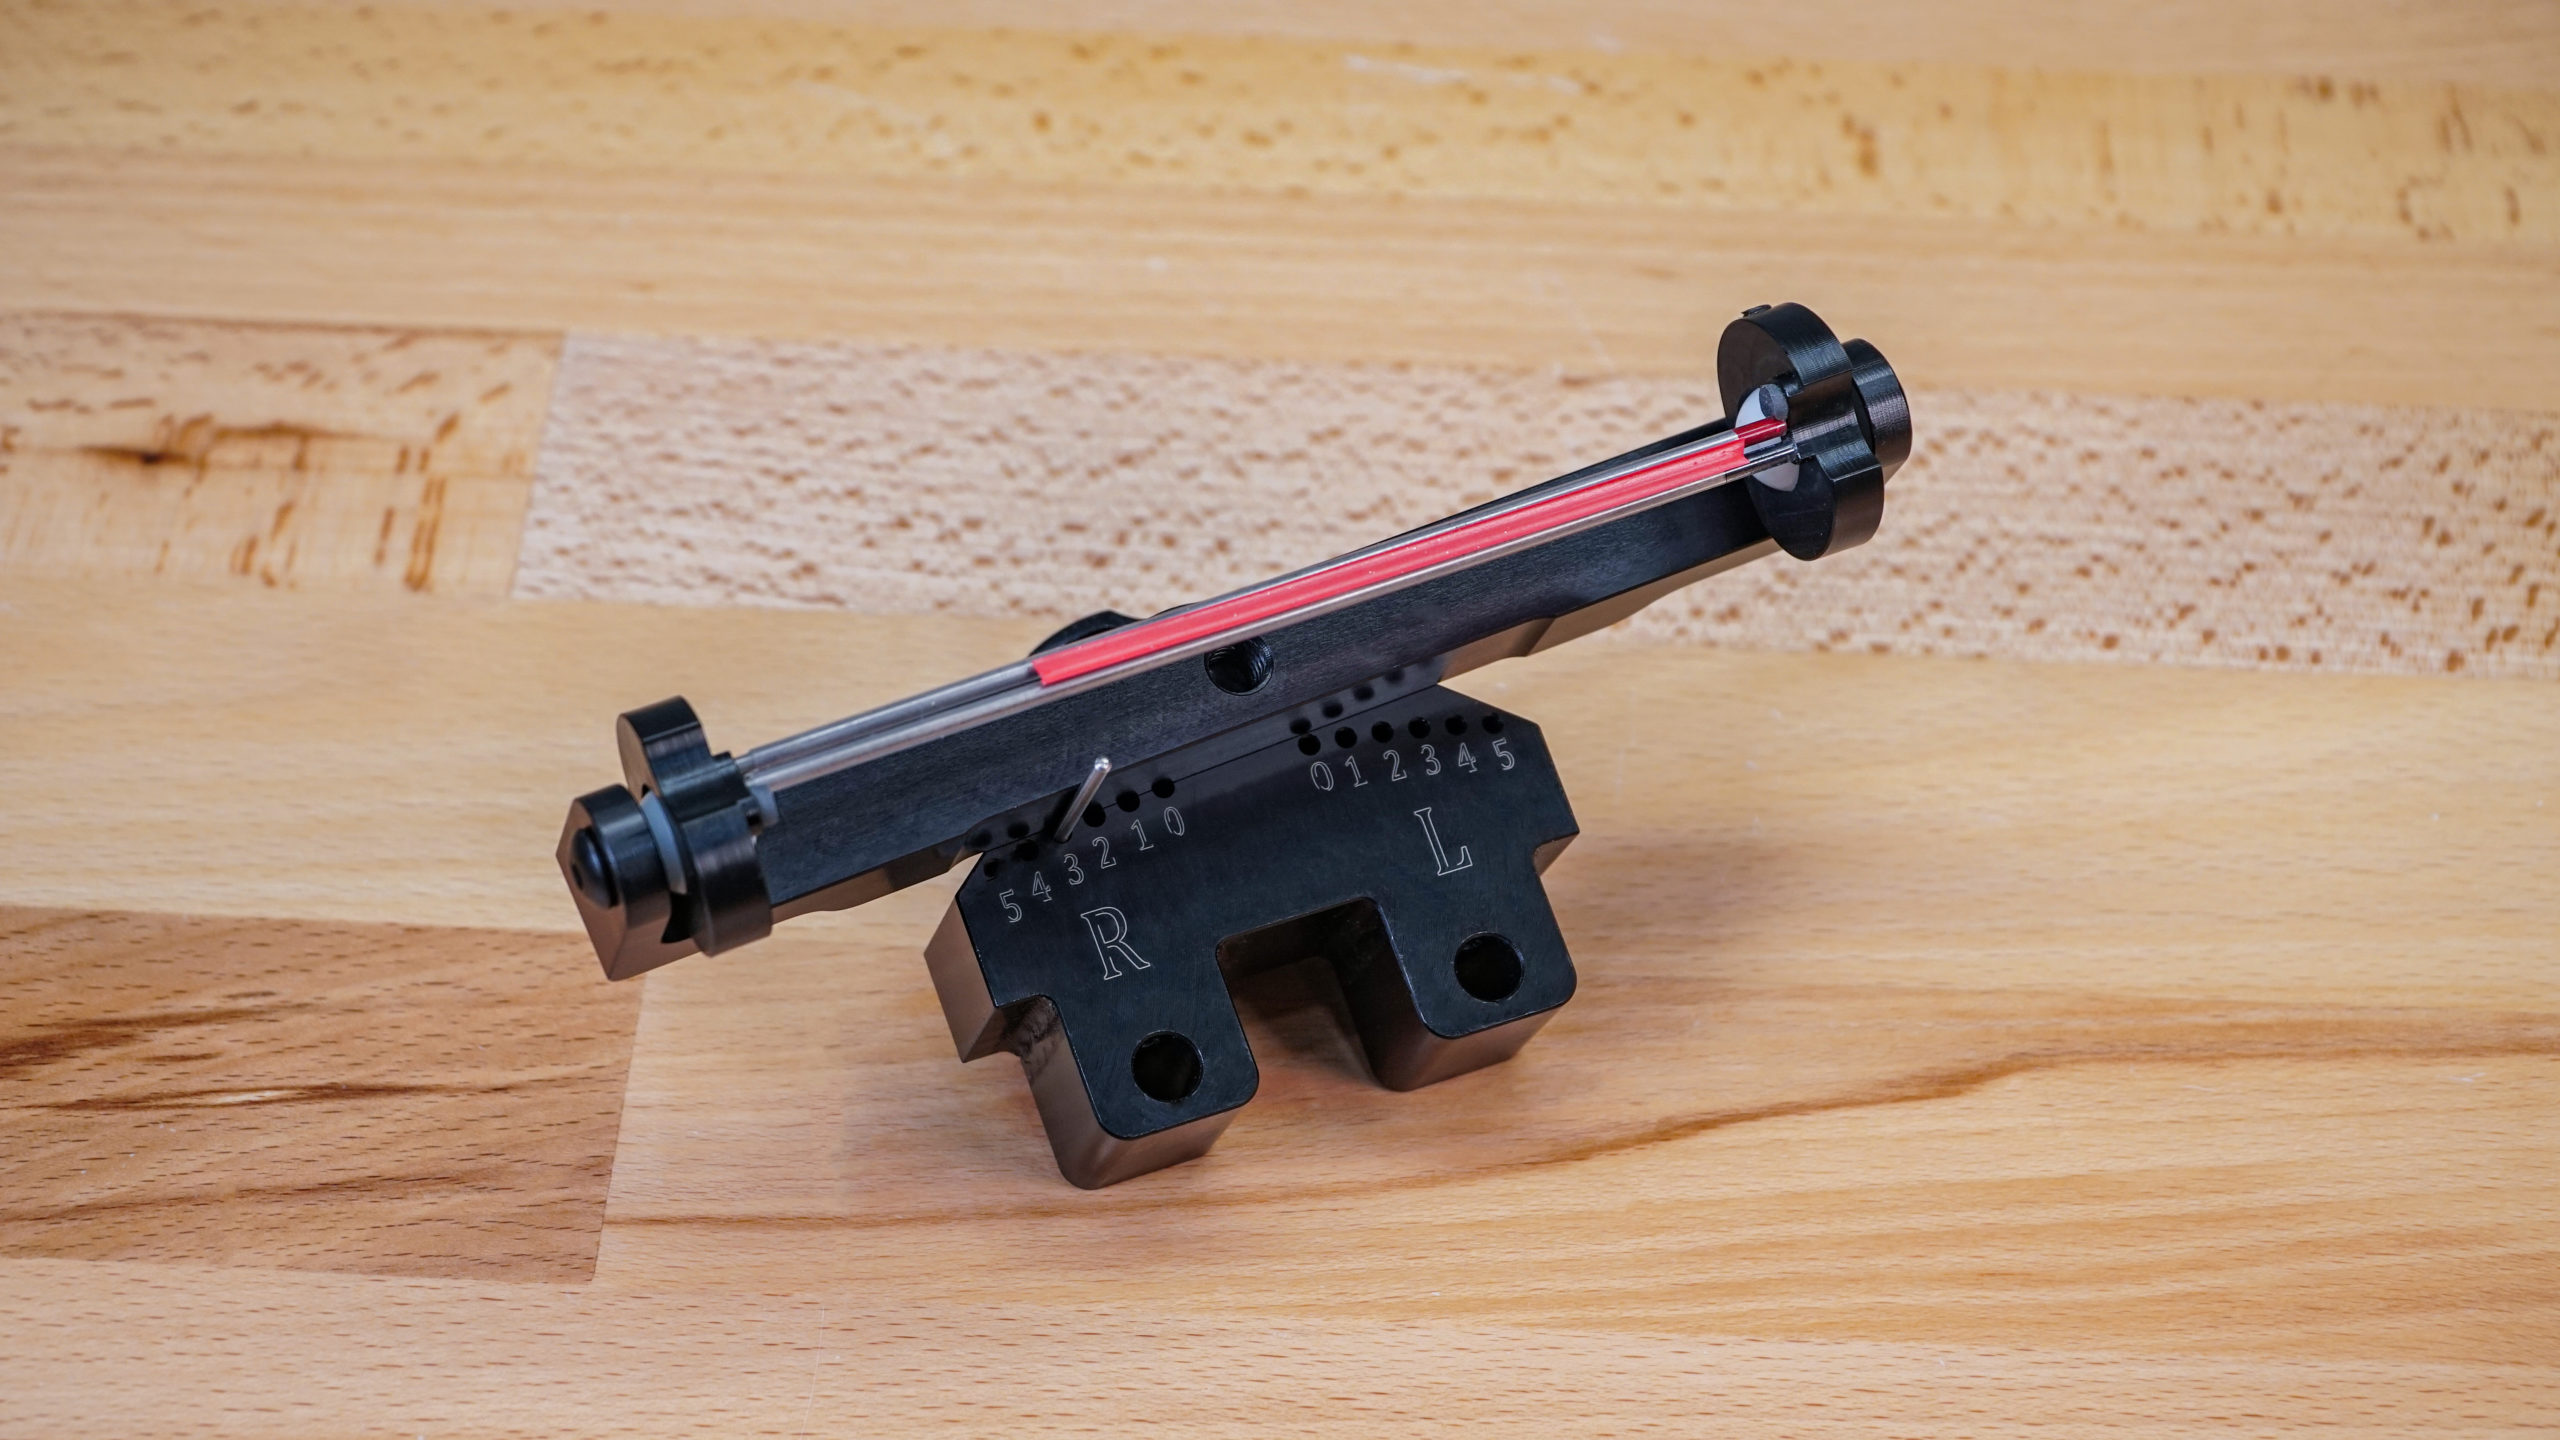
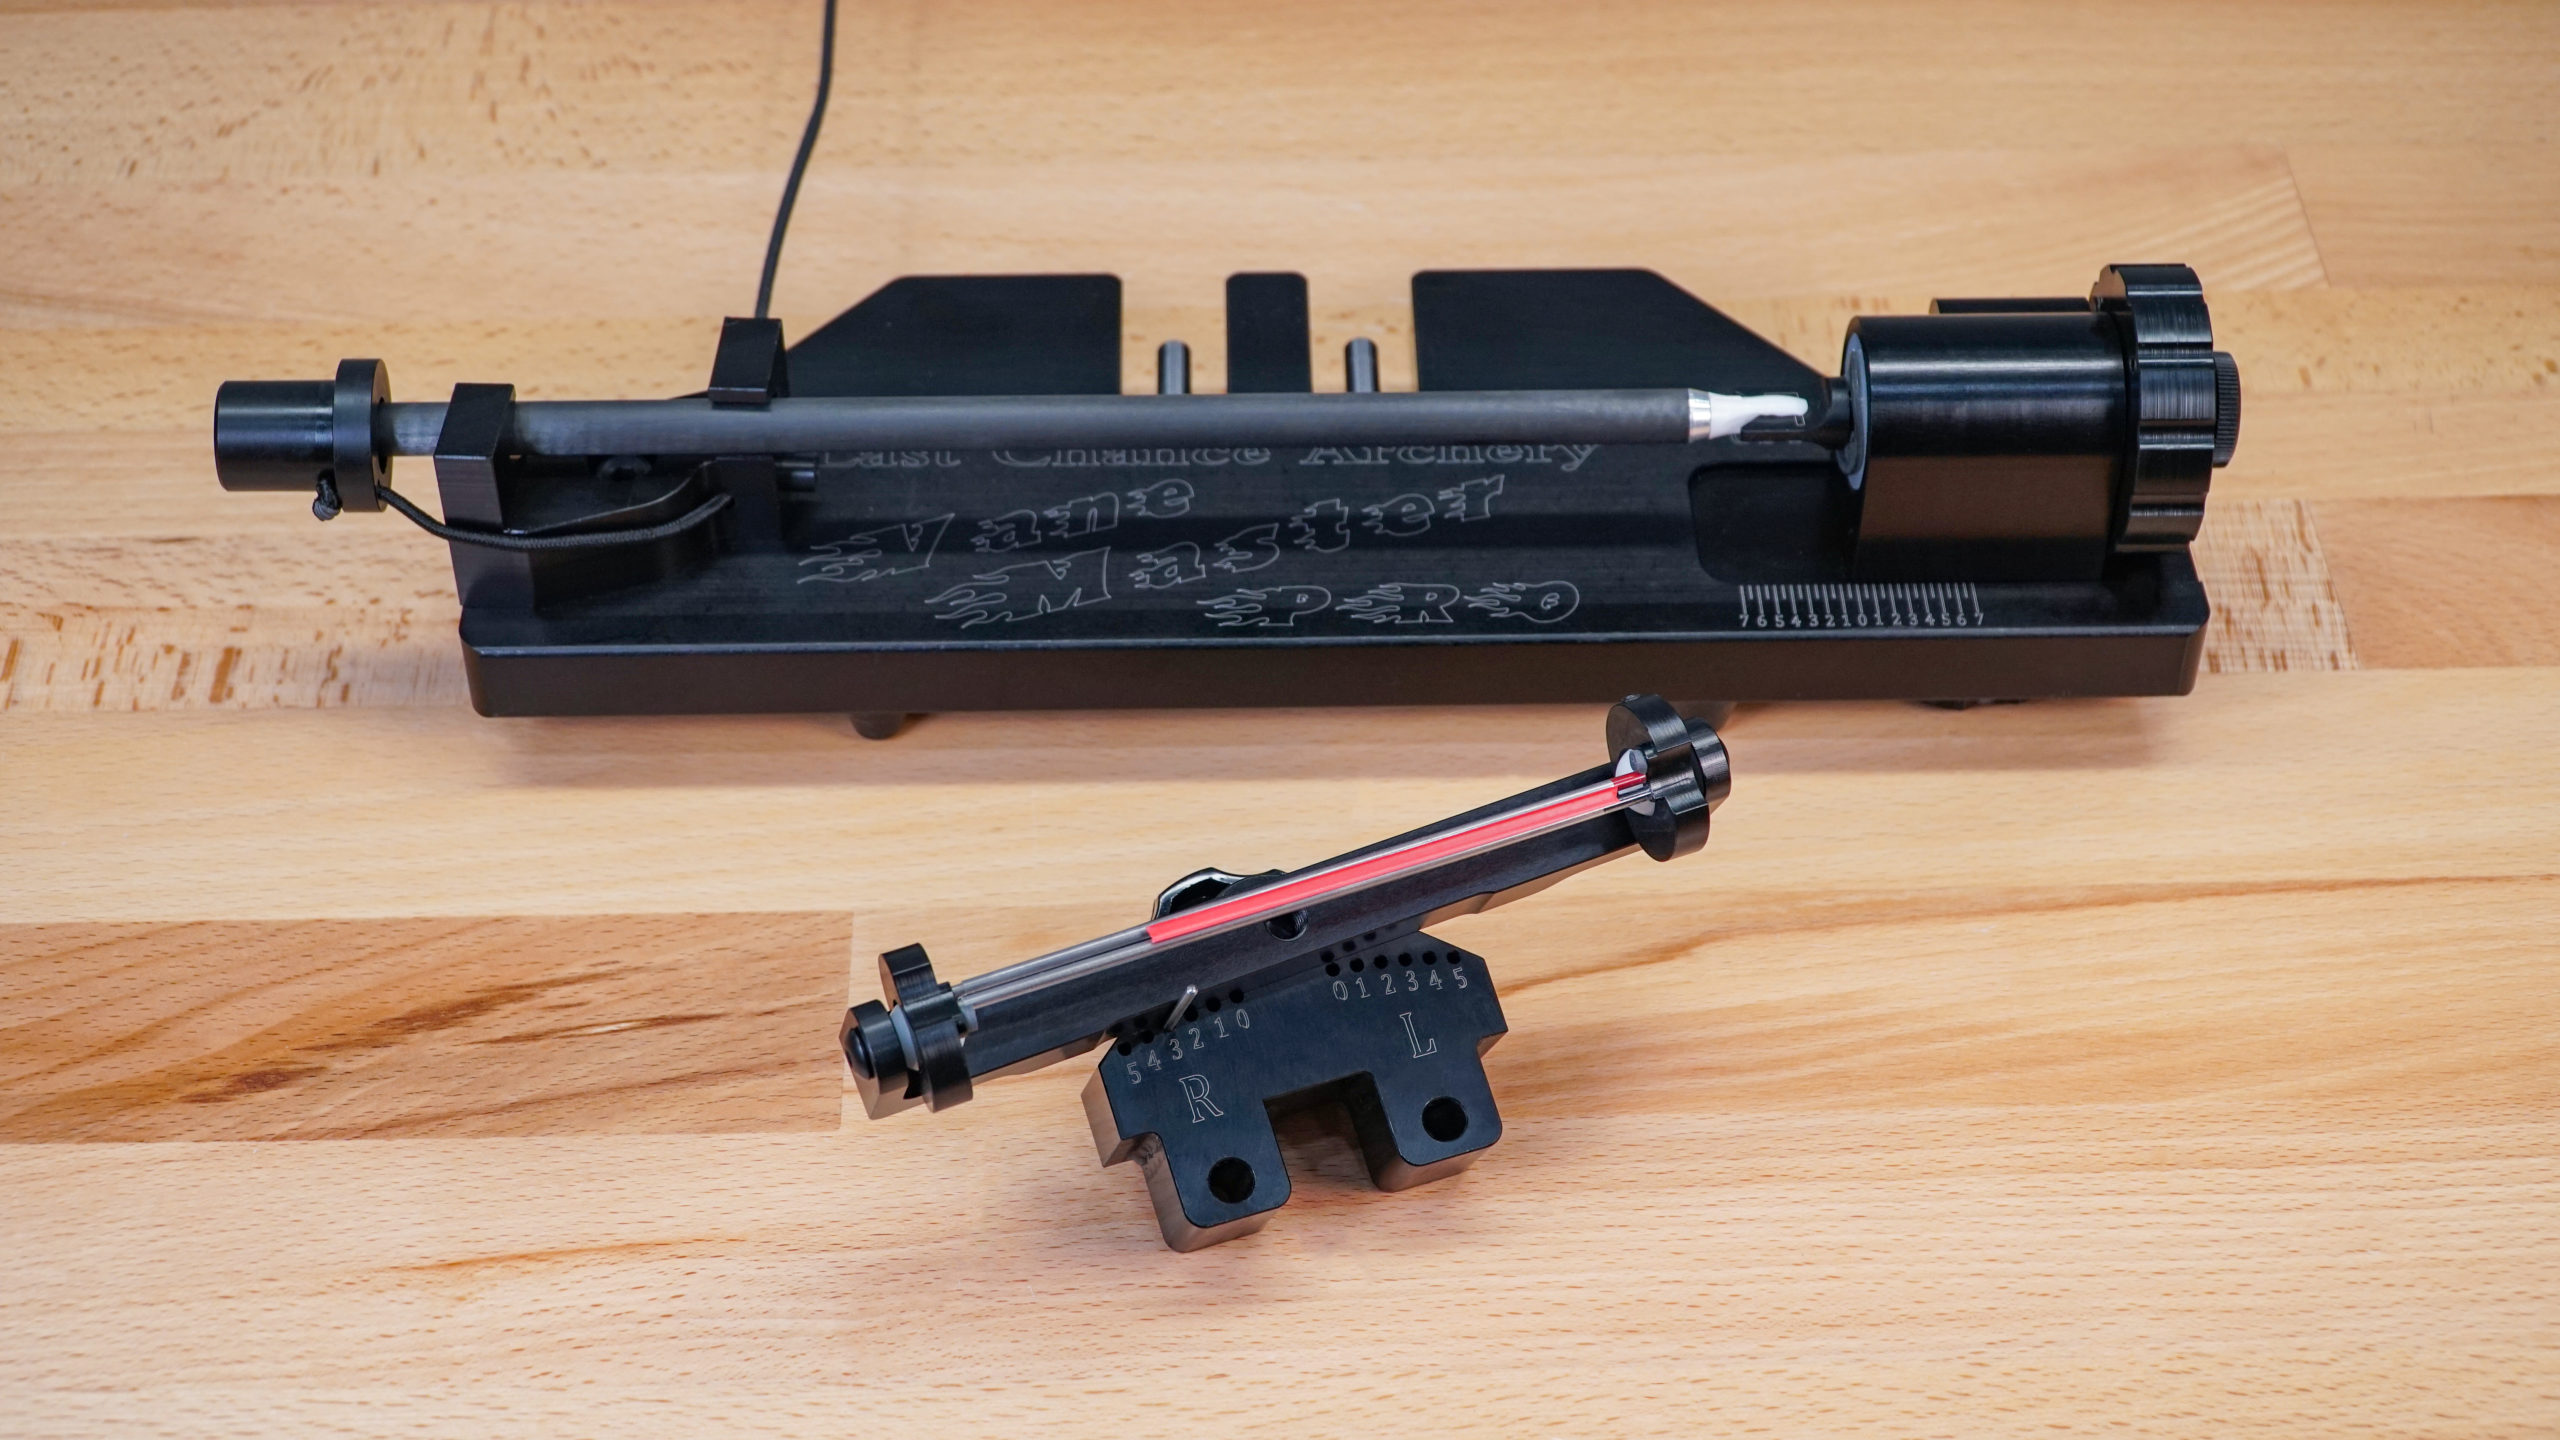
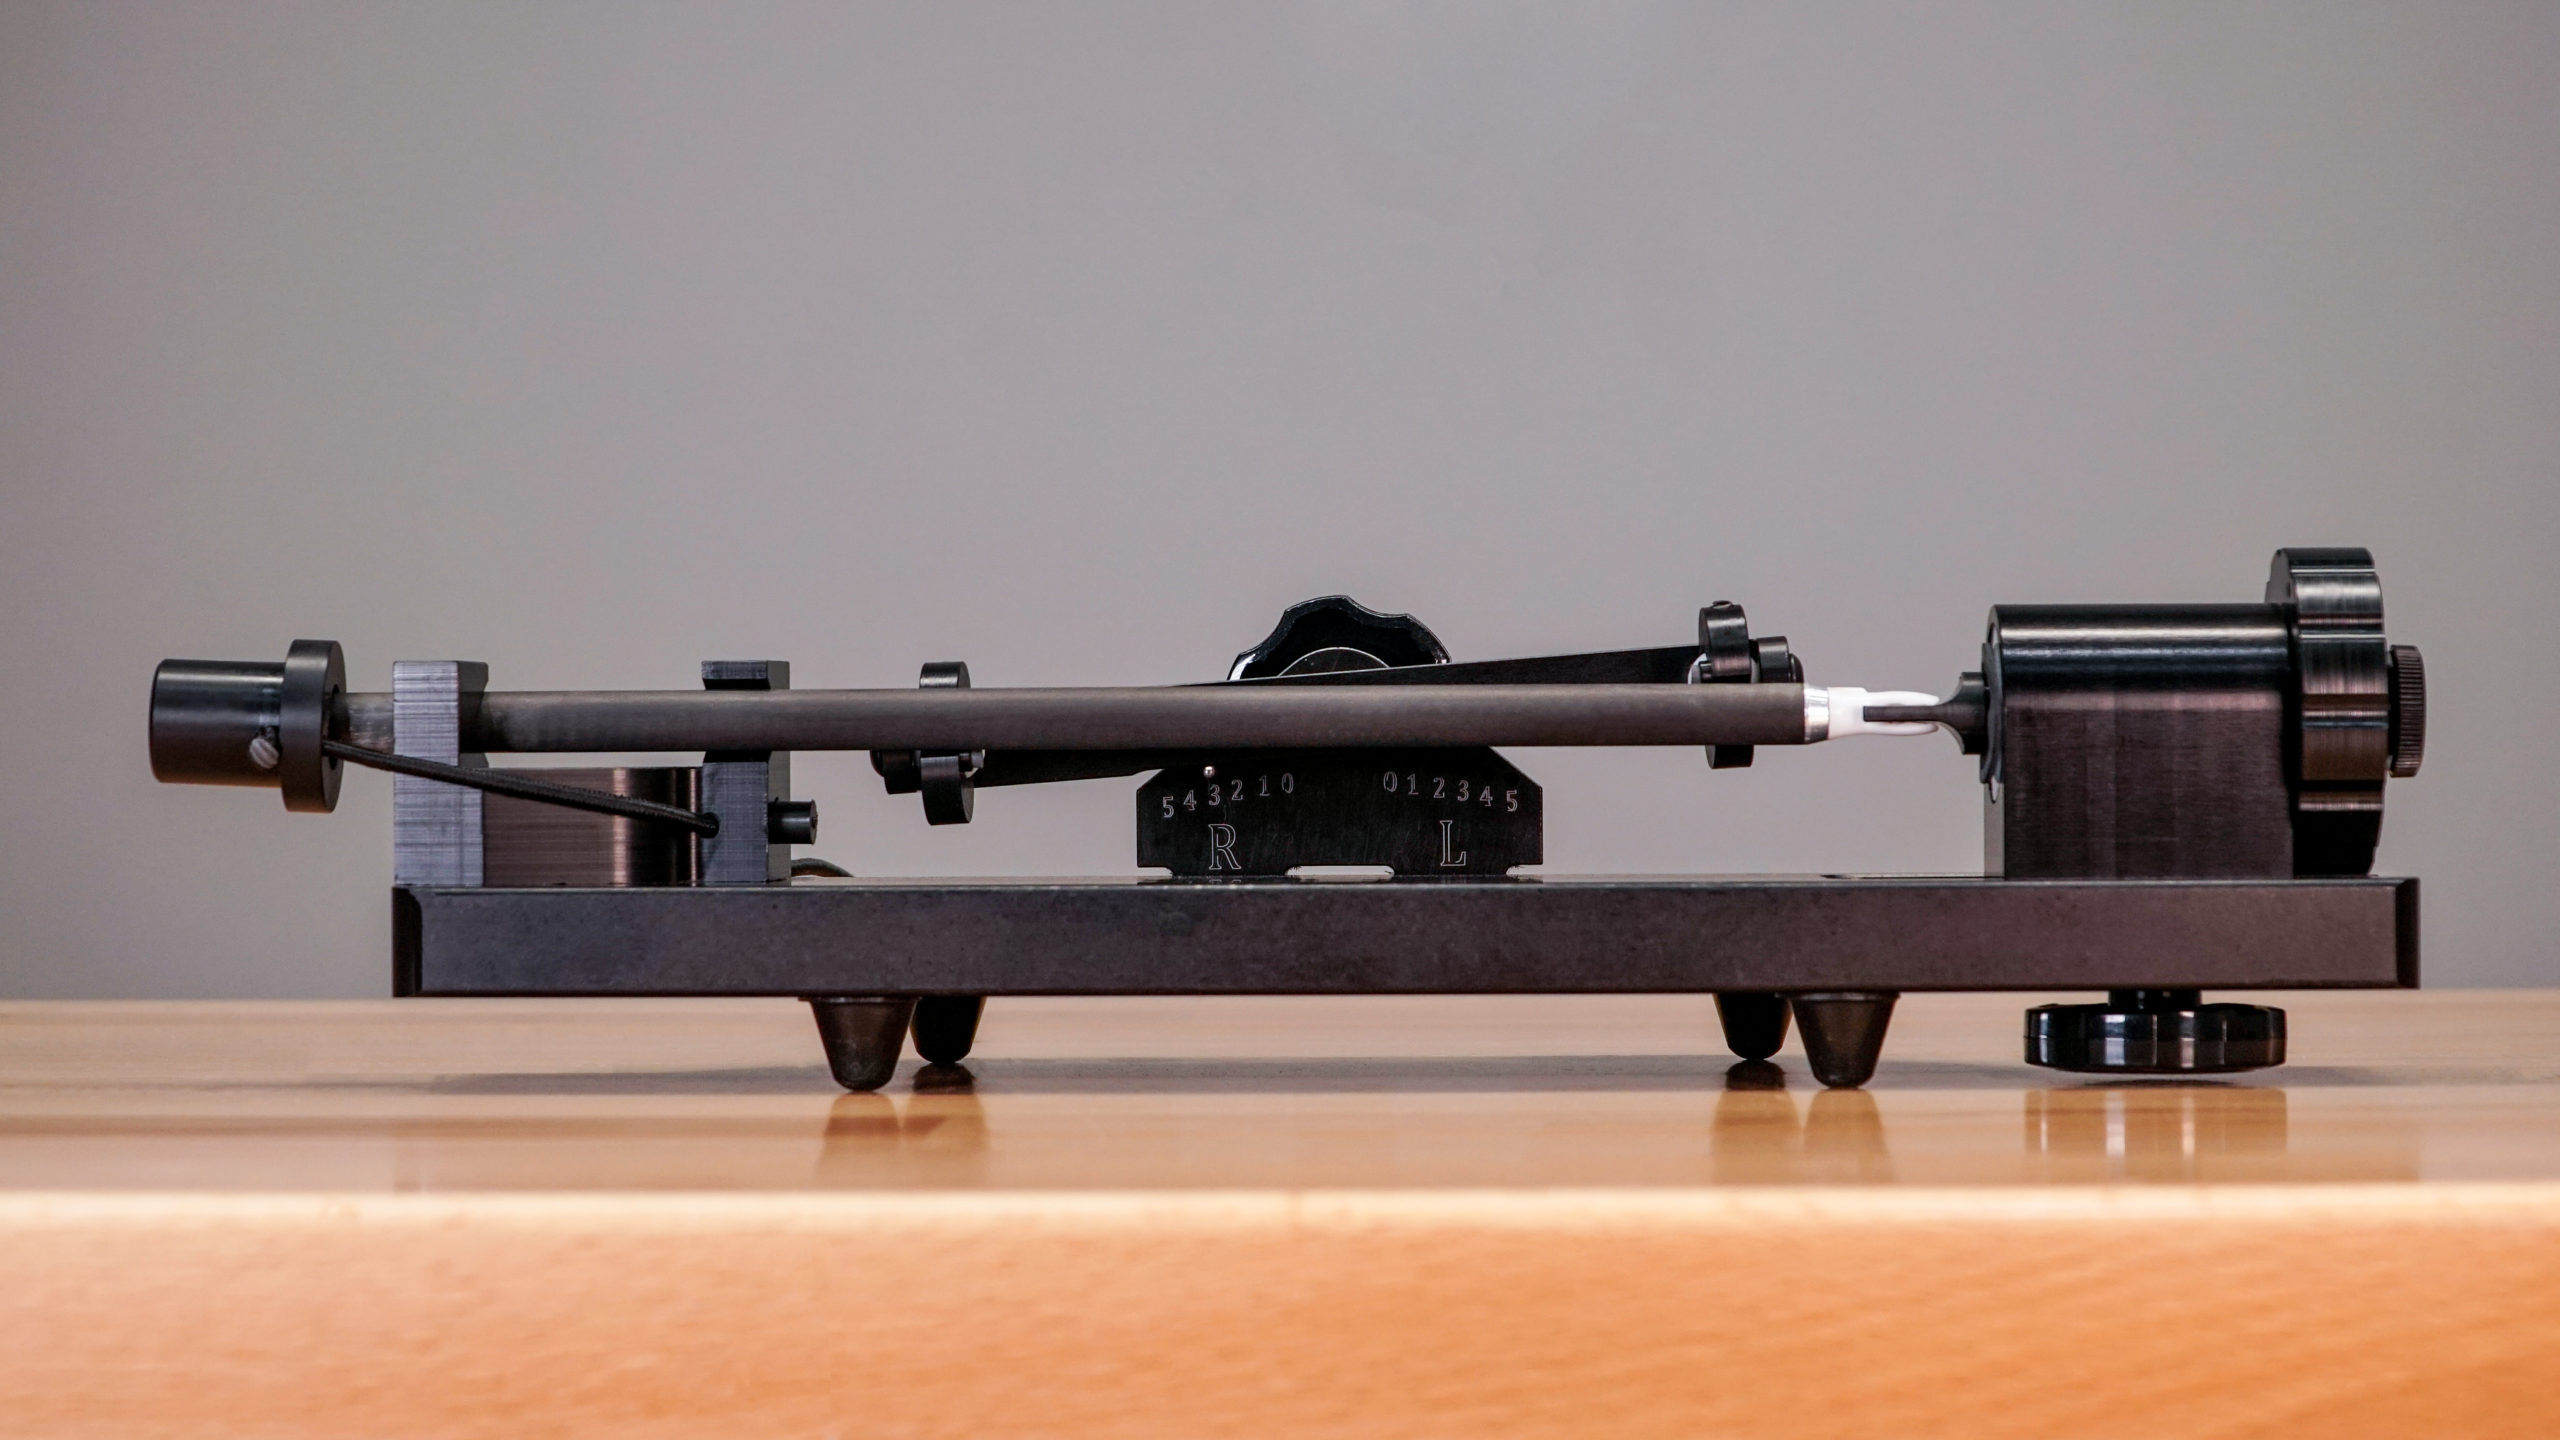
Ensuring you fletch your arrows consistently and with precision will directly control how your arrows fly and, in turn, will ultimately control your success in the field. We have made the Rolls Royce of fletching jigs, the Vane Master PRO. Professionals around the world trust this jig in both hunting and tournament archery.

#2. Setting the jig
Next, you’ll need to find out which settings you prefer. The settings you’ll need to attend to first are the helical setting, both degree and direction (left/right), and vane location on the arrow shaft. The Vane Master PRO can fletch a perfect 0-5º helical, left or right, with only minimal setup. Using this fletching jig, you can easily fletch any size arrow and almost any nock type.
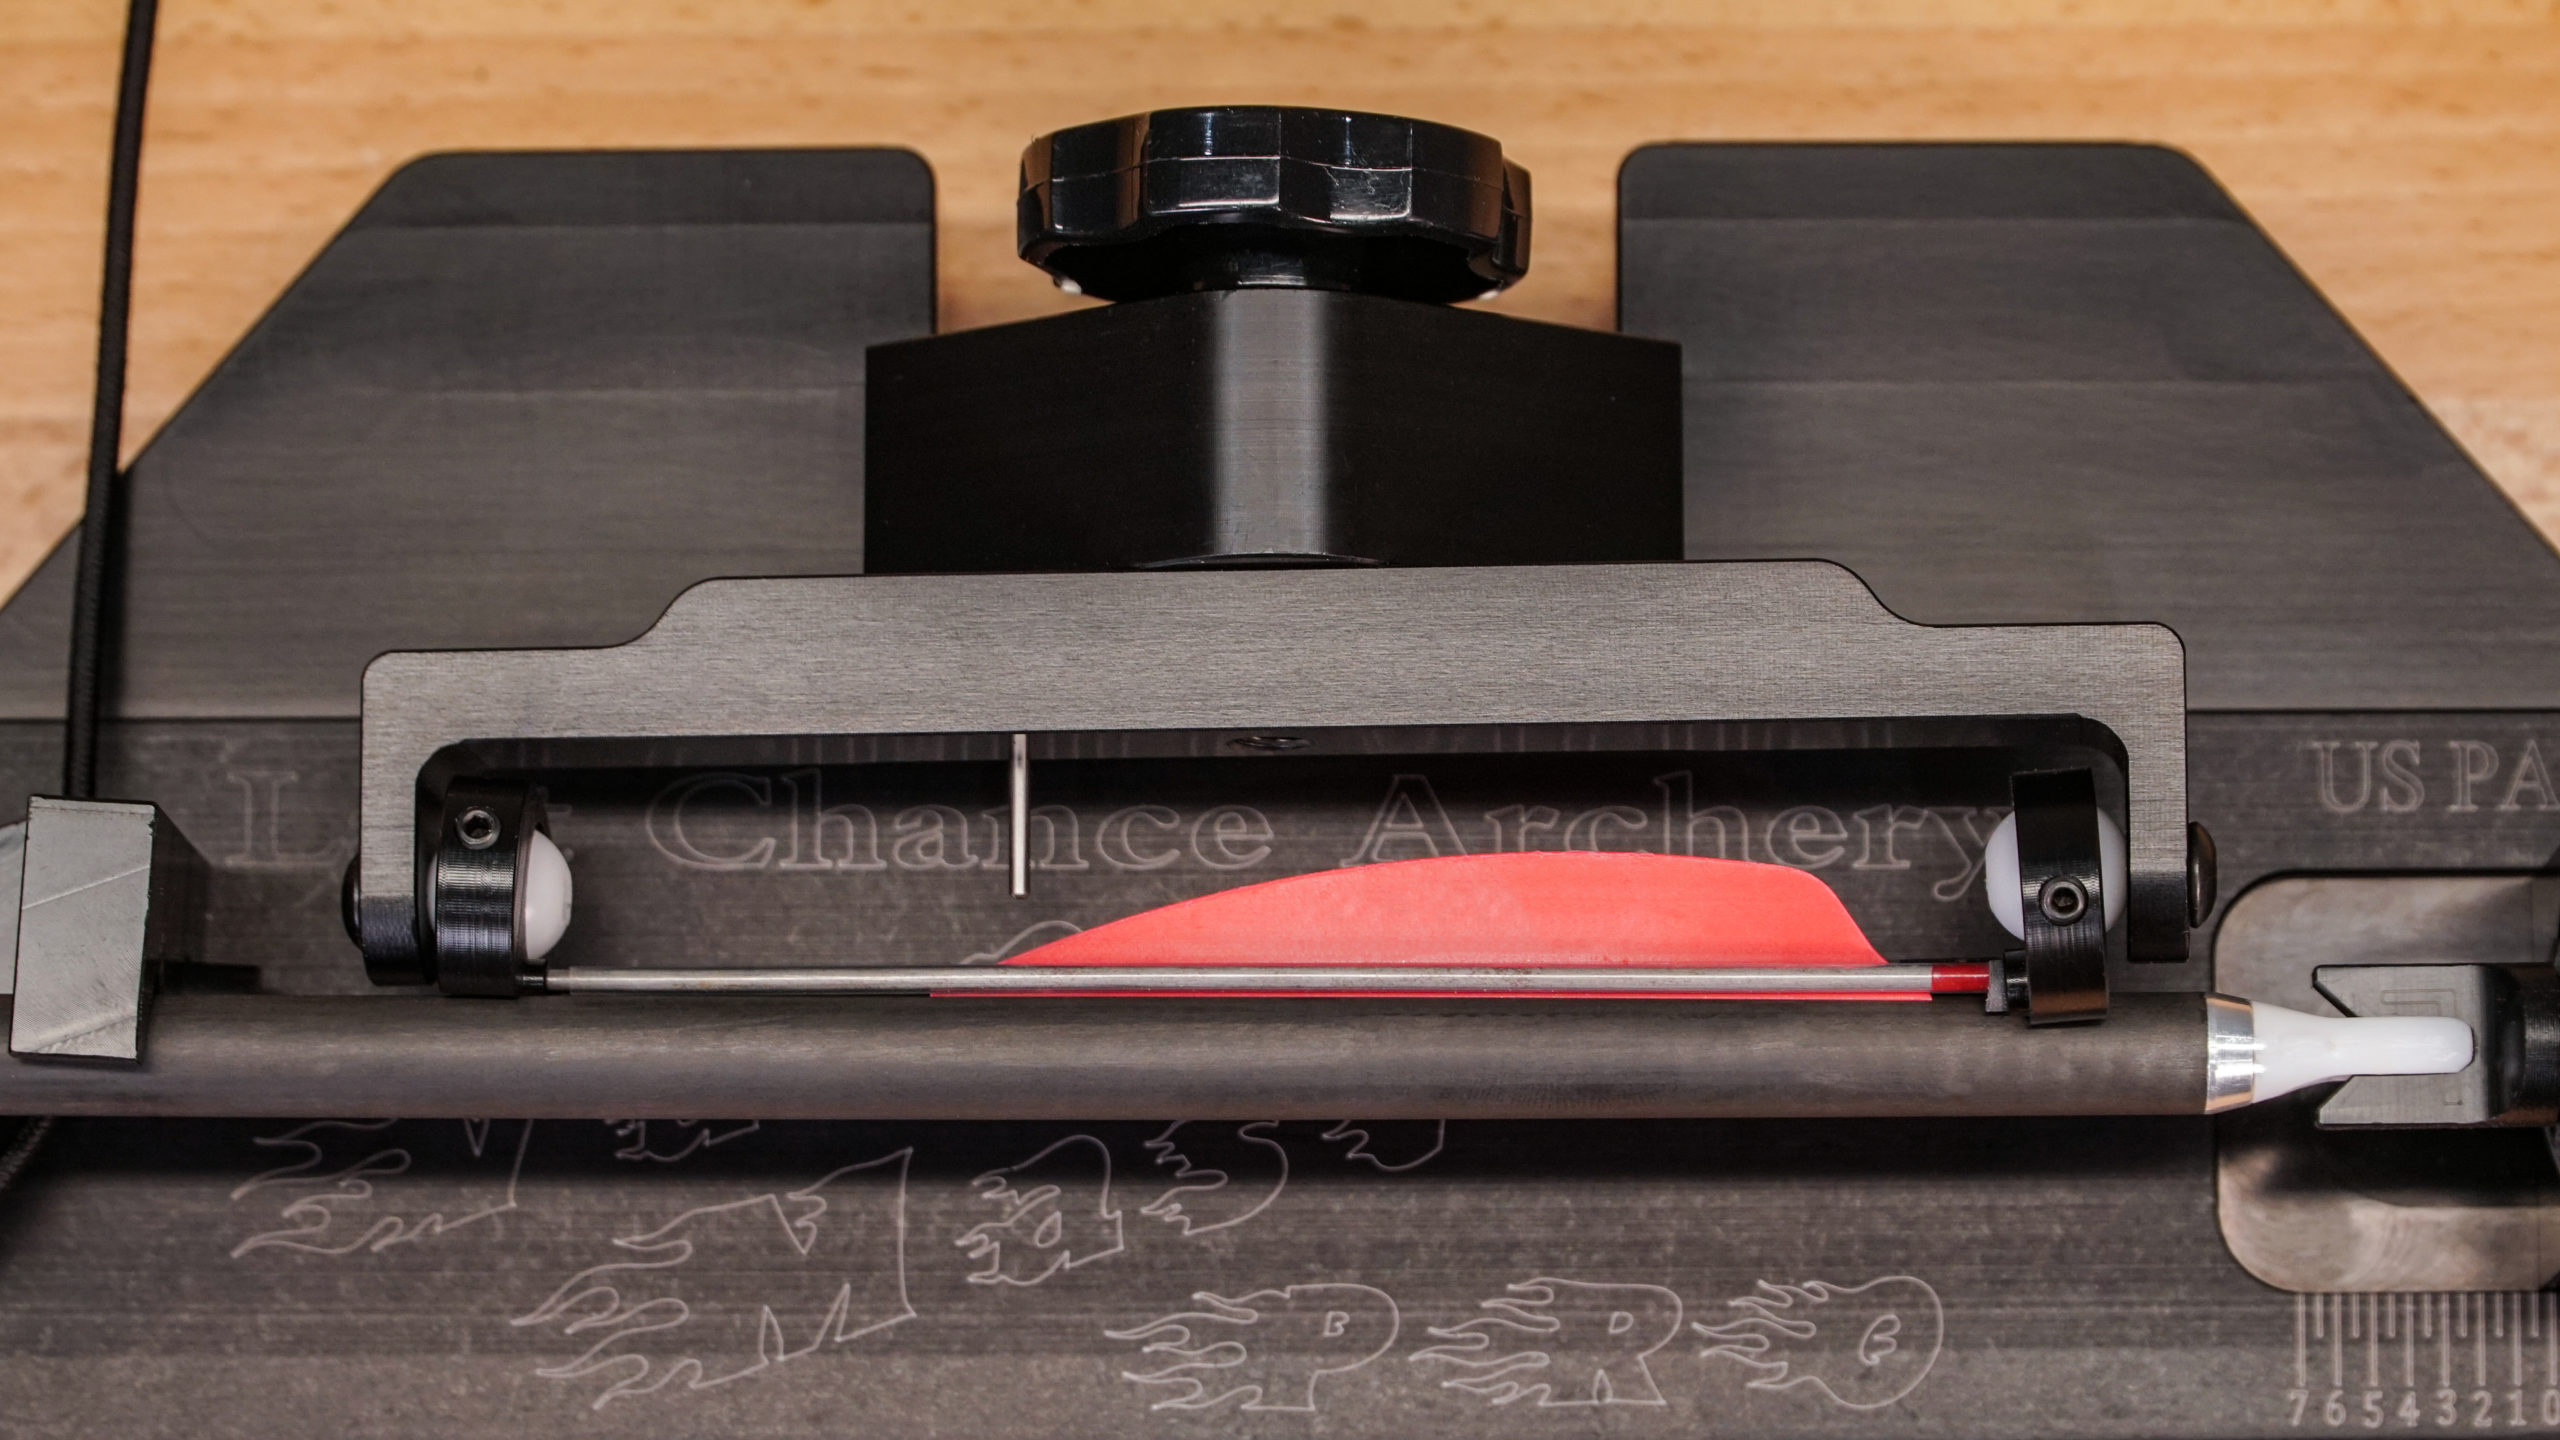
Once you choose your helical, the only other setting is determining where the vane is placed on the arrow shaft. The jig can adjust to move the vane further up or down the arrow shaft. For most archers, the vane location is directly related to how they anchor. You’ll want to ensure that the vane is in a place that, once you’re at full draw, the vane does not contact your face.
For most archers, the helical direction and how extreme a helical they choose is based on personal preference and testing with their setup. Some archers will use a lower amount of helical if they will be shooting longer distances, whereas, in comparison, archers that will be shooting shorter distances will use a heavier helical.
Also, the archer must factor in whether they’re using points or broadheads as this can also determine how extreme of a helical the archer needs to fletch.
#3. Fletch your arrow
Now that your jig is set, you’re ready to fletch. The Vane Master PRO is explicitly built to fletch a perfect and consistent helical. The VMP clamp uses wires installed into rotating discs, allowing the vane to contour around the arrow shaft easily and give the vane a perfect bond no matter which helical setting is chosen.
#4. Seal the ends of your vanes
After your arrow is fletched, it’s a great idea to dab glue on both ends of the vane to seal the ends.
#5. Clean any excess glue
After each vane you fletch, cleaning off the VMP wires of any excess glue is essential. Each wire has a glue-resistant coating which will aid in stopping the glue from sticking, but it’s still important to wipe off each wire after each vane you fletch to ensure your covers last the longest time possible before needing to be replaced. On another note, you can also keep a spare vane with your jig, which you can use to slide between the wires to help get all the excess glue out.
There are much deeper instructions and details when building the perfect arrow, but these steps are the main points you need to focus on to get you started. Be sure to refer to part #1 of this article for details on selecting the correct arrow saw.
These are only a few features that the Vane Master PRO has; for more details, visit our website www.LASTCHANCEARCHERY.com.