
In the final episode of Hacking The Darkside, Vanessa Lee learns about building a strong shot.
After years of contemplating whether or not I should start shooting compound, I finally took the plunge. I had already taken my first shot with a compound bow and almost needed a defibrillator that day.
I also purchased all of my own equipment and realised I wouldn’t be able to afford food for the rest of the month. It was all worth it but now it was time to figure out how to really shoot a compound bow.
I thought there would be some carry-over from recurve – and I was half right. Things like needing to keep a solid bow arm and continuing to move through the shot were transferable but I needed to learn everything else from scratch.
Release aid
While I was waiting for my equipment to arrive, I spent hours watching technique instructional videos on YouTube. One video suggested that new compound archers should get very comfortable with how a release aid works.
This was probably the best piece of advice while I was waiting for the rest of my equipment because I was able to start working on my shot right away. I made myself a shot-trainer with a small wooden dowel and d-loop material.
A great YouTube video that helped me get started with practicing using a release aid was from one of my favourite compound archers, Jesse Broadwater.
He explained how a release aid should sit and settle in an archer’s hand. Jesse suggested that holding a release aid should feel as if you’re hanging from monkey bars right before you slip and let go. After coming to full draw and allowing the thumb to come off the peg everything should relax.
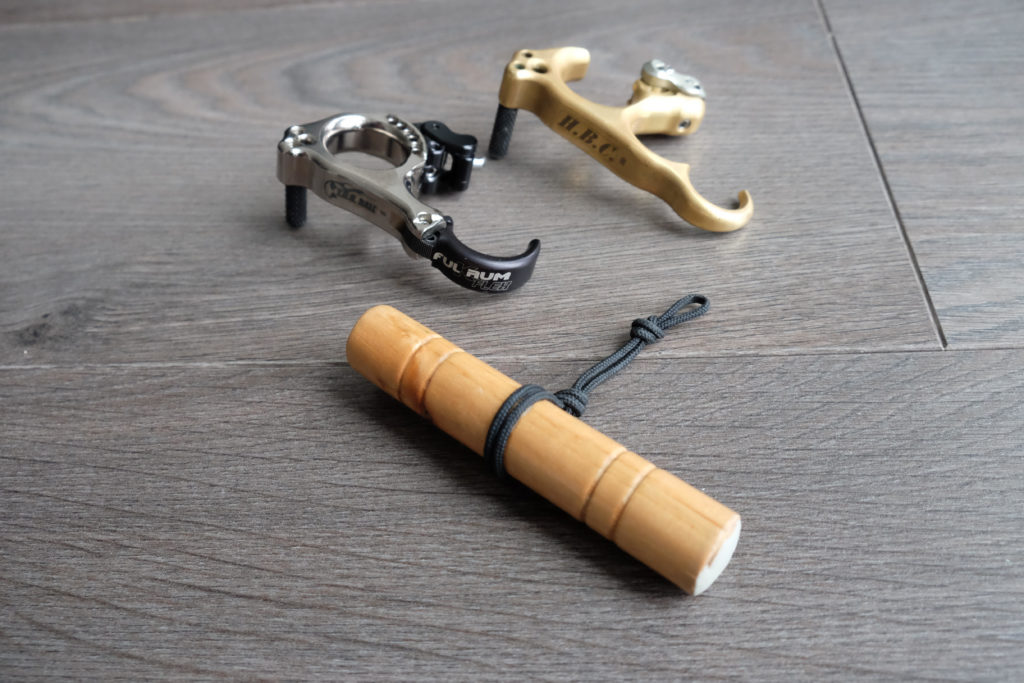
The wrist and hand should be flat and the release aid should settle in the fingers as you move through the shot. As I practiced this, I noticed that my timing became more consistent with the shot-trainer and I began to understand the way the release aid worked.
Rather than applying pressure to a particular finger or forcefully rotating the release aid, it worked most consistently if I relaxed my string hand and allowed the release aid to move naturally.
Posture
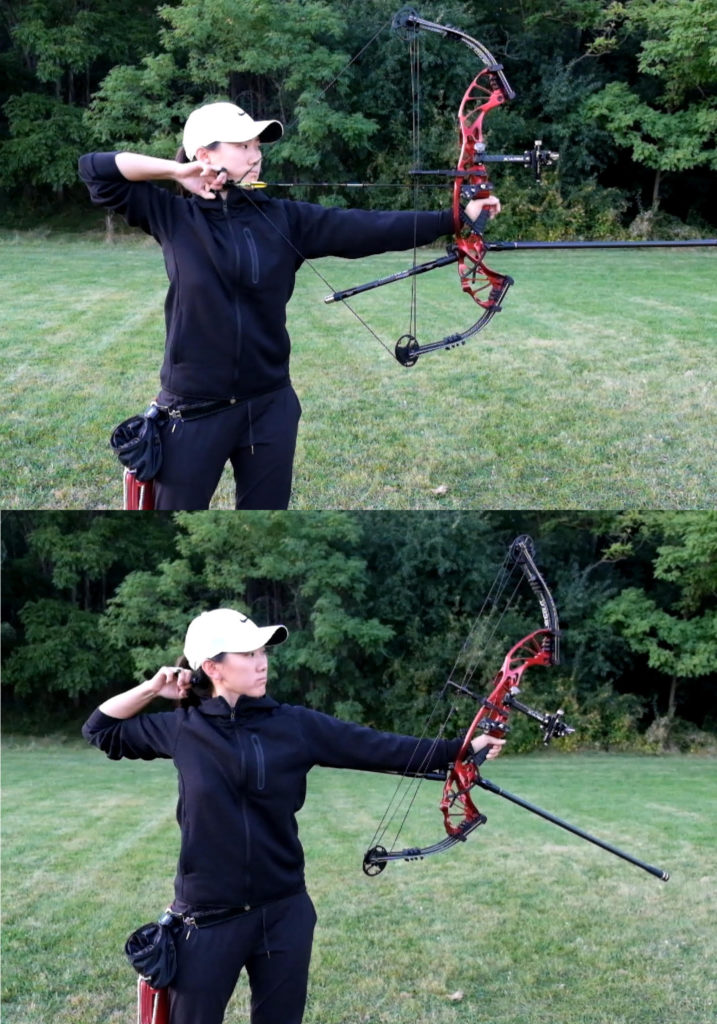
Eventually, my equipment arrived and my friend, Brandon, helped me set it up. I was finally ready to continue working on my shot. One element of my shot that I didn’t expect to be so distorted was my posture.
I was putting all my weight on my left foot as my hips leaned towards the target as my shoulders swayed in the other direction. I’m not sure if you know what I’m talking about but I looked like the old Easton archery decal that was pretty popular back in the early 2000’s.
I think my posture looked like this because I wasn’t used to the heavy mass weight of my bow and my bow shoulder was creeping up towards my ear. Once I noticed that, I focused on getting my hips over my feet and my shoulders over my hips.
Bow Shoulder
The bow shoulder was and to this day continues to be a weak point in my shot. As many of us discover over years of shooting, the bow arm works well only if all of its components are working well.
For example, if your grip is in too far, it’ll affect the alignment of your elbow and potentially your shoulder too. Similarly, if your shoulder is out of line, you’ll probably find it harder to get the rest of your bow arm into alignment as well.
I decided to start from my bow shoulder. I was positioning my shoulder like I would with my recurve bow and wasn’t getting very good results. I decided to bring my shoulder “down and back”, slightly opening my body towards the target and found this was a much more solid position when shooting the compound.
I skipped my elbow and moved to my bow hand, which I discovered was sitting way too deep into the grip. Again, I was shooting my compound as if it was my recurve and noticed the deep position applied too much torque on the bow.
By bringing my shoulder into a better position and my grip further out, my elbow settled naturally and everything felt much more solid. One thing I have yet to figure out is why I continue to need an arm guard. If anyone can tell me the secret to getting rid of this armguard, please let me know!
Anchor
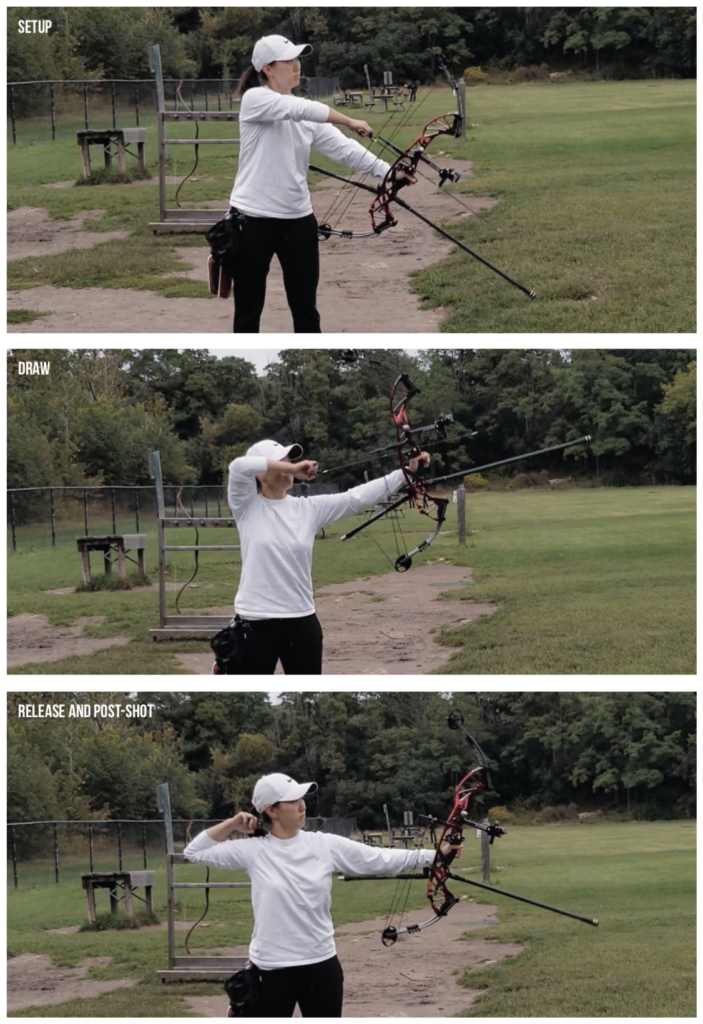
Once I had worked on my posture, I was a bit more comfortable and felt like I was ready to work on more technical aspects of my form. I watched a video from Levi Morgan about anchor and face pressure.
Again, I was shooting this compound bow as a life-time recurve archer so I naturally pulled the string right into my face thinking it would create a more solid anchor point.
The important difference is that with a compound, you’re only holding a fraction of the draw weight so any excess pressure on the string will have a big impact on the arrow.
I worked on allowing the string to gently touch my nose and softly sit at the side of my mouth. The space between my index and middle knuckle would sit firmly on my jaw.
At first, this change in face pressure made me feel really uneasy and as if I hadn’t fully come to anchor. It eventually became more comfortable with practice and I found that I was getting much more consistent groups with this softer face pressure.
The Roadblock
Everything was going well until I faced a roadblock. I found that after I came to anchor and started aiming, my peep sight would slip upwards and the string would come off my nose.
I didn’t think it was my bow shoulder as it felt pretty solid and I didn’t think I was being lazy on my string side because I was pulling hard into the wall. The real culprit ended up being my release hand. I was keeping my thumb on the peg and my hand was curled up as I drew the bow.
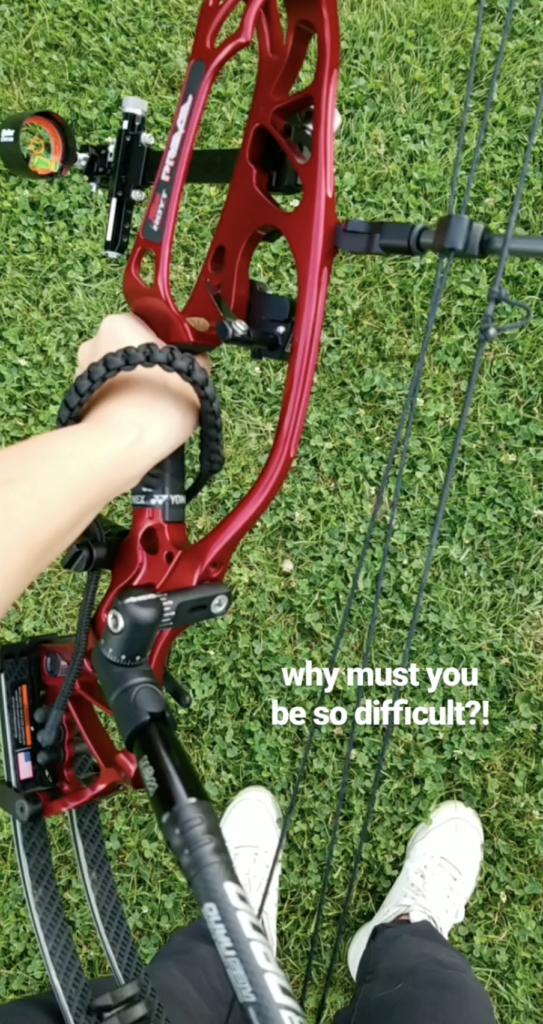
Once I came to anchor and positioned my knuckles on my jaw, I let my thumb come off the peg and relaxed my fingers, hand, and wrist as I had practiced earlier. The problem was, the difference between my hand when I drew back and the relaxed position was too drastic.
I watched videos of Jesse Broadwater shooting over and over again and realized he actually takes his thumb off the peg before fully coming to anchor. This helped me come to anchor more consistently and the peep and string stopped moving when I was aiming.
I realized everyone has a slightly different approach when it comes to the thumb peg and back tension release aids. For example, Daniel Munoz from Colombia moves his thumb in front of the peg after coming to anchor and Reo Wilde just opens his thumb rather than moving it in front. Just like anything else in this sport, I suppose it doesn’t matter how you do it – it just has to be consistent.
Conquering the Darkside
All of the form changes have helped me feel much more comfortable with my shot and when I watch videos of myself shooting now, I don’t think it’s half bad. I’m able to shoot more consistently, I have a better sense of whether I executed a shot well, and my groups are coming along nicely. Still, I definitely have a long way to go.
I need to be more comfortable with aiming and recognizing that it’s not necessarily as passive as it is with a recurve. I also need to put everything to the test and want to put myself under some pressure whether it be scoring or shooting a local tournament.
No matter what the next step is, I am excited for what lies ahead because I’ve already achieved what I wanted by starting compound – to enjoy shooting and fall in love with the sport again.
You can read the first two parts of Hacking The Darkside here: Part 1 / Part 2
[…] Once I had accumulated all the pieces of equipment, it was time to put it all together and shoot. Although it was fun selecting and buying parts for my bow, it was learning how to execute a shot properly that made me feel like I was finally on the way. Part 3 is here! […]