
In Part 2 of a short series, Vanessa Lee details exactly what happens when a recurver takes up compound
It had been about a week since my first shot with a compound bow and I knew I wanted to get my own equipment. No one had warned me that it was going to be a long and tedious process.
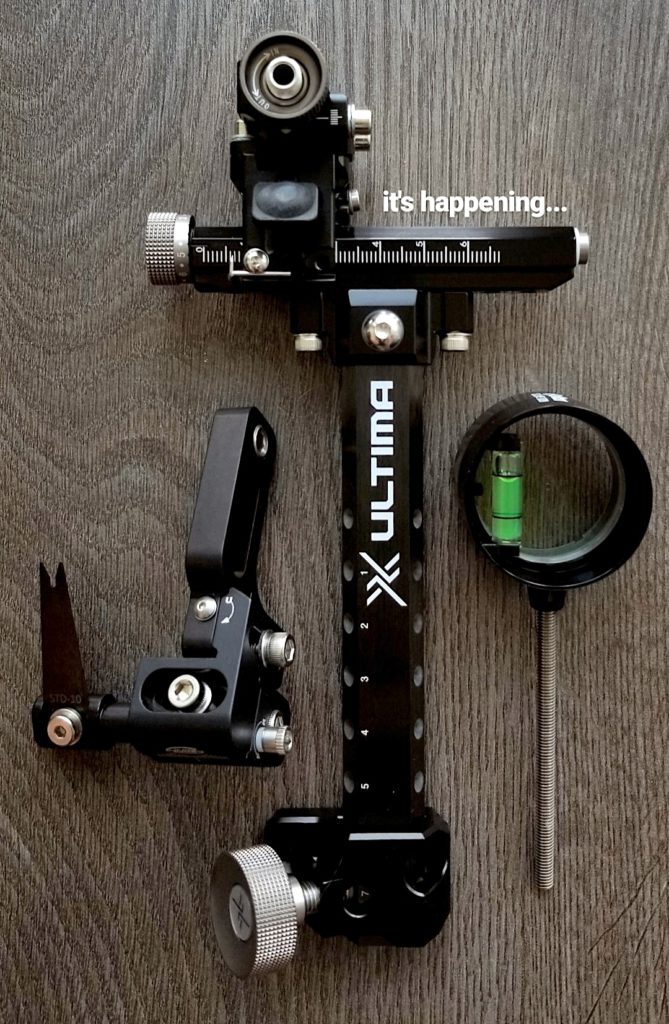
One day after work, I stopped by Canada Archery Online, my local retailer, to visit some friends and to talk about compound equipment. One thing lead to another and half an hour later, I ended up walking out of there with some compound bow accessories and very much in debt. I ended up buying a Shibuya Ultima CPX II 365 sight, Beiter Scope 039 with 6x power lens, and AAE Pro Blade Target Rest. These were all items I already knew I wanted because I’ve always felt loyal to these companies from shooting recurve. I also knew I couldn’t go wrong with any of these products. For other things like arrows and stabilisers, I just used what I had from my recurve days and they worked well. The pieces of equipment that really needed some more thought and consideration were release aids and of course a bow.
The owner of the archery shop, Gord, is always happy to help anyone looking to get into compound archery, and that day he loaned me his wife’s PSE Dominator Max 3D and STAN thumb-trigger release aid. Being able to shoot that bow was a huge help when it came time to make decisions about my equipment.
Choosing a release aid
The first piece of equipment I started researching right away was release aids. There was an overwhelming number of people telling me to start shooting with a hinge or back tension style release. Their main reason was that I should learn how to “execute a shot properly first”. I don’t think they meant all archers that start off using a trigger style release are necessarily learning how to execute a shot improperly, but I’m assuming it might be easier to avoid bad habits. I learned that eventually with some practice, all release aids can go off by relaxing the hand the same way.
It has never been my personality to start off with beginner equipment. Ever since I was getting my first recurve bow, I went all out, and the same was true with the release aid I wanted to get. Although hinge release aids work with the same mechanism, I knew I wanted to get something that was going to be reliable, built with precision, and comfortable in my hand. After reading as many ArcheryTalk forums and watching reviews on YouTube, I ended up with two release aids that really caught my attention: the T.R.U. Ball Honey Badger Claw (HBC) and T.R.U. Ball Fulkrum Flex.
HRC 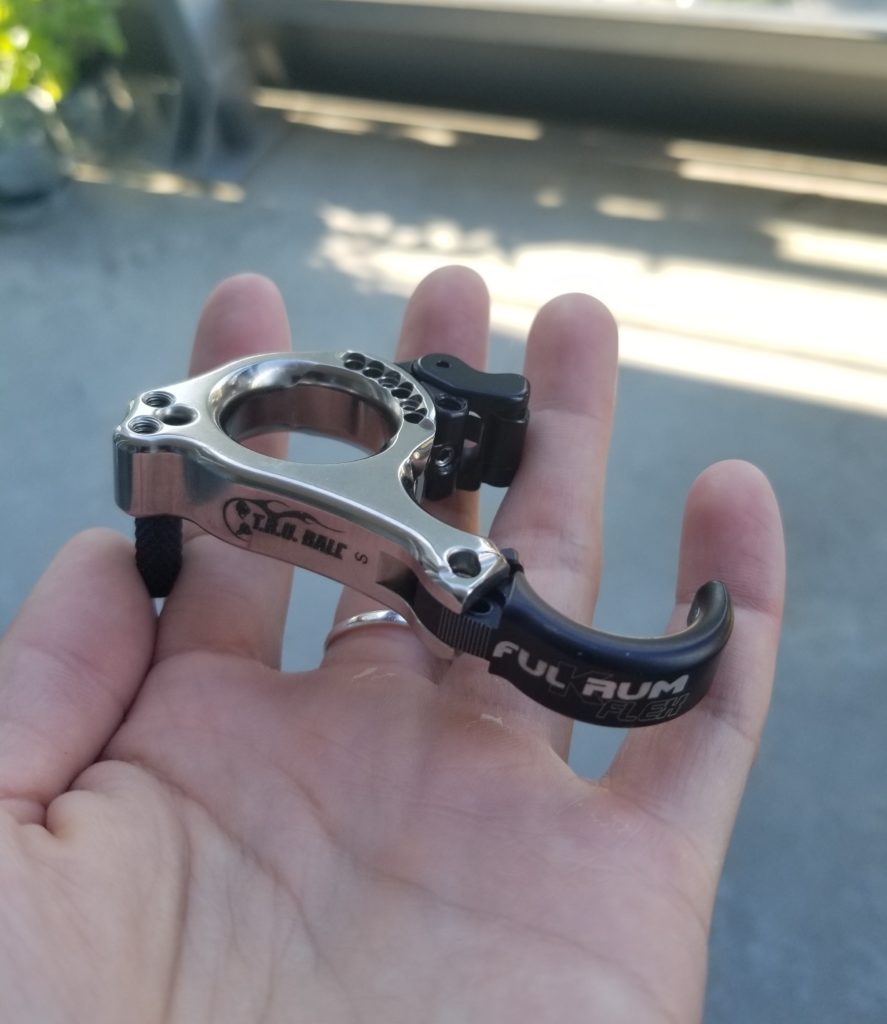
Fulkrum Flex
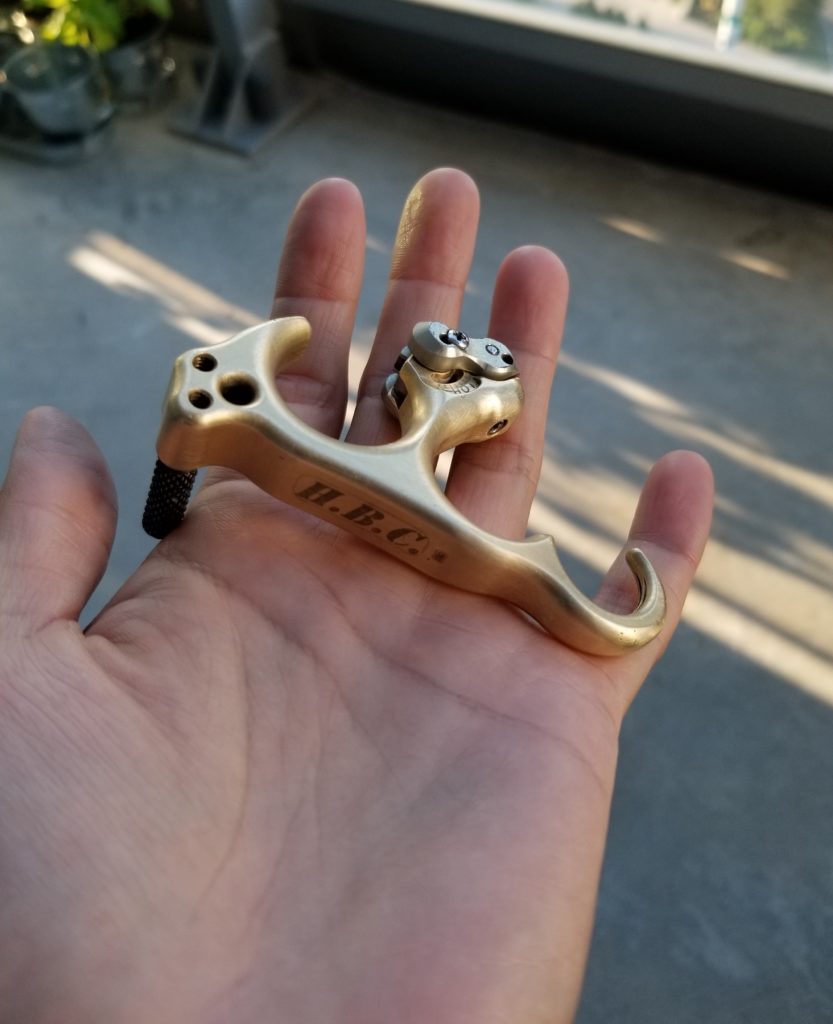
The HBC was an overwhelmingly popular choice with some people suggesting it was the best release of all time. I loved the classic look of the 3-finger release aid with a brass finish. The HBC was designed in collaboration with Reo Wilde, who previously used the T.R.U. Ball HT. The HBC was designed with a more ergonomic feel by incorporating a larger taper towards the third finger and machined grooves in the lower finger beds to prevent slipping. The name for the release came from Reo Wilde’s nickname ‘The Honey Badger’ and also integrated a more pronounced third finger bed that looked like a claw.
The Fulkrum Flex was another popular choice and was designed with the help of one of my personal favourite compound archers, Jesse Broadwater. I thought the look of the fully enclosed index finger was cool and it also allowed for an adjustable release head, to change the amount of string pressure on the face. The Fulkrum Flex was an updated version of the hugely popular Fulkrum release aid, but now also incorporated a rotating third and fourth finger handle pieces. Also, the Fulkrum Flex came in a beautiful quicksilver finish over its solid brass construction.
Truth be told, I couldn’t make up my mind and I ended up buying both release aids. My hands aren’t the biggest and it was nearly impossible to find either release aid in size small. I checked ArcheryTalk forums, Facebook buy and sell groups, and other classified pages every single day but almost all the ads with these release aids in small were at least a year old, with half a dozen comments from eager buyers.
My friend, Brandon, ended up finding the HBC in small on eBay and I snatched it up right away. The release aid came in the mail quickly, although not in the best condition. I took it upon myself to carefully sand down some scratches and buff it up again. I also lucked out again with the Fulkrum Flex and happened to come across a seller to had posted an ad over a year ago and never did end up selling his release aid. It had been sitting in its packaging in his basement and when he saw my message, he remembered it was there. The lesson I learned was that you should still message someone even if you think they may have sold an item you’re looking for.
I started using these release aids right away with a makeshift training device I had put together with a small dowel and d-loop material. It helped me understand exactly how the release aids worked and what I needed to do if I wanted to adjust them. I started to get the feel for relaxing my hand and letting the release aids rotate as I continued to pull.
The bow
Although I enjoyed shooting the Dominator Max 3D, I just didn’t think it was the bow for me. It had quite a soft wall and it made me feel inconsistent in my shot. When I asked around, people gave me a huge selection of bows they recommended. People told me to look into the Elite Echelon, PSE Supra, Mathews solocams, and bows from Prime.
The more I learned about compound bows, the more I realised how complicated they really were, especially when buying one used. Unlike recurve bows where you only really need to think about length and poundage, there are a lot more factors when it comes to finding a compound bow that will fit you.
First off, I needed to think about what axle-to-axle (ATA) length I wanted my bow to be. This is measured from the distance between the two pins that attach the cams to the tip of limbs. Shorter ATA bows tend to be more aggressive and faster bows. They are easier to maneuver around the woods if you were hunting or shooting 3D. Longer ATA bows tend to have a smoother draw cycle and are more often used in target shooting. The length of the bows also add stability to the shot at full draw and allow for more precision. When speaking with friends, I learned that about longer ATA, likely a 37 to 40-inch bow, would probably feel comfortable for me.
Secondly, I needed to find a bow with the right peak draw weight. The amount of draw weight wasn’t the hardest decision because I knew I wanted something that would max out at 50 lbs. The hard part was finding a bow with limbs at that draw weight. Most advertisements for used bows had peak draw weights of 60 or 70 lbs. There was no way I was going to be able to pull that much weight.
The third factor I needed to consider when picking my bow was draw length. Unlike recurve bows where you just need to make sure you have the right length of limb and can move your clicker to match your draw length, you need to have a pretty good idea of what your draw length is going to be with a compound bow before buying. Thanks to Gord lending me is PSE, I knew that my draw length was going to be about 27 inches, which was just short of what his bow was set up at. I learned that it’s the cams that dictate how much draw length you get out of a bow. Although some companies have cams that all you to change a draw length to nearly any length, other bow companies require you to get a specific set of cams that will allow for a smaller range of lengths.
The fourth thing I needed to consider when picking my bow had to do with the feel of the cams. I wanted the wall to feel solid so that I could really feel myself pulling against it as I executed the shot. I’m sure there’s more to it, but I made this decision after shooting a bow with a softer wall and feeling like I just wished it was more solid.
The final factor I considered when picking a bow was its mass weight. I hadn’t been doing any physical training and I knew strength and stamina was not going to be on my side. I needed something that wasn’t going to feel like a tonne of bricks at arm’s length.
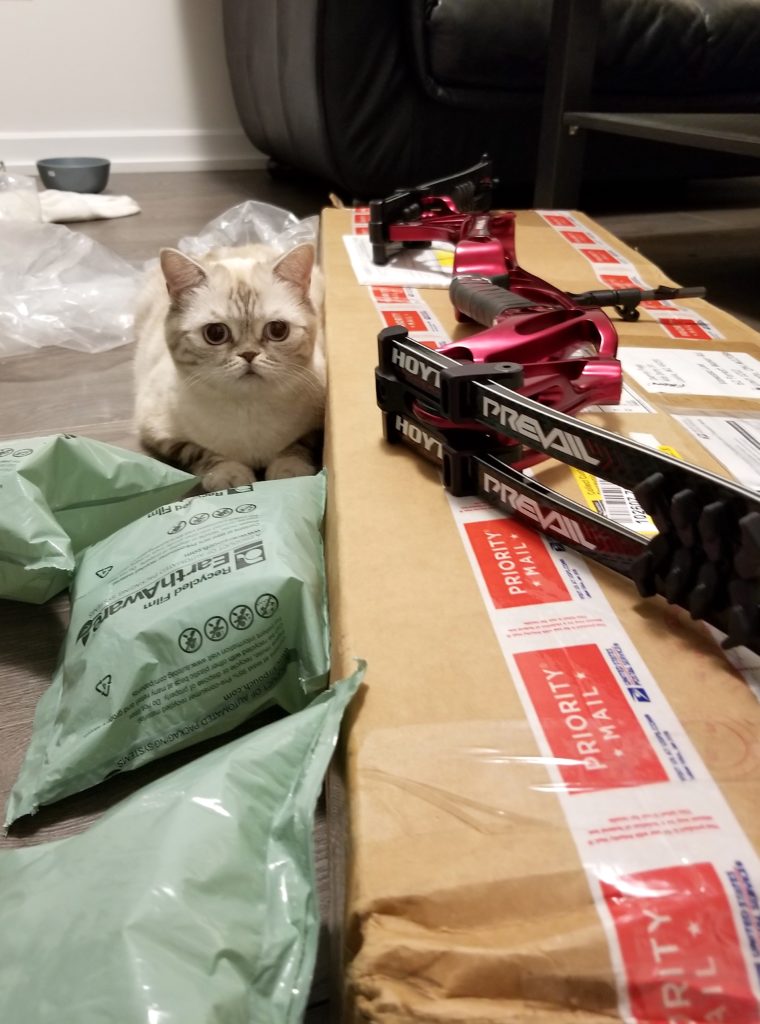
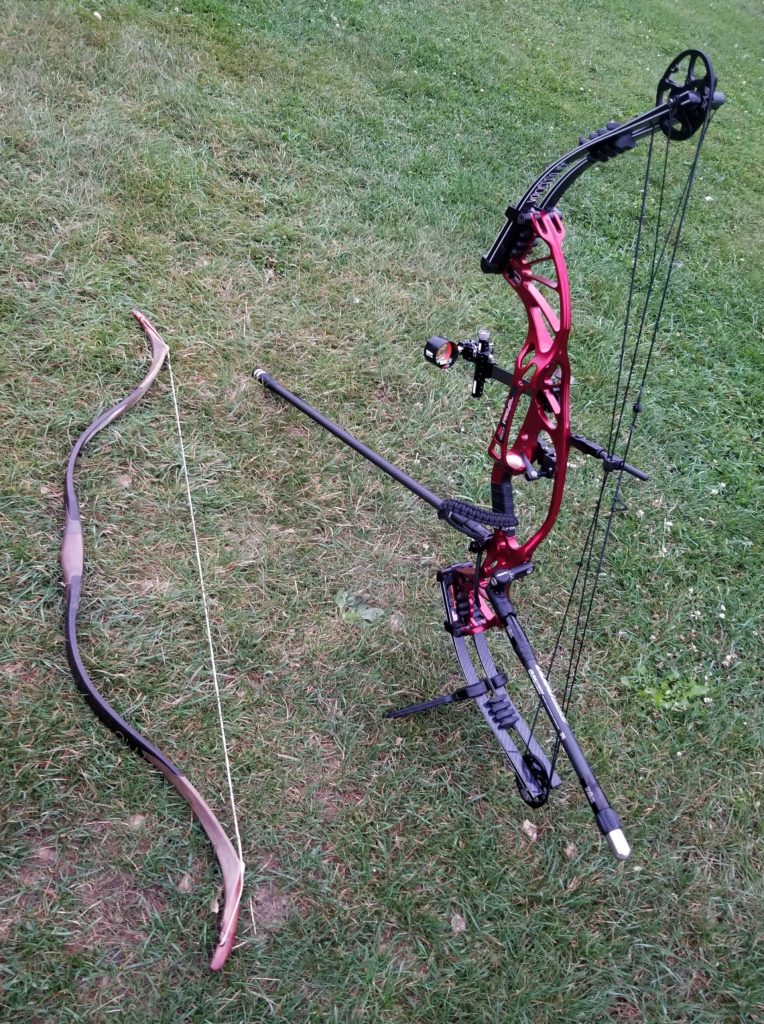
I had initially planned on visiting people who were kind enough to let me try their bows or trying some out at a local dealer, but I ended up buying on used off of ArcheryTalk on a whim. The deal was too good to pass up and the bow was just too beautiful – it was a Hoyt Prevail 37 in a gorgeous deep red. The bow came in a 37 ATA, the cams were the more aggressive SPX series at the perfect draw length, and the mass weight of the bow would be manageable. I also saw a set of limbs from a different seller at the perfect draw weight. It was as if the compound gods were smiling down on me saying, “Vanessa, your time has come.” I made the purchases before I could think twice and have any regrets.
Once I had accumulated all the pieces of equipment, it was time to put it all together and shoot. Although it was fun selecting and buying parts for my bow, it was learning how to execute a shot properly that made me feel like I was finally on the way.
Part 3 is here!
[…] You can read the first two parts of Hacking The Darkside here: Part 1 / Part 2 […]